
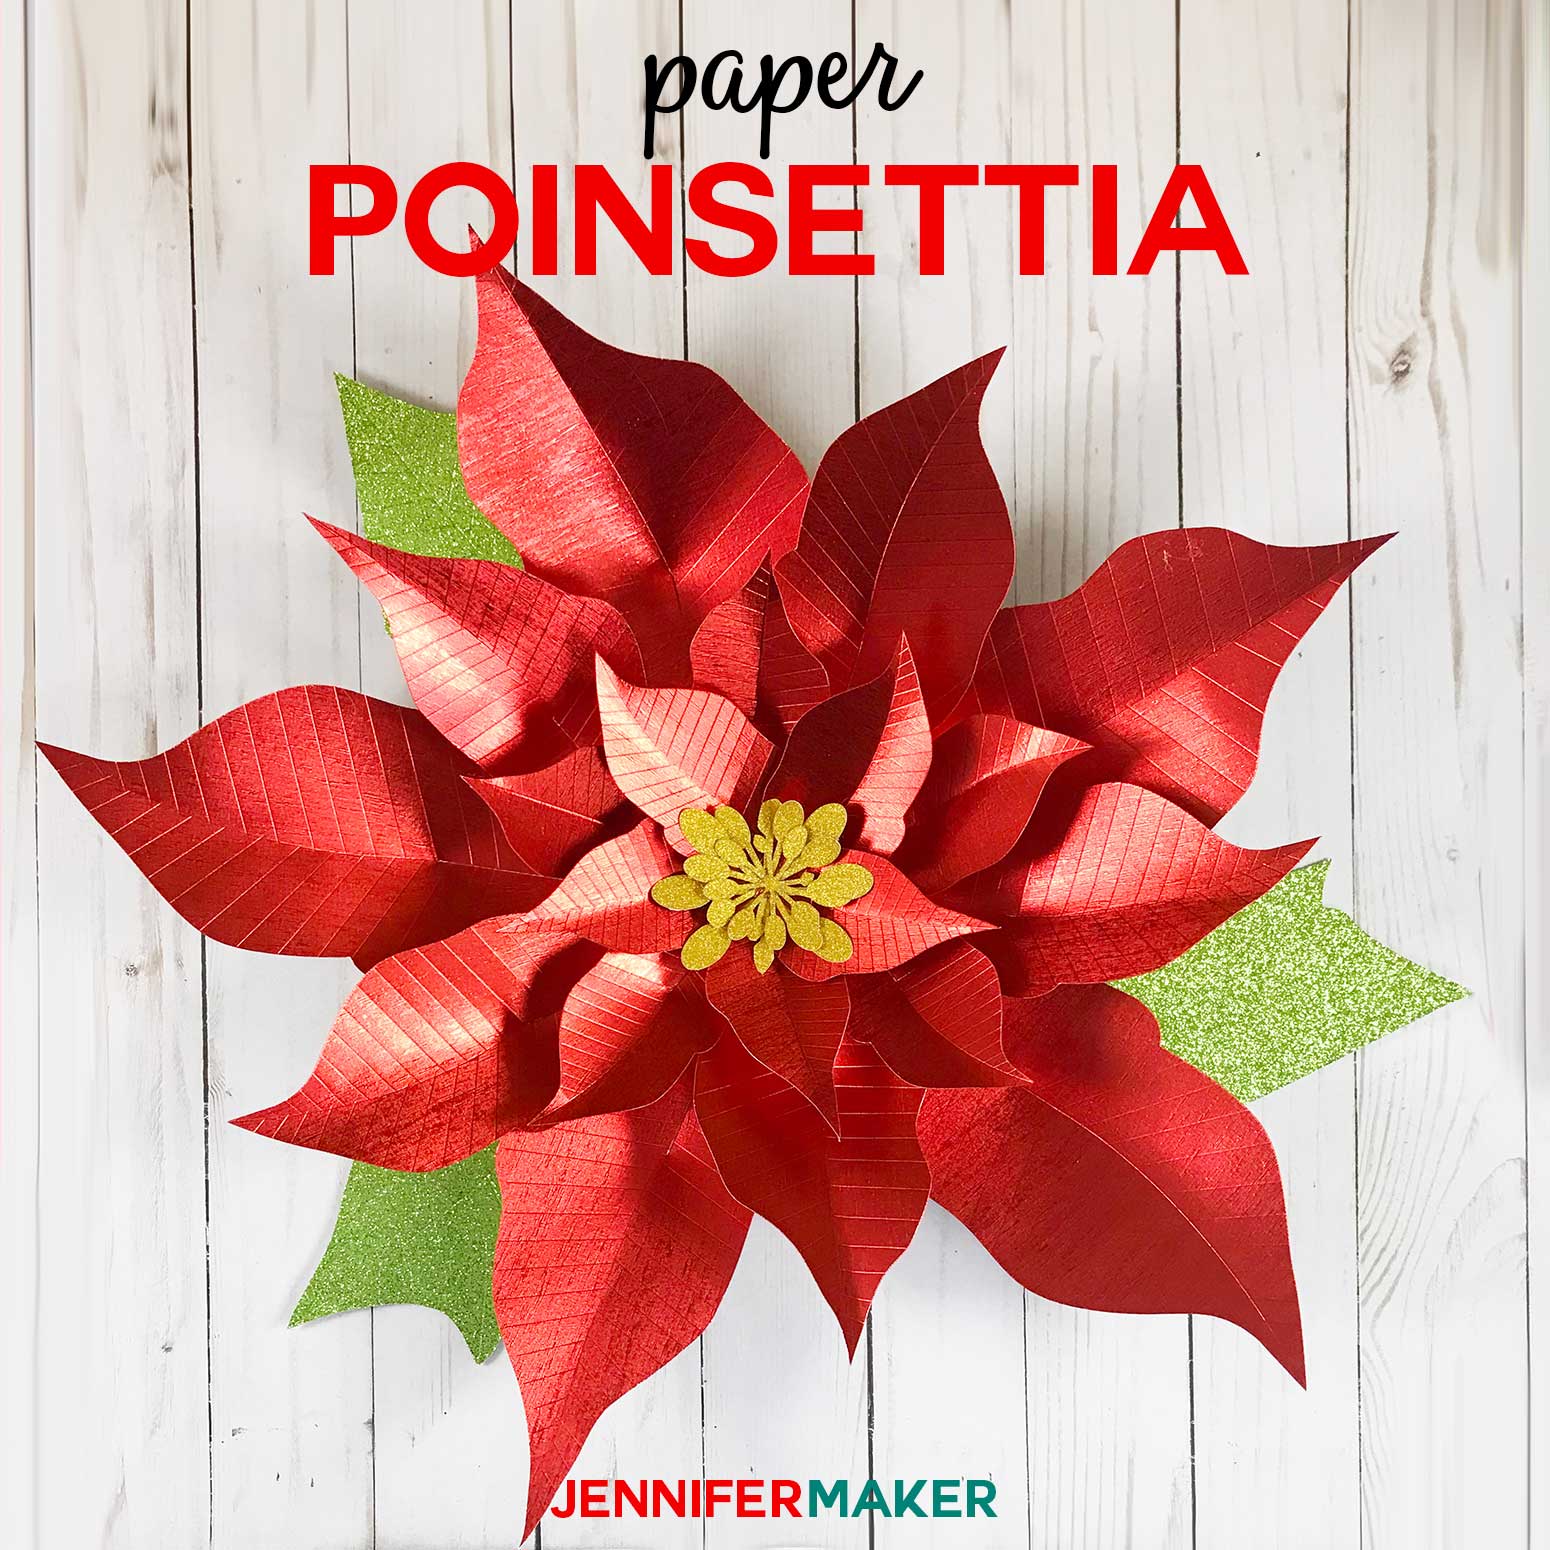
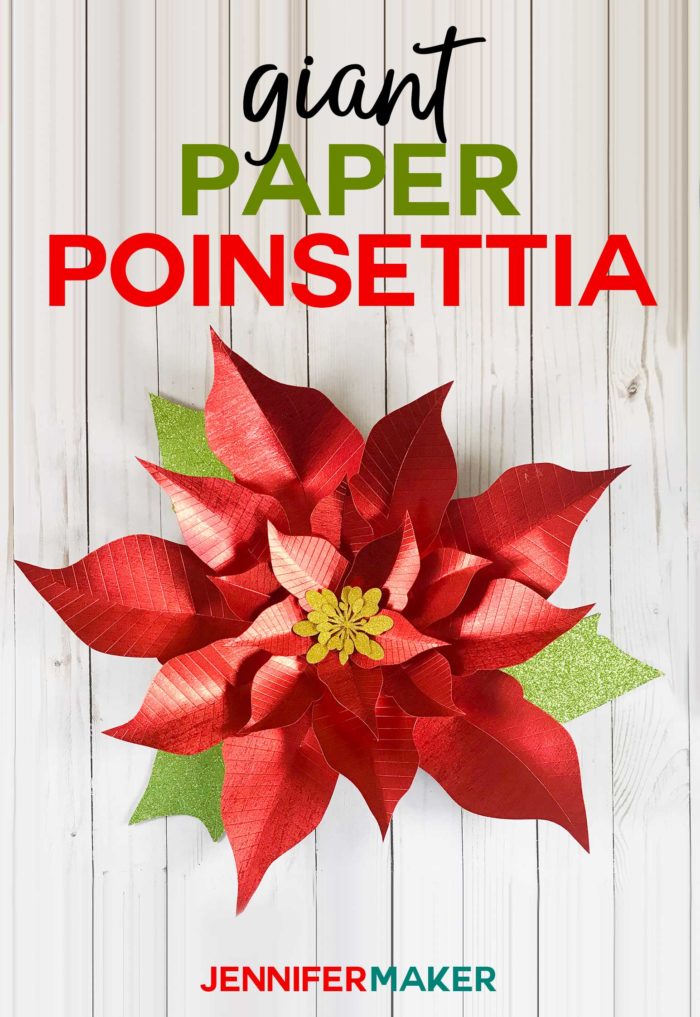
Make this larger-than-life paper poinsettia flower with my super-simple pattern and tutorial!
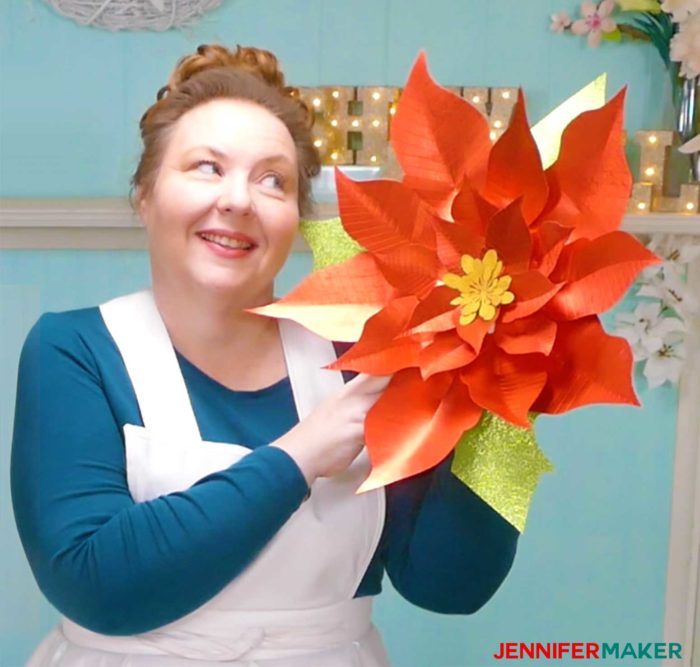
The holidays are coming and it’s time to decorate the craft room. For Day 2 of The Great Maker Show and Tell Challenge, we are making a giant paper poinsettia flower using my simple yet realistic poinsettia pattern! I love to make paper flowers from the real thing, and this paper poinsettia is no exception! The petals are modeled after a real poinsettia flower I got recently and I think it’s just lovely!
Huge thanks to many readers who requested this paper poinsettia project (Suzy B., Carley, Sarah B., Melleny, Mary, and Gina S.). Each person who contributed this project idea will receive an extra entry for your idea (I am keeping track on this on my end). And don’t forget, you can suggest project ideas for this Challenge here and receive entries to win one of our awesome prizes, including a Cricut Maker!
Key concepts taught in this tutorial include how to set score lines in Cricut Design Space and how to assemble a paper flower.
See exactly how to make my giant paper poinsettia flowers in this tutorial video below:
Enough talk… let’s make a giant paper poinsettia! This post contains some affiliate links for your convenience (which means if you make a purchase after clicking a link I will earn a small commission but it won’t cost you a penny more)! Read my full disclosure policy.
Materials for the Giant Paper Poinsettia Flower
- Cardstock of your choice in either 8.5″ x 11″ or 12″ x 12″ (I used five sheets of red, one sheet of green, and one sheet of gold) — the pretty red paper you see in my images here is Recollections Textured Foil Paper in Red
- Glue gun and hot glue (I used red glitter glue, but it doesn’t really matter — no one will see it)
- (Optional) Command strips for hanging up your paper flowers
- A way to cut and score your paper (I used the amazing Cricut)
- Design #114 – My free SVG/DXF/PDF cut file/pattern (available in my free resource library—get the password at the bottom of this post)
How to Make Giant Paper Poinsettia Flowers
To begin, download the paper poinsettia flower pattern (Design #114) for this project from my free resource library. You can cut it by hand or with a cutting machine. If you’re going to cut it out on your cutting machine, upload the file to your design software. If you’re not sure how to upload an SVG cut file to Cricut Design Space, watch this helpful video training series I made. If you’re on an iPhone or iPad, here’s how to download and upload SVG files to the Cricut Design Space app.
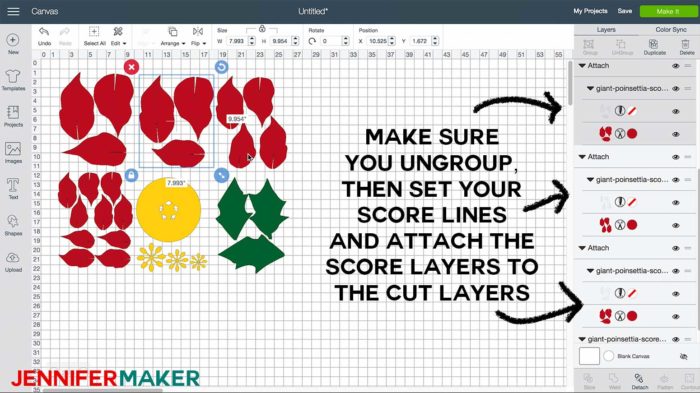
Note for cutting machine users: There are FIVE layers of lines that need to be set to score lines. So either convert those layers or remove those layers entirely. If you convert those layers to score lines, you also need to attach them to their respective cut layers. Watch the video to see how to do this! (And be sure to ungroup first!) If you’re not sure how to score or how to set layers to score, please read my Cricut Scoring Tools & Tips tutorial.
Tip: If you don’t want to score your giant paper poinsettia, or the score lines are confusing you, use and upload the “NOSCORES” version of the pattern file also in the archive you downloaded for this project!
Note also that I grouped leaves into optimal configurations so they would all fit onto pieces of 8.5″ x 11″ paper and minimize how much paper you had to use.
Here’s what your paper poinsettia pieces will look like after you’ve cut them out:

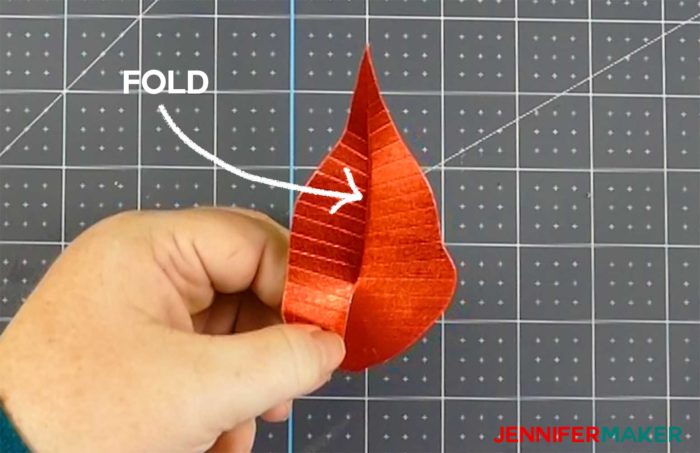
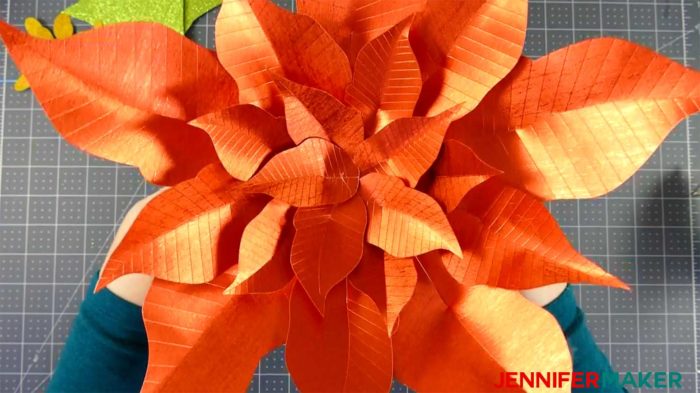
Start by overlapping the bottoms of each poinsettia leave so it forms a concave cup-shape — this helps your leave looks more realistic!
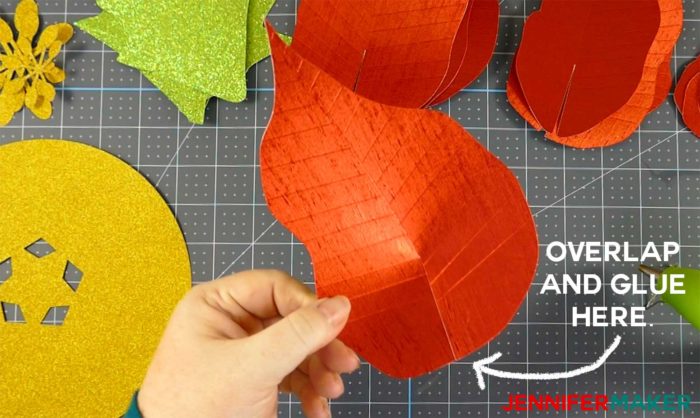
You can also fold (crease) or otherwise distress your paper poinsettia leaves for a more 3D look.
Now it’s time to start gluing your paper poinsettia leaves to the base. If you used glitter paper, turn your base over so the glitter side is down (glue doesn’t like to stick to glitter).
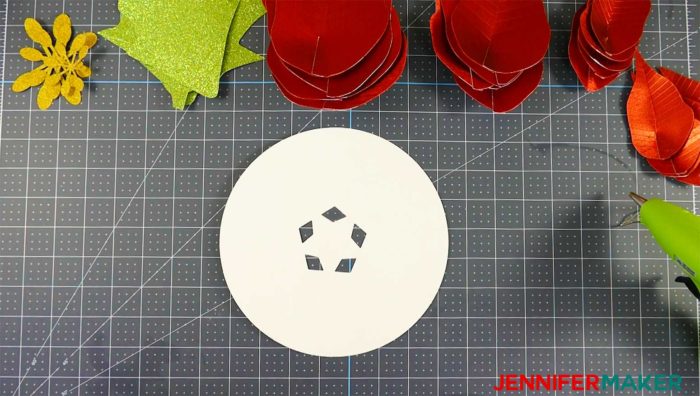
Start gluing your paper poinsettia leaves to your base, using the arrows on the base as a guide for where to put them. You want to begin with a layer of the five largest leaves and space them equally in a five-pointed star pattern.
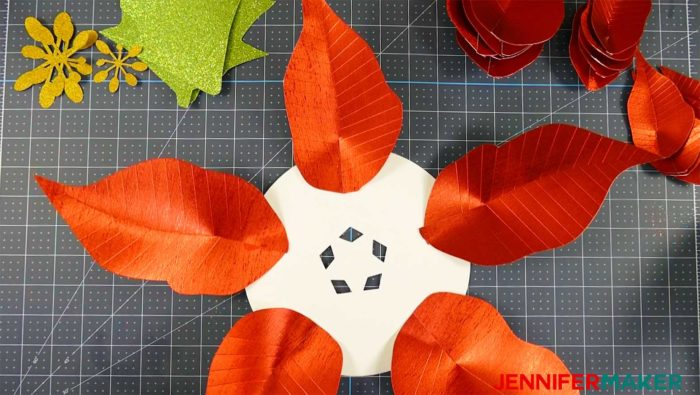
Once your five biggest leaves are on, glue on the next largest leaves. Fill in the gaps in between the first layer of paper poinsettia leaves.
Now continue with the remaining two layers of leaves, filling in all of the gaps!
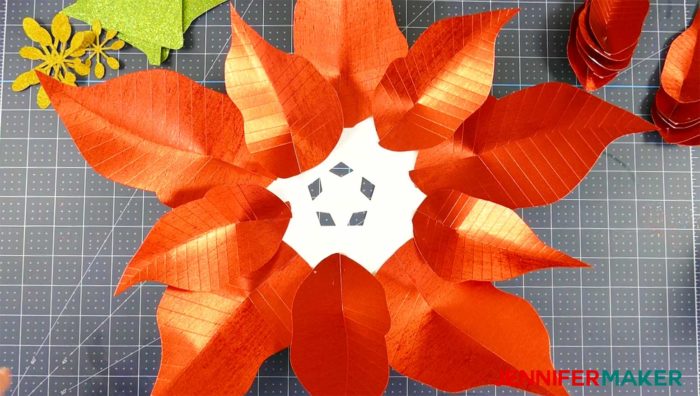
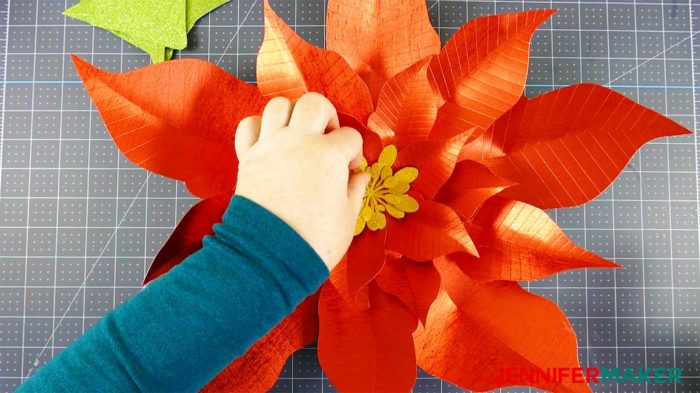
Glue in the yellow poinsettia stamens, biggest to smallest, in the very center of your giant paper poinsettia.
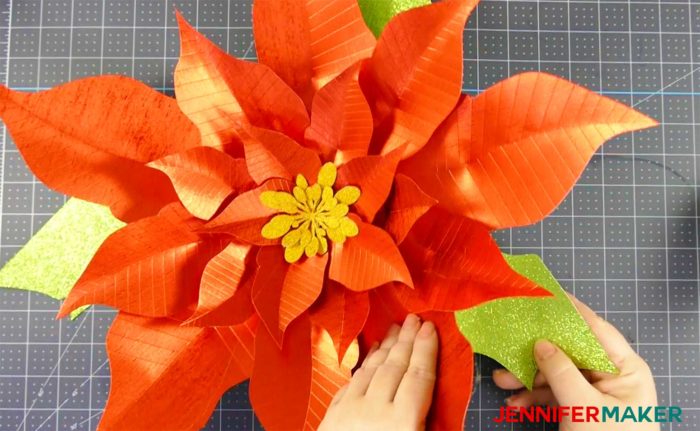
Tuck and glue the leaves around the outside of the paper poinsettia. Glue them down between the base and the large leaves.
And that’s it! You can make this poinsettia larger or smaller by resizing all of the elements, or just by gluing the leaves further out or in on the base.
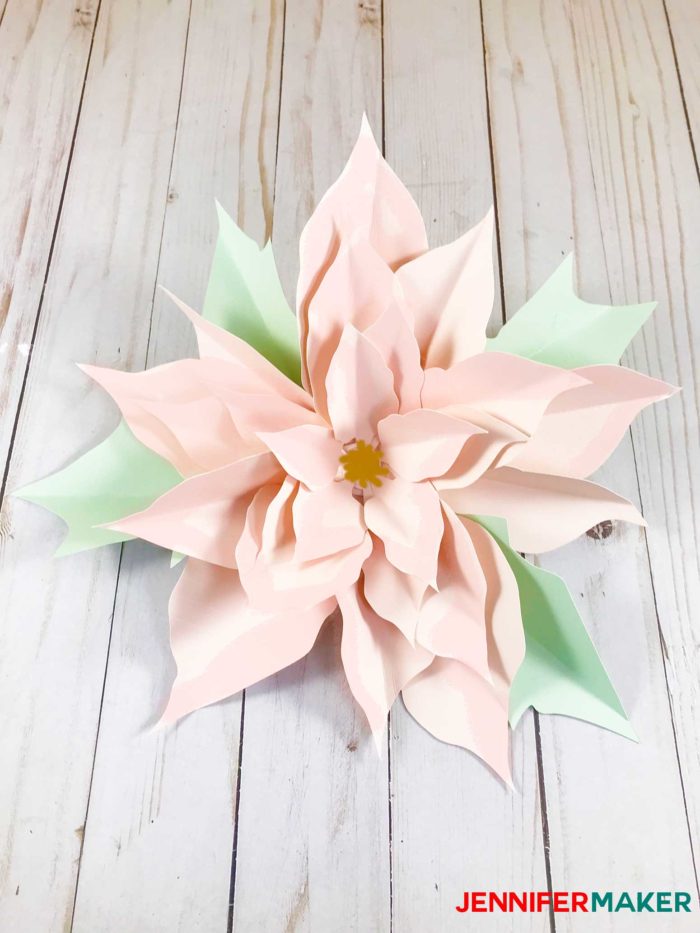
Here’s a smaller yet pretty little pastel poinsettia made with shimmer paper.
You can hang these up on walls or photo backdrops using Command Strips!
Get my free SVG cut files and patterns for the Giant Paper Poinsettia Flower
If you make one of these gorgeous paper poinsettias, please share a photo in our Facebook group, email it to me at [email protected], or tag me on social media with #makershowandtell.
See all of the projects, tutorials and free designs in The Great Maker Show and Tell Challenge!There is one for each day of the 25 Days of Christmas! This is my gift to you for the tremendous support, enthusiasm, and love you’ve shown to me and my little blog over the past two years. To “open” a gift, hover over the day’s image and click the download icon.
[ess_grid alias=”25days2″]
Love,

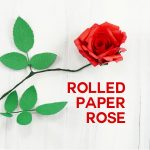
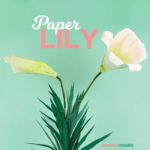
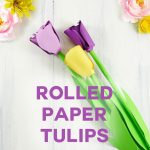
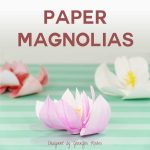
More Paper Flower Tutorials & SVG Cut Files


Want to remember this? Save the Giant Paper Poinsettia to Your Favorite DIY Pinterest Board!

Awesome video! Love the details of how to use the cricut! Thanks for sharing.
My pleasure!
I can’t find where I download this project
The SVG cut file for the poinsettia is in my free resource library at
Gorgeous! I’m speechless ! Just got my air 2 cricut and I love your videos and blog Thanks for help us beginners!
So glad you like it, Raquel!
Great Video! Thanks for all the details.
Thanks, Mary!
OMG Jennifer, I knew there was a reason I got most of my Christmas Shopping and decorating done early this year so I could spend my time working on your wonderful projects. I am on my way to Home Depot to get the supplies for the believe sign as we speak! Thanks so much for your great tutorials, they are so easy to follow and help me fully utilize my Cricut!
Wonderful, Barbara! Be sure to share photos. 🙂
Beautiful! You make it look so easy, Thank you
Thanks! It really isn’t difficult to make. 🙂
I love this! Thank you so much for this great video!!
gorgeous flower, I can’t believe it was handmade!
Beautiful ! Love all your ideas . You have the best blog . Can’t wait to make the Poinsettia.
I appreciate your kind words, Patricia! Please share a photo of your flower if you make one. 🙂
Jennifer that was amazing and beautiful, I surprised at how simple this project was. I am impressed. Thanks for sharing.
Oh, thank you, MyLinda!
This is simple gorgeous, Jennifer, but then you are the Queen of Paper flowers. I just took down your giant sunflower from my door and may just have to do this to put on my front door.
I would love to see a 3D red Christmas truck….
What can i cut these out of to put on my mailbox? Is there a waterproof cardstock or maybe some sort of plastic I could cut it out of??
I have an explore air 2
Oh, that is a good question, Jennifer! You could do it with vinyl but that would be tricky to piece everything together. I don’t have a material that I can think of that will hold up against the elements aside from permanent adhesive vinyl.