
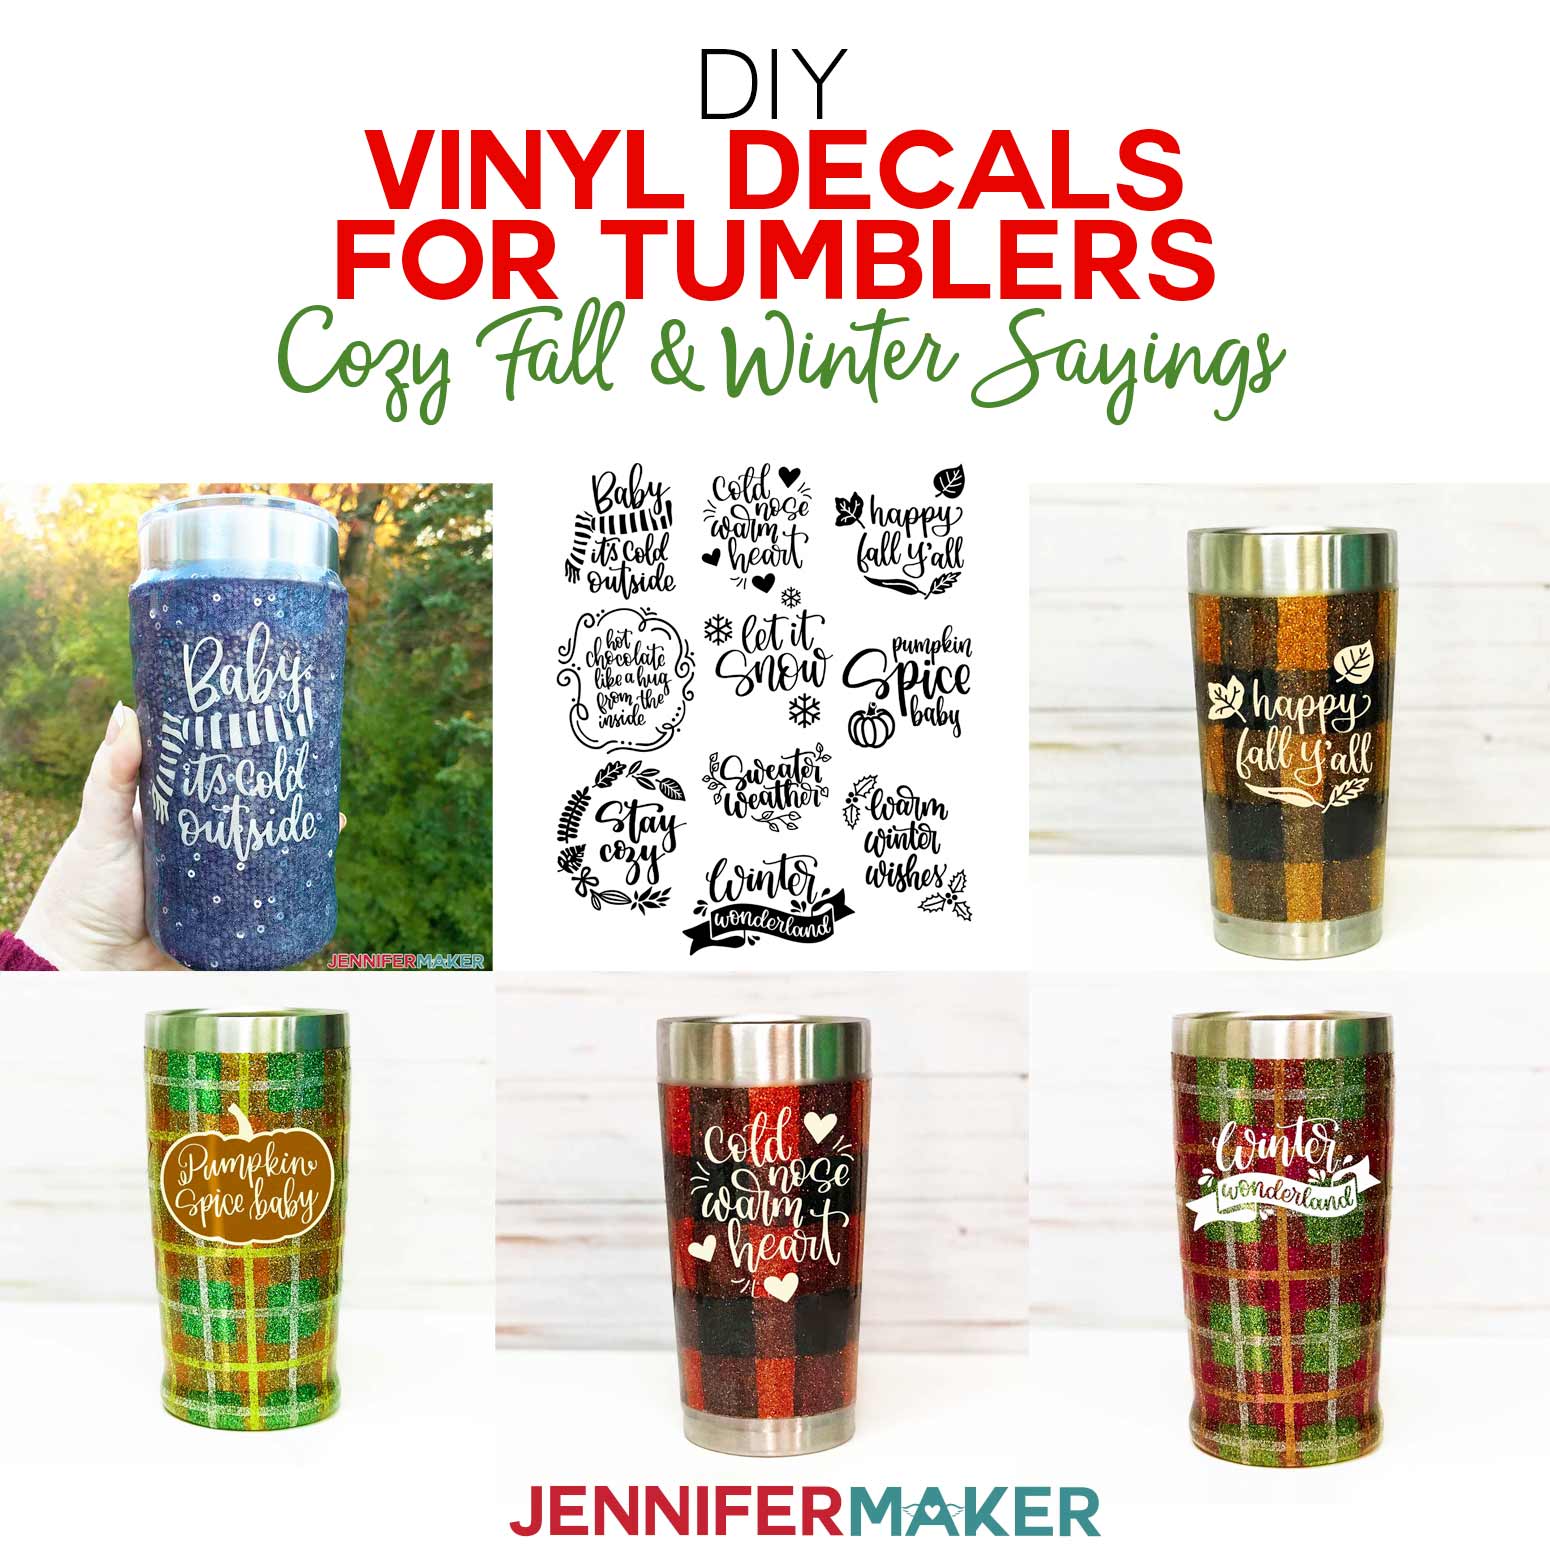
Decorate your tumblers, signs, shirts, totebags, and ornaments with beautiful DIY vinyl decals you can make yourself! I include a dozen hand-lettered vinyls with cozy fall and winter sayings in this tutorial to get you started!
One of the best things about crafting is getting to decorate and personalize your projects with fun sayings and designs! Case in point — I’ve been making some fun glitter tumblers themed for fall and winter and I needed some designs to put on them that matched. My tumblers were all about cozy and festive, so I came up with 10 different “cozy” sayings related to the fall and winter season that are perfectly sized for tumblers. These DIY vinyl decals for tumblers turned out PERFECT and I’m happy to share them with you AND explain how you can use them on your tumblers, too!
Tip: These designs look great on signs, shirts, totebags, ornaments, cutting boards, potholders, and so much more, too!

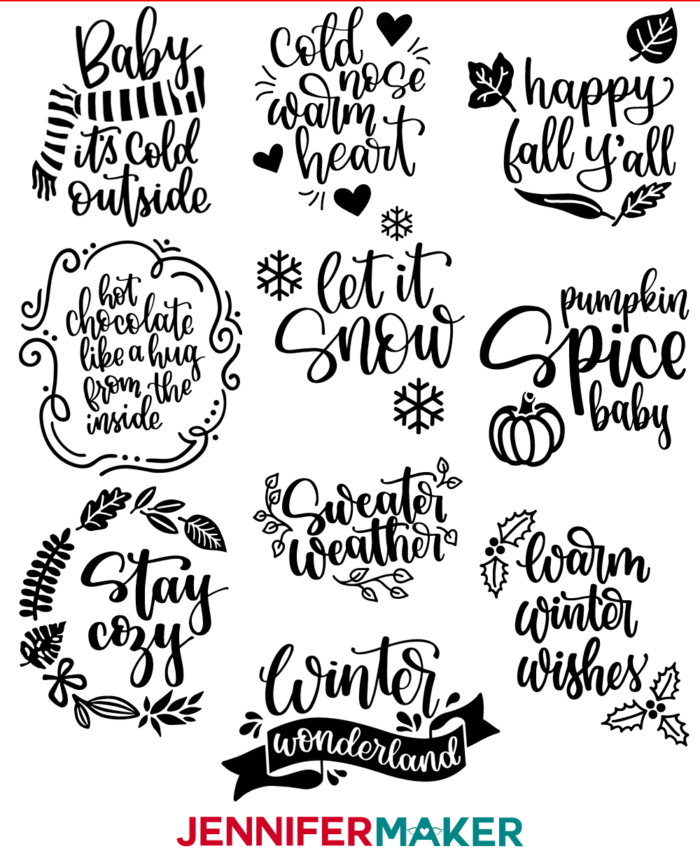
Each of these 10 designs were hand-lettered and many include fun little decorations and borders. Feel free to modify them to suit your needs!
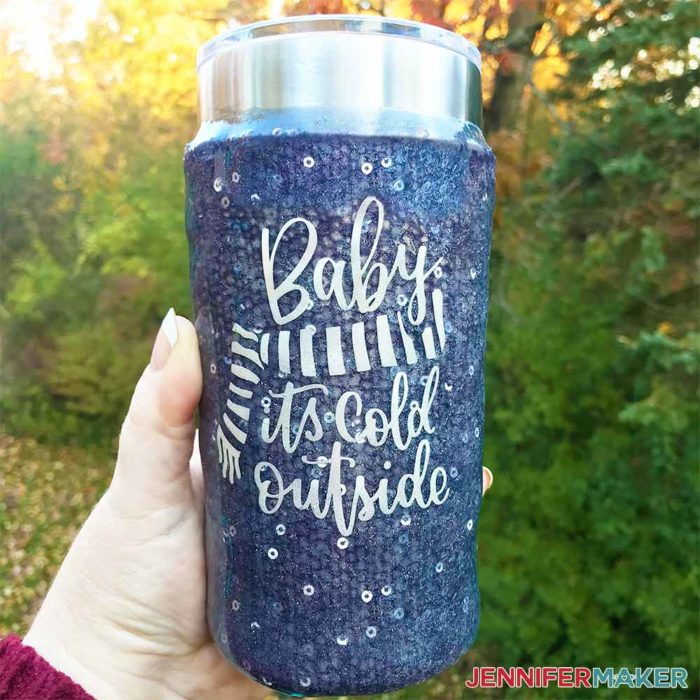
Here are some photos of these awesome DIY vinyl decals on tumblers and other things! Here’s “Baby It’s Cold Outside” on my sequined purple sweater tumbler:
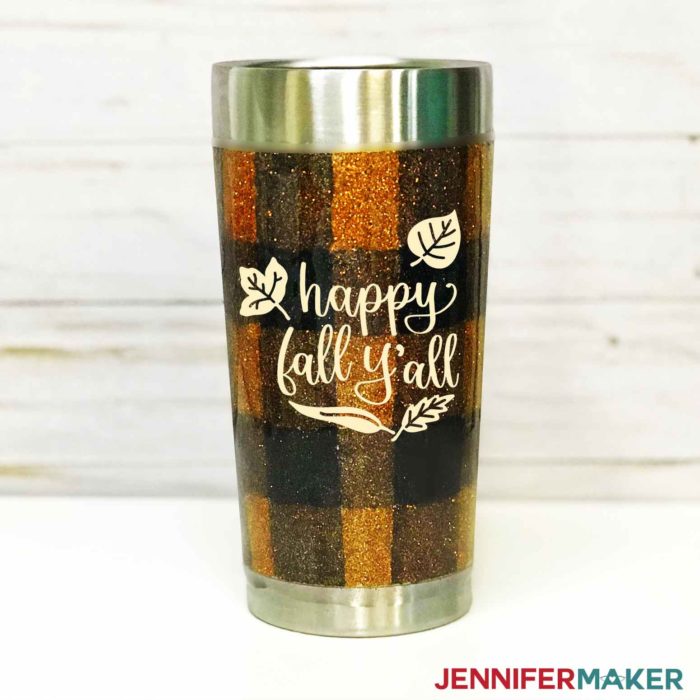
Here’s “Happy Fall Y’All” in ivory vinyl on my rust-colored Buffalo Check tumbler:
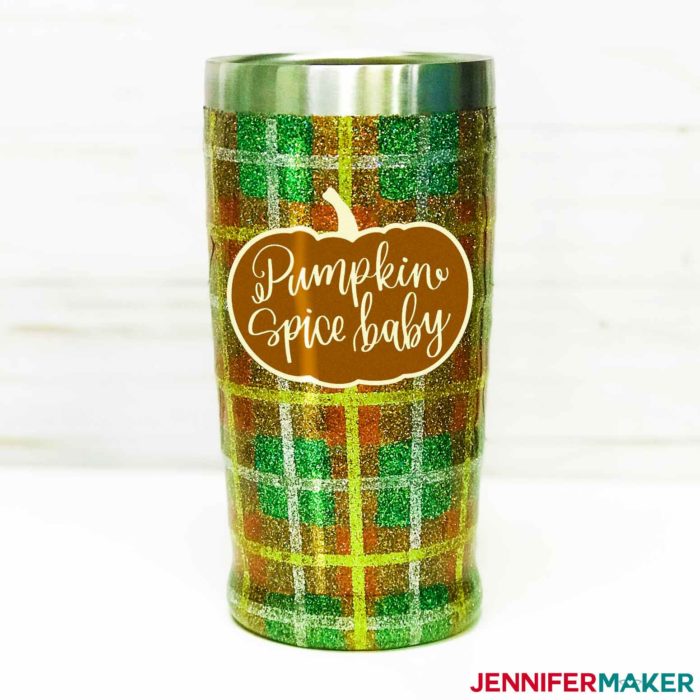
Here’s “Pumpkin Spice Baby” with two layers of vinyl (ivory and dark orange) on my autumn plaid glitter tumbler:
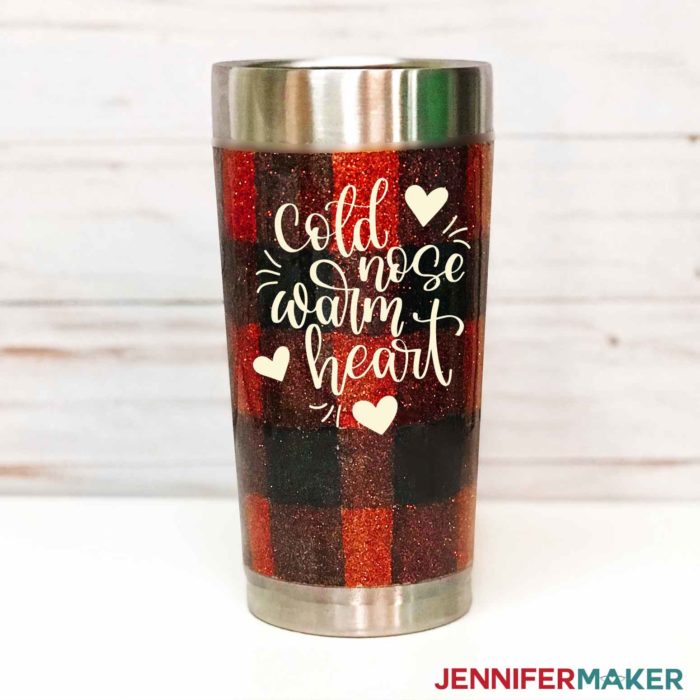
Here’s “Cold Nose Warm Heart” in ivory vinyl on my Buffalo Check Glitter Tumbler:
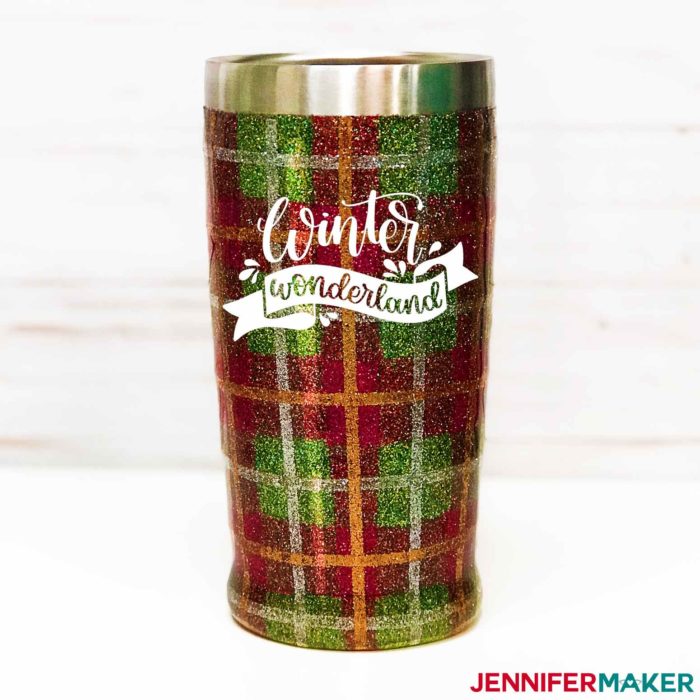
And here is “Winter Wonderland” in white vinyl on my Christmas plaid glitter tumbler:
And there are five more designs, too! Here’s all of them together:
Won’t these look great on your projects? Let me show you how to find and make these DIY vinyl decals! This post contains some affiliate links for your convenience (which means if you make a purchase after clicking a link I will earn a small commission but it won’t cost you a penny more)! Read my full disclosure policy.
Materials for DIY Vinyl Decals for Tumblers
- Permanent, self-adhesive vinyl (I used Cricut Premium Vinyl in Red, Holly (green), and white, and Cricut Pearl Premium Vinyl in Ivory).
- Transfer tape (I used Cricut Transfer Tape)
- A tumbler to put these decals on (see my Glitter Tumbler Tutorial to make one!)
- A way to cut your vinyl decals (I used the amazing Cricut)
- Weeding tools and scrapers
- Design #163 – My free SVG/DXF/PDF cut files/patterns (available in my free resource library—get the password at the bottom of this post)
How to Make DIY Vinyl Decals for Tumblers
Step 1: Download the vinyl decal cut files.
Get my free vinyl decal designs (Design #163) from my free resource library (get the password to it in the form at the bottom of this post).
If you’re not sure how to upload an SVG cut file to Cricut Design Space, watch this helpful video training series I made. If you’re on an iPhone or iPad, here’s how to download and upload SVG files to the Cricut Design Space app.
Step 2: Cut out the vinyl.
Upload the SVG cut file to your design software, such as Cricut Design Space.
Important: Check the size of your tumbler or other surface (be sure to leave room around the edges) and resize the vinyl decal to fit. (If you’re not sure how to resize, read this Resizing Tutorial.) You do NOT need to mirror self-adhesive vinyl.
Place your permanent adhesive vinyl shiny color side UP (right side up) on your cutting mat. Cut the vinyl with the fine-point blade.
When you are done cutting, flip the mat over onto your work surface and peel it away from the vinyl carefully.
Step 3: Weed the vinyl.
Once you cut out your vinyl, you want to weed it which means to remove all the extra bits that you don’t want to transfer to your mug. You might be able to do this with your fingernail, but you might want to use a weeding tool (I do).
Step 4: Put the vinyl on transfer tape.
After the vinyl is weeded, you need a piece of transfer tape to transfer your design to tumbler or other surface. So you just want to cut out a piece of transfer tape that is roughly the same size, or at least the same size as your design. Take the backing off of the transfer tape and you put it onto the front of your vinyl decal. Start at the corner and move outwards so that you don’t get creases and bubbles in your transfer tape.
Tip: No transfer tape? I find painter’s tape also works!
Step 5: Prepare the surface for the vinyl decal.
If you’re putting this on a tumbler or mug, clean the surface of it first with 91% isopropyl alcohol. This will remove any oil or dirt and get our surface as clean as possible. This will make a difference in the vinyl decal sticks and stays stuck. We want our decals to stick as good as possible, right? It’s no fun putting something on and having it come right off.
Tip: Not sure how to make glitter tumblers? Check out my step-by-step glitter tumbler tutorial here!
Step 6: Apply and burnish the vinyl decal onto your tumbler.
Apply the vinyl decal to the mug, smoothing from the inside to the outside to avoid wrinkles and bubbles. Burnish it down well with your scraper or your fingernail.
Once the decal is in position, take off all the transfer tape. Your goal is to see perfectly smooth and clear vinyl on your tumbler with no creases.
Step 7: (Optional) Seal the vinyl decal.
If you’re putting this vinyl decal on a painted or glittered tumbler, you’ll want to seal the tumbler again with another coat of epoxy resin.(see the tutorial here)!
If you’re putting this vinyl decal on a ceramic mug, sign, ornament, etc, you do NOT need to seal it. Just burnish down really well and be sure you hand wash.
Get my free SVG cut files for the Cozy Fall & Winter Vinyl Decals
You can use all 12 of my custom, hand-lettered decals for your tumblers, signs, ornaments, shirts, whatever you want! All of the files are in my free resource library!
If you cut some of these DIY vinyl decals, please share a photo in our Amazing Cricut Facebook group, email it to me at [email protected], or tag me on social media with #makershowandtell.
Love,

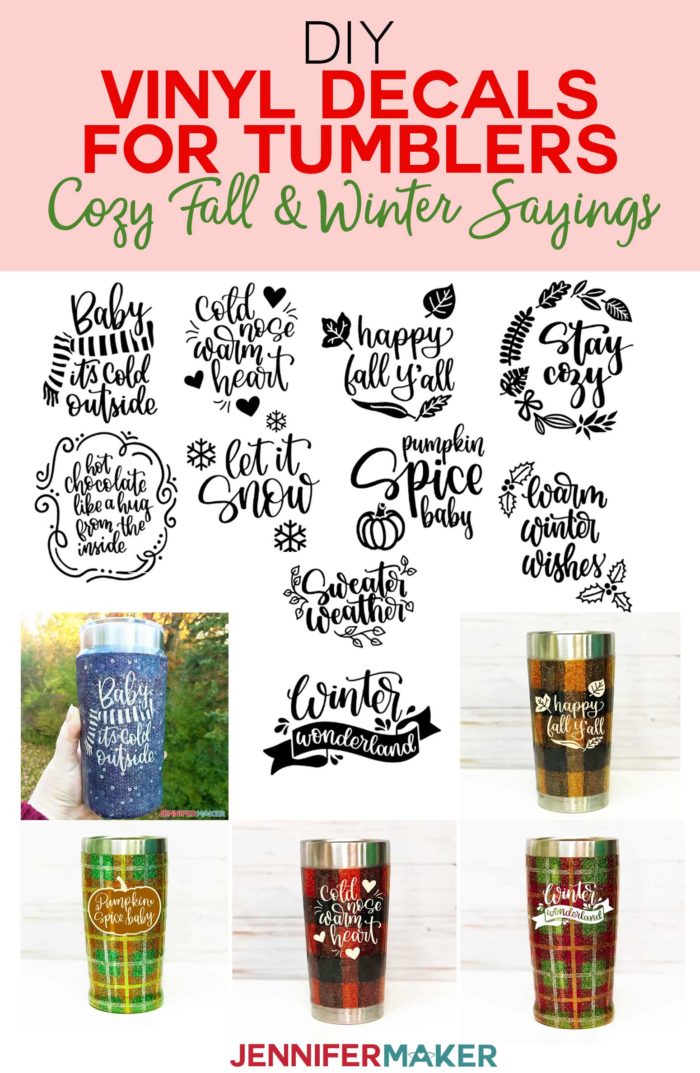
Want to remember this? Save the DIY Vinyl Decal Tutorial to Your Favorite DIY Pinterest Board!


how did you get the plaid background for the tumblers
Hi Janette, Thank you for the question. We used glitter to create the plaid design. Here is a video tutorial that walks you through the process. https://youtu.be/Jncen56F9S4