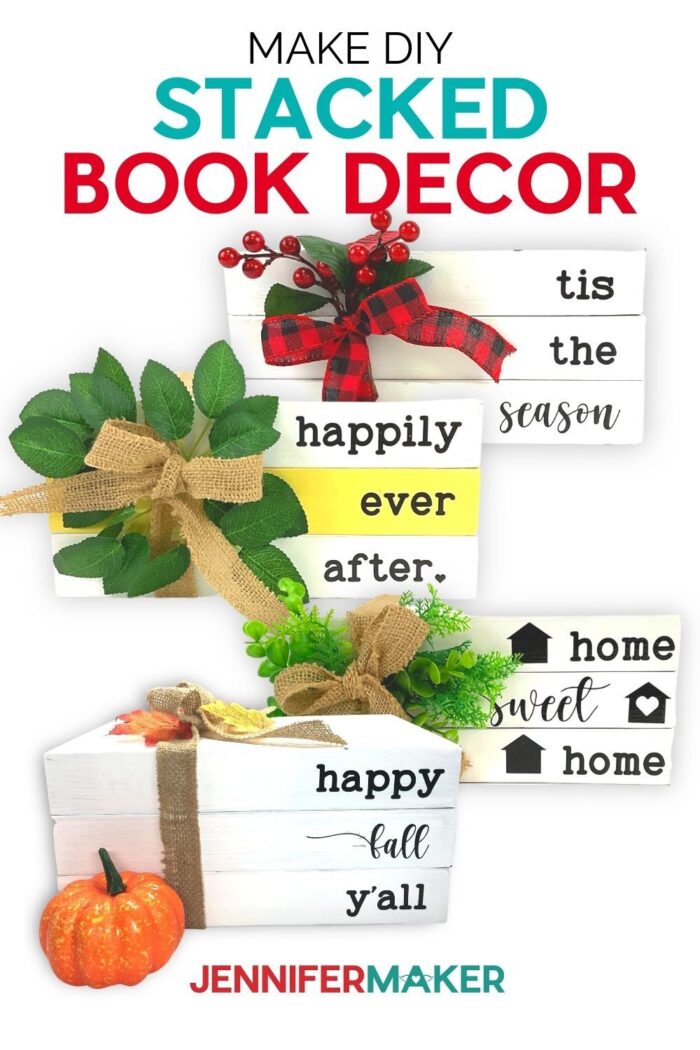
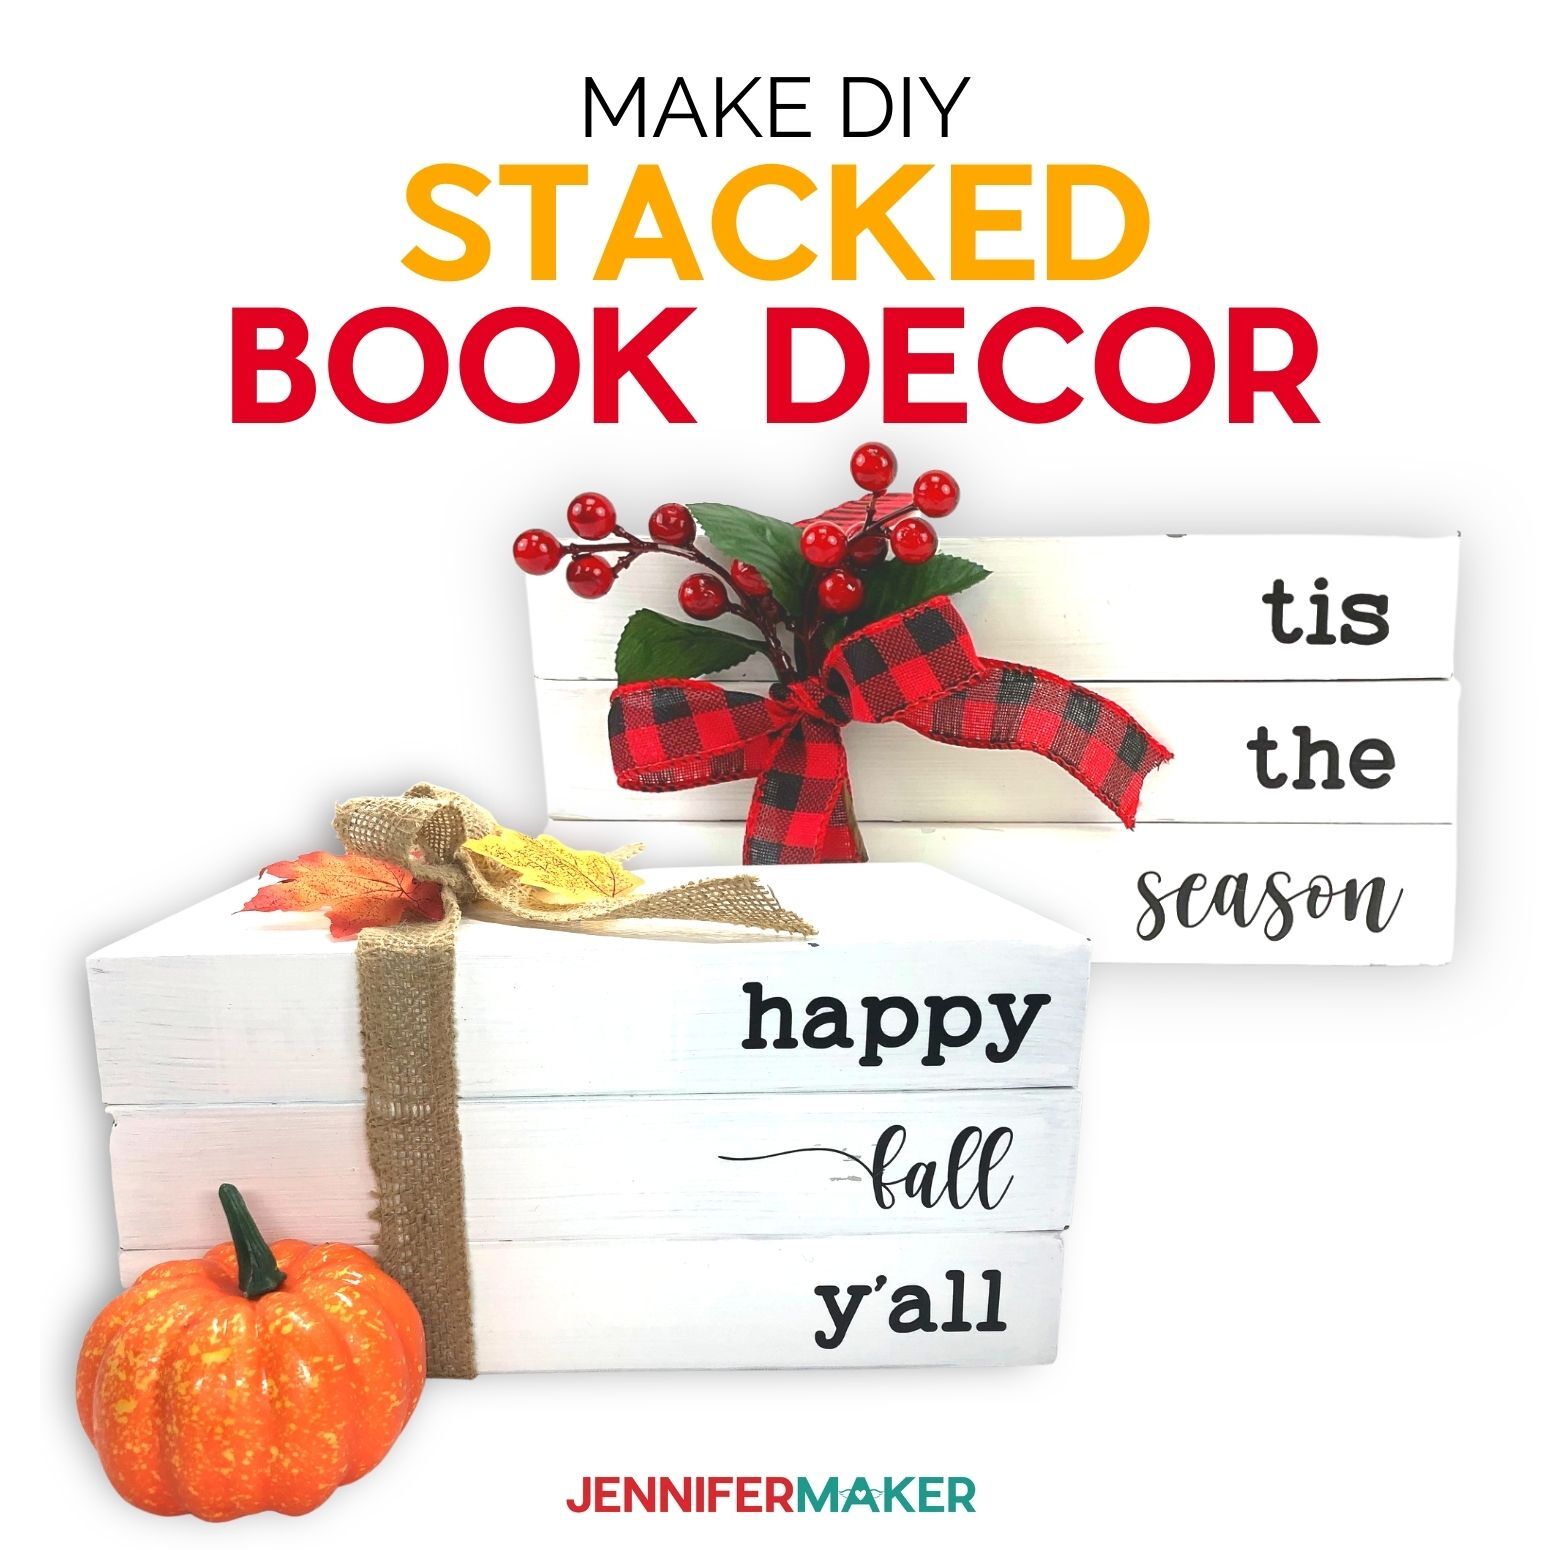
Learn how to make your own Stacked Book Decor for fall, Christmas, and year-round home decor!
These DIY Book Stacks are super popular. And just wait til you see how easy they are to make! They are also super affordable. You can use books from the Dollar store, the thrift store or you can even upcycle and use old books you have lying around the house! They make the perfect decor for your home!

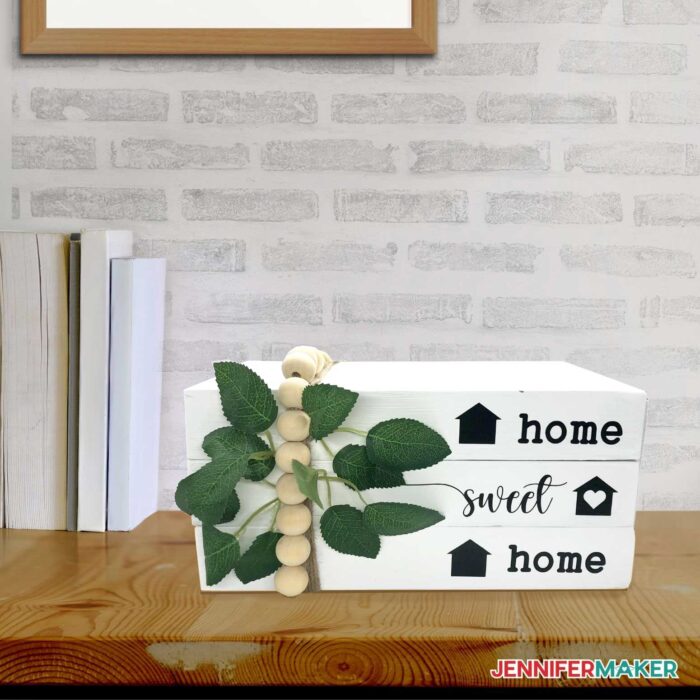
I’ve seen a few of these stacked books floating around and thought, “hey, I can make that!” I decided to try it out and was amazed at how they turned out so I decided I’d love to share these with you so that you too can have them to place in a special part of your home! What a great way to make your home feel more homey by adding “home sweet home” to the spine of your book.
The first thing we will need are a stack of books. I’m making stacks of three, but feel free to mix it up! We’ll also need some paint, foam brushes, mod podge and vinyl. I will also be adding to my stack using some pretty greenery, twine, ribbon and wooden beads for these, but there are lots of possibilities! Don’t forget a glue gun to add all the decorative trimmings to your stack.
Then of course we’ll need a Cricut Cutting machine, a mat, weeding tool, a scraper to burnish the vinyl, transfer tape, and scissors. I will also be using butcher paper to protect my work surface.
Your stacked books take a little time to prep so I recommend planning to paint your books the day before you add your vinyl and decorations to ensure that everything is dry. Also, remember not to rush through your painting. If you apply your coats too closely, the paint may clump and pull apart from the previous layer. Slow and steady wins the race and this is a project we don’t want to rush through. I want your stacked books to not only look amazing, but to also last a really long time!
You can make these to gift to a friend as a house warming gift, or even to decorate kids birthdays! I think the best part of this simple project is that you don’t have to spend a lot of money to make them and there are so many different ways you can use them. You can display a personal message, a family quote, or even just have them for seasonal decor in your living room.
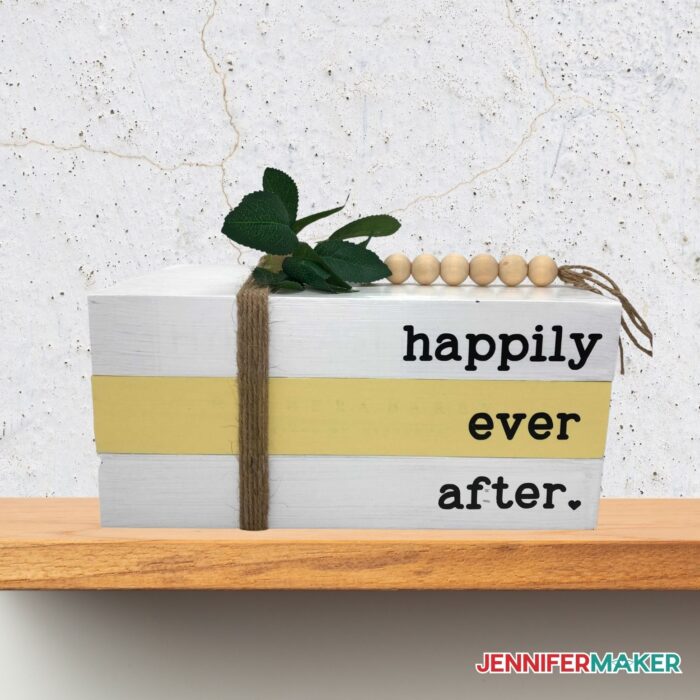
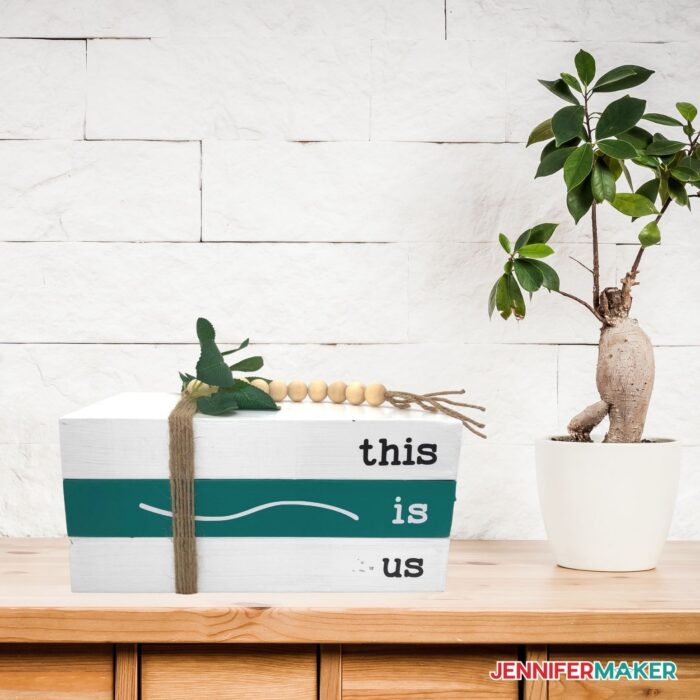
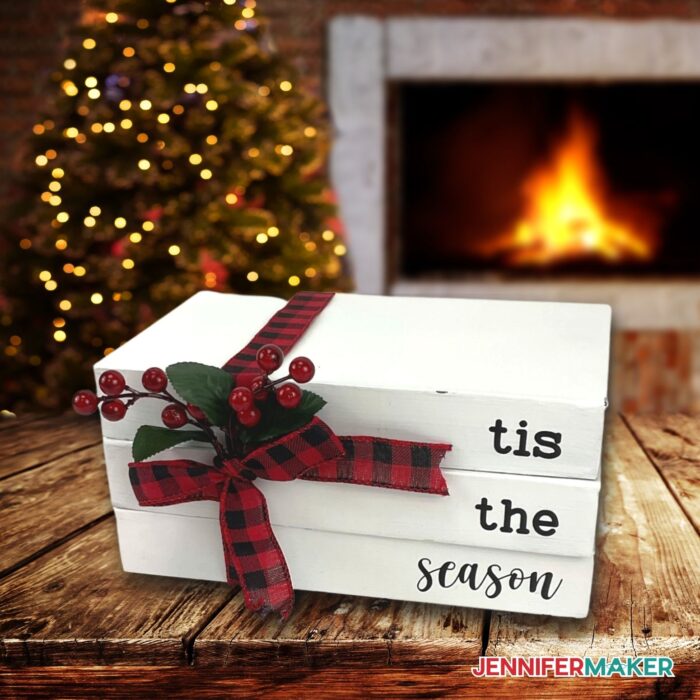
I’ve made few different designs for you to use, including this super super cute stack of books:
Here’s a supply list of what you need to make stacked book decor! This post contains some affiliate links for your convenience (which means if you make a purchase after clicking a link I will earn a small commission but it won’t cost you a penny more)! Read my full disclosure policy.
Materials to Make Stacked Book Decor
View my Amazon shopping list with the exact items we used to make this project
- Three (3) Hardback Books (Any Hardback Book Will Work or you can use Faux Decor Books)
- White Chalk Paint
- Mod Podge Matte
- Premium Vinyl – Permanent Black
- Cricut Transfer Tape
- (Optional) 4ft 1″ Burlap Ribbon, 13ft Jute Twine, Artificial Leaves, Artificial Greenery, Wooden Beads, 1″ Buffalo Plaid Burlap Ribbon, Artificial Holly)
- (Optional) Fonts (I used Baltimore Typewriter, Homework)
- Green StandardGrip Machine Mat
- Weeding Tool
- Foam Paint Brushes
- Scissors
- Scraper Tool
- Butcher Paper
- Glue Gun (Optional to Attach Decoration)
- A method to cut your vinyl – I used the amazing Cricut Maker but you can also use the Cricut Explore
- Design #323 – My free SVG/PDF/DXF design files are available in my free resource library (get the password by filling out the form at the bottom of this page)
Supplies for Stacked Book Decor Part 2:
- Three (3) – unfinished wood pieces cut from 1′ x 4′ pine wood (actual size: 6″ x 3.5″ x .75″)
- 220-Fine Grit Sandpaper
- Wood Stain (Golden Pecan)
- Mod Podge Matte
- Aleene’s Acrylic Sealer (Gloss Finish)
- Cricut Premium Permanent Vinyl (White)
- Transfer Tape
- Red Felt (Stiff)
- Red and White Twine
- Disposable Gloves
- Courier Bold Font (Cricut Design Space)
- A method to cut your vinyl words, I used the amazing Cricut Maker but you can also use the Cricut Maker 3, Cricut Explore Series, or Cricut Joy
- Cricut Green StandardGrip Machine Mat
- Cricut Pink StrongGrip Machine Mat
- Foam Paint Brushes
- Butcher Paper
- Weeding Tool
- Scraper Tool
- Cricut Brayer and Mat Remover Set
- Measuring Tape
- Scissors
How to Make Your Own DIY Stacked Book Decor
The detailed step-by-step assembly video on how to create these personalized vinyl letter decals was broadcast during Maker Academy Weekend 2021. Get a pass to watch all 20+ workshops, each with a printable handbook, transcript, audio files, design files, and support with a VIP pass below:

DIY Stacked Book Decor
Learn how to make your own Stacked Book Decor for fall, Christmas, and year-round home decor!
Materials
- 3 Hardback Books (Any Hardback Will Work or you can use Faux Decor Books)
- White Chalk Paint
- Mod Podge Matte
- Cricut Premium Vinyl - Permanent Black
- Cricut Transfer Tape
- 4ft 1" Burlap Ribbon (Optional)
- 13ft Jute Twine (Optional)
- Artificial Leaves (Optional)
- Artificial Greenery (Additional Option)
- Wooden Beads (Optional)
- 1" Buffalo Plaid Burlap Ribbon (Optional)
- Artificial Holly (Optional)
- Baltimore Typewriter Font
- Homework Font
- Design #322 - My free stacked book decor design SVG/DXF/PDF files are available in my resource library (get a password below)
Tools
- A method to cut your vinyl words, I used the amazing Cricut Maker but you can also use the Cricut Maker 3, Cricut Explore Series, or Cricut Joy
- Cricut Green StandardGrip Machine Mat 12" x 12"
- Weeding Tool
- Foam Paint Brushes
- Scissors
- Scraper Tool
- Butcher Paper
- Glue Gun (Optional to Attach Decoration)
Instructions
STEP 1: PAINT YOUR STACKED BOOKS
Making DIY Stacked Books is such a fun project. I just love that you can customize the stack to your style and how they add the perfect touch to any room in your home.
Your stacked books take a little time to prep so I recommend planning to paint your books the day before you add your vinyl and decorations to ensure that everything is dry.
So let's get started. First lay something down to protect your work surface from the paint, I used butcher paper.
I used FolkArt White Chalk Paint to paint my books. With a foam brush, apply an even layer of paint to the top and spine of your books.
After about two hours, I applied a second layer of white chalk paint. I found that two layers was enough to cover my book covers but if you can still see through your paint, go ahead and apply as many coats as you need until you get the right coverage.
TIP: Don't rush through your painting. If you apply coats too closely, the paint may clump and pull up part of the previous layer.
Once your last coat of paint is fully dry (again I waited about two hours), then you'll apply Mod Podge Matte, making sure to cover the whole surface. I also used a foam brush to apply the Mod Podge.

Your Mod Podge may appear to dry quickly but I recommend allowing your stacked books to dry overnight before putting them together and applying vinyl.
STEP 2: UPLOAD AND PREPARE YOUR DESIGN
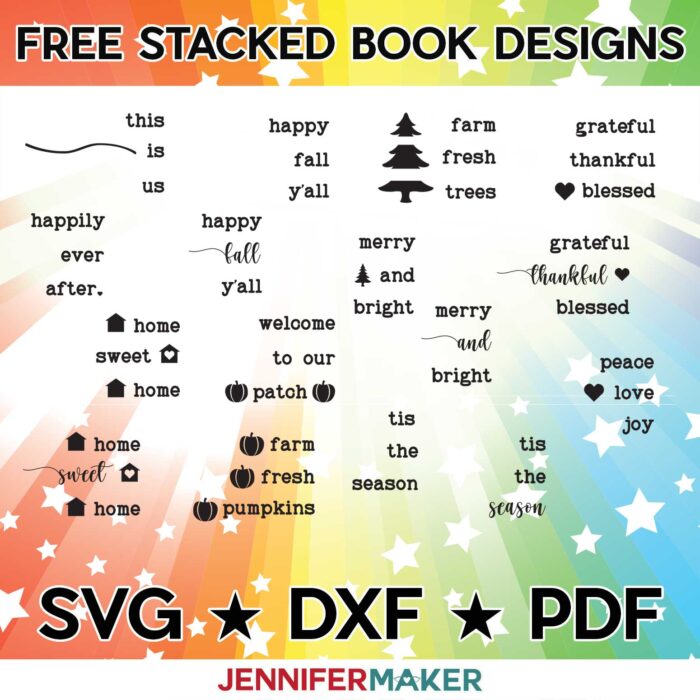
Next, time to download my Stacked Books Decor designs from my free resource library — it's design #323.
TIP: If you are not sure how to upload an SVG cut file to Cricut Design Space, watch this helpful video training series I made. If you are on an iPad or iPhone, here is how to download and upload SVG files to the Cricut Design Space app.
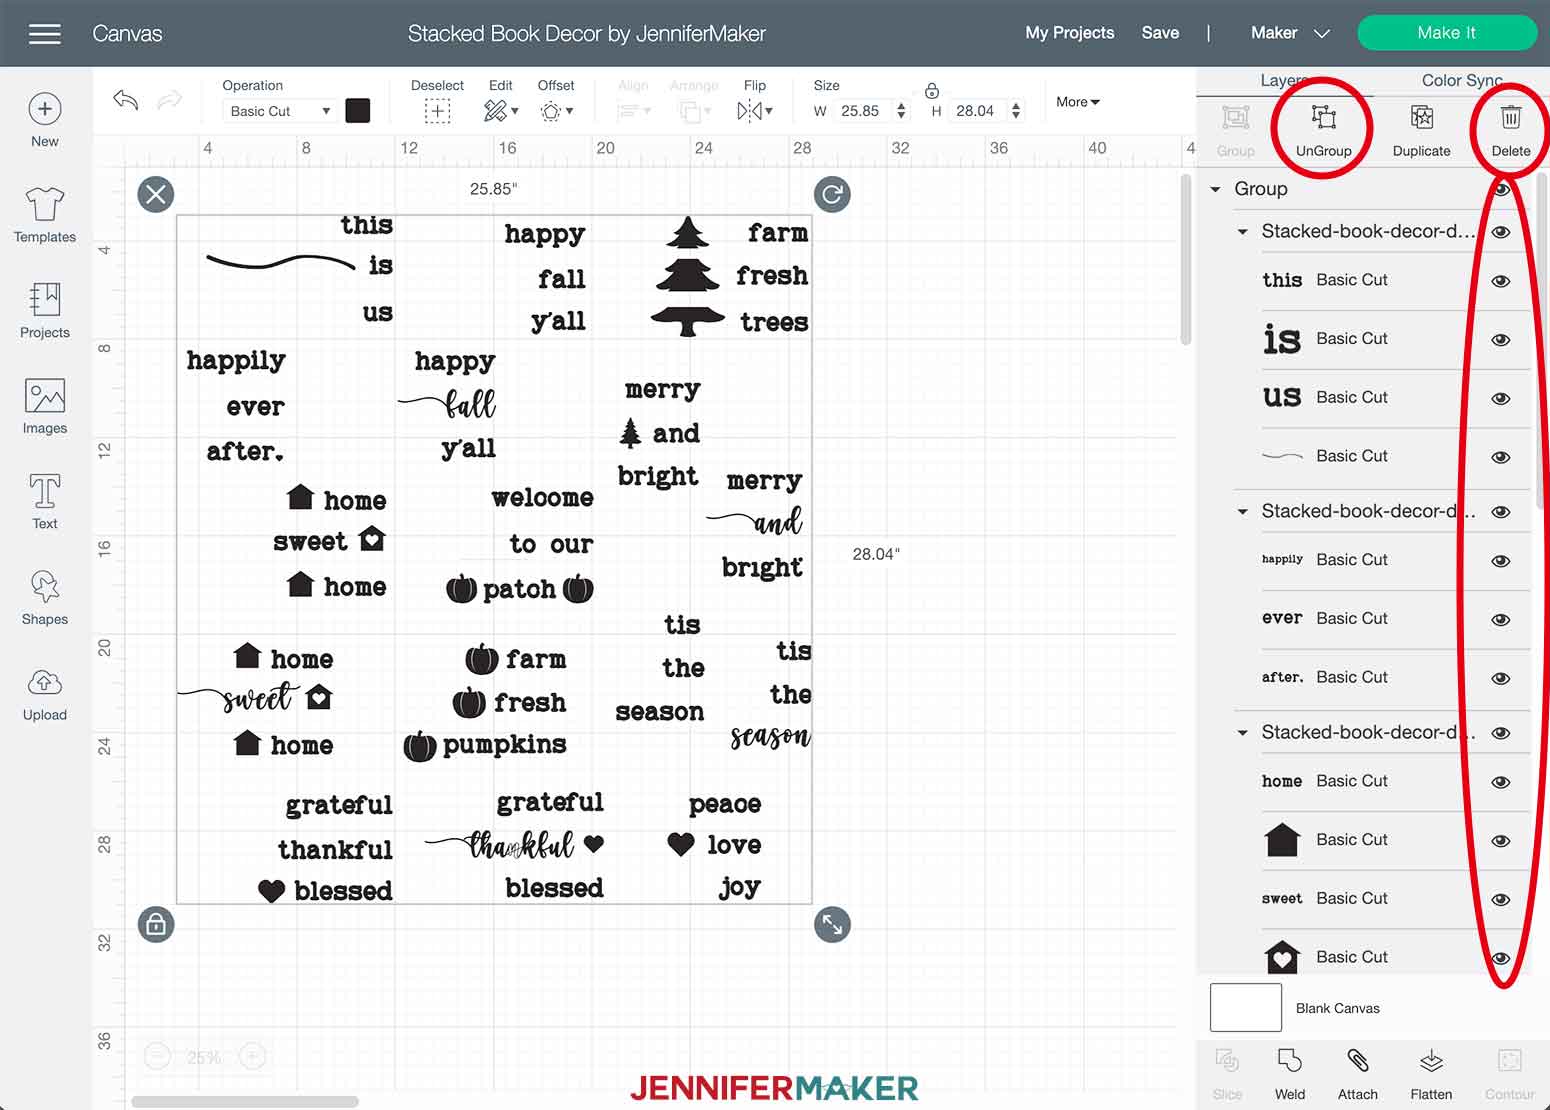
There are 16 different designs to choose from! This is what my Stacked Books Decor SVG files look like when uploaded to Cricut Design Space.

First, click ungroup so that you can hide or delete the designs that you don't want to make. Either choose "Delete" at the top of the layers panel or click on the "eye icon" to hide.
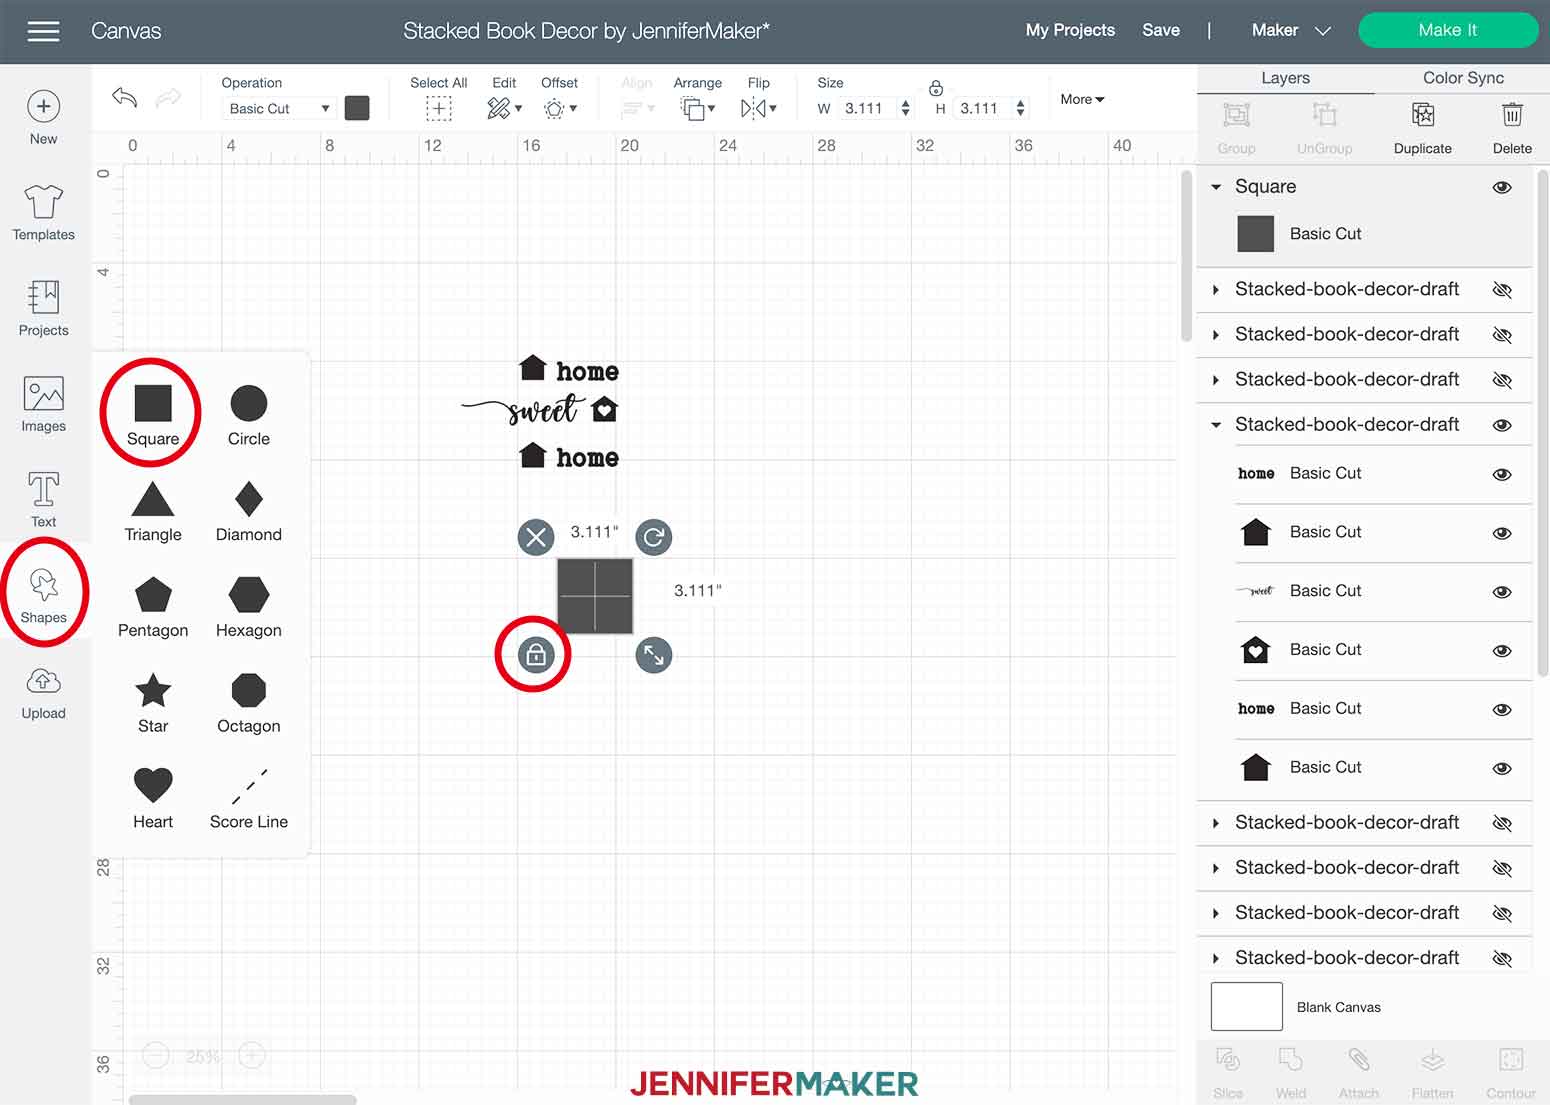
The spine of one of my books is 1 5/8" thick. If you are using something different, be sure to measure the spine so that you can resize your designs accordingly.
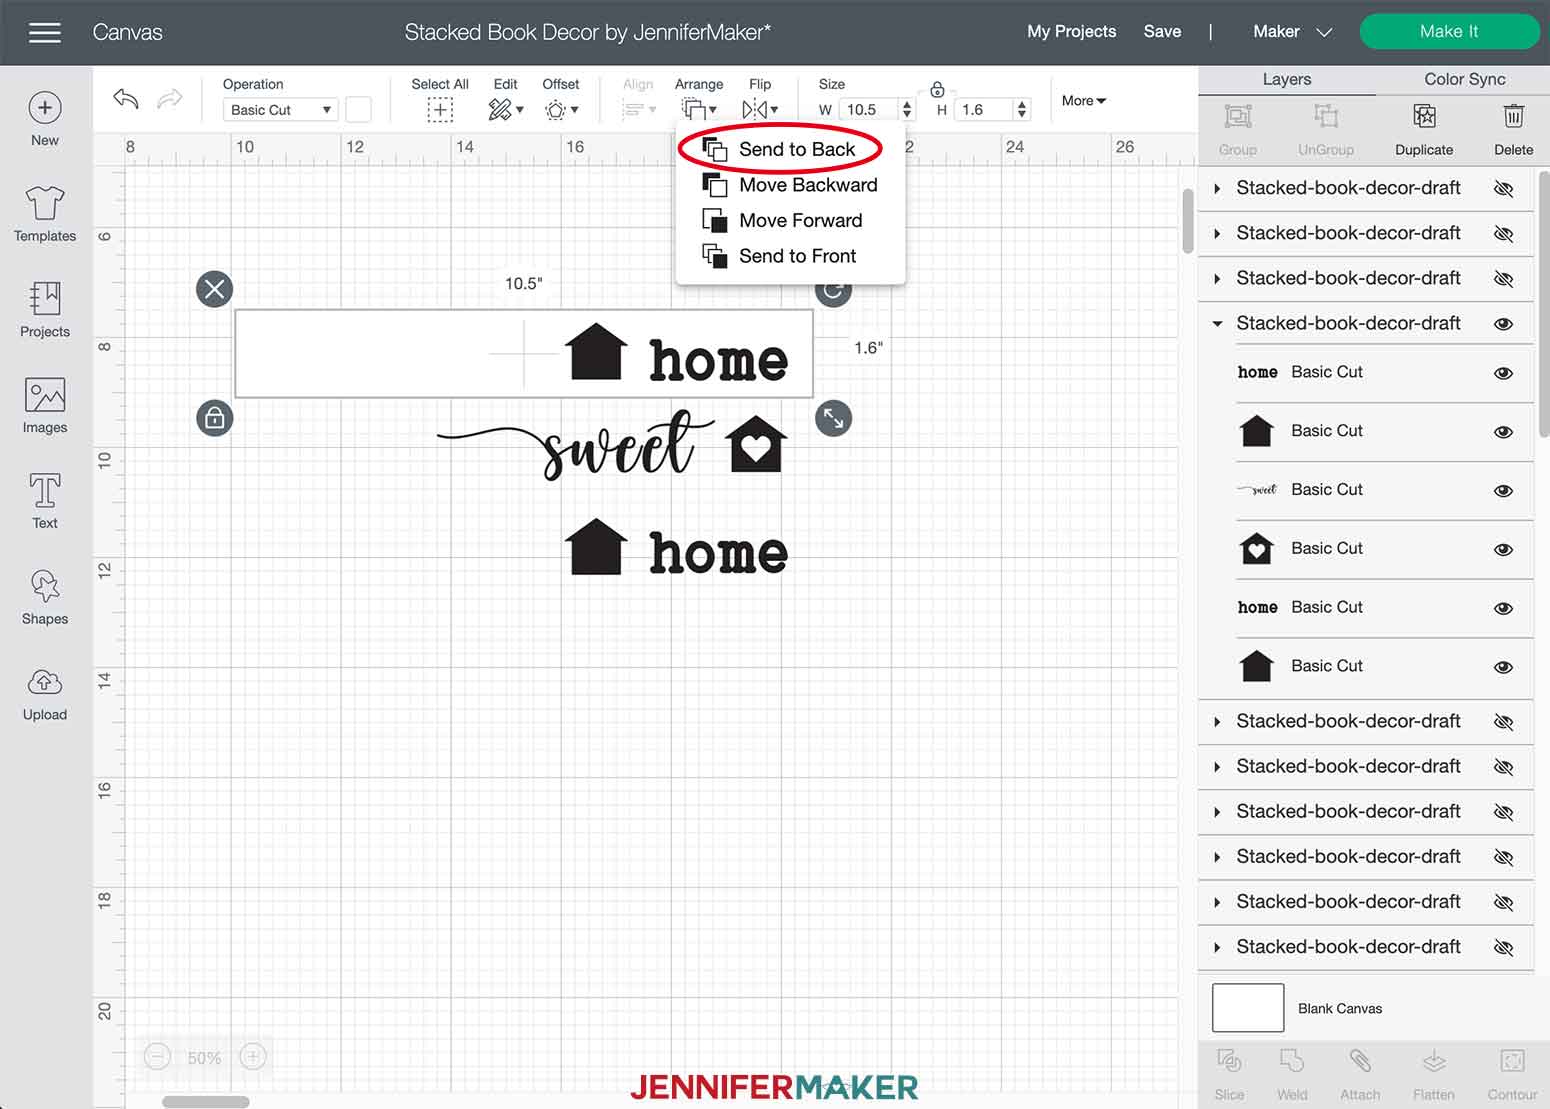
TIP: You can use a rectangle shape and size it to the dimensions of your book spine to visualize how your design will look on your books. To do this, click Shapes, then select Square. Click unlock and change your dimensions to match your book spine. I changed the rectangle to white and then clicked "Arrange" and "Send to Back."
The fun thing about Stacked Books Decor is that you can create any wording you'd like! I used the fonts Baltimore Typewriter and Homework. You can download any typewriter font to make your own designs! Here are some free options at dafont.com.
TIP: Need help installing a font in Cricut Design Space? Check out this video and blog post I made that explains everything step by step.
Once you've sized your designs correctly and deleted or hidden what you don't want to make, click on Make It in the upper right corner.
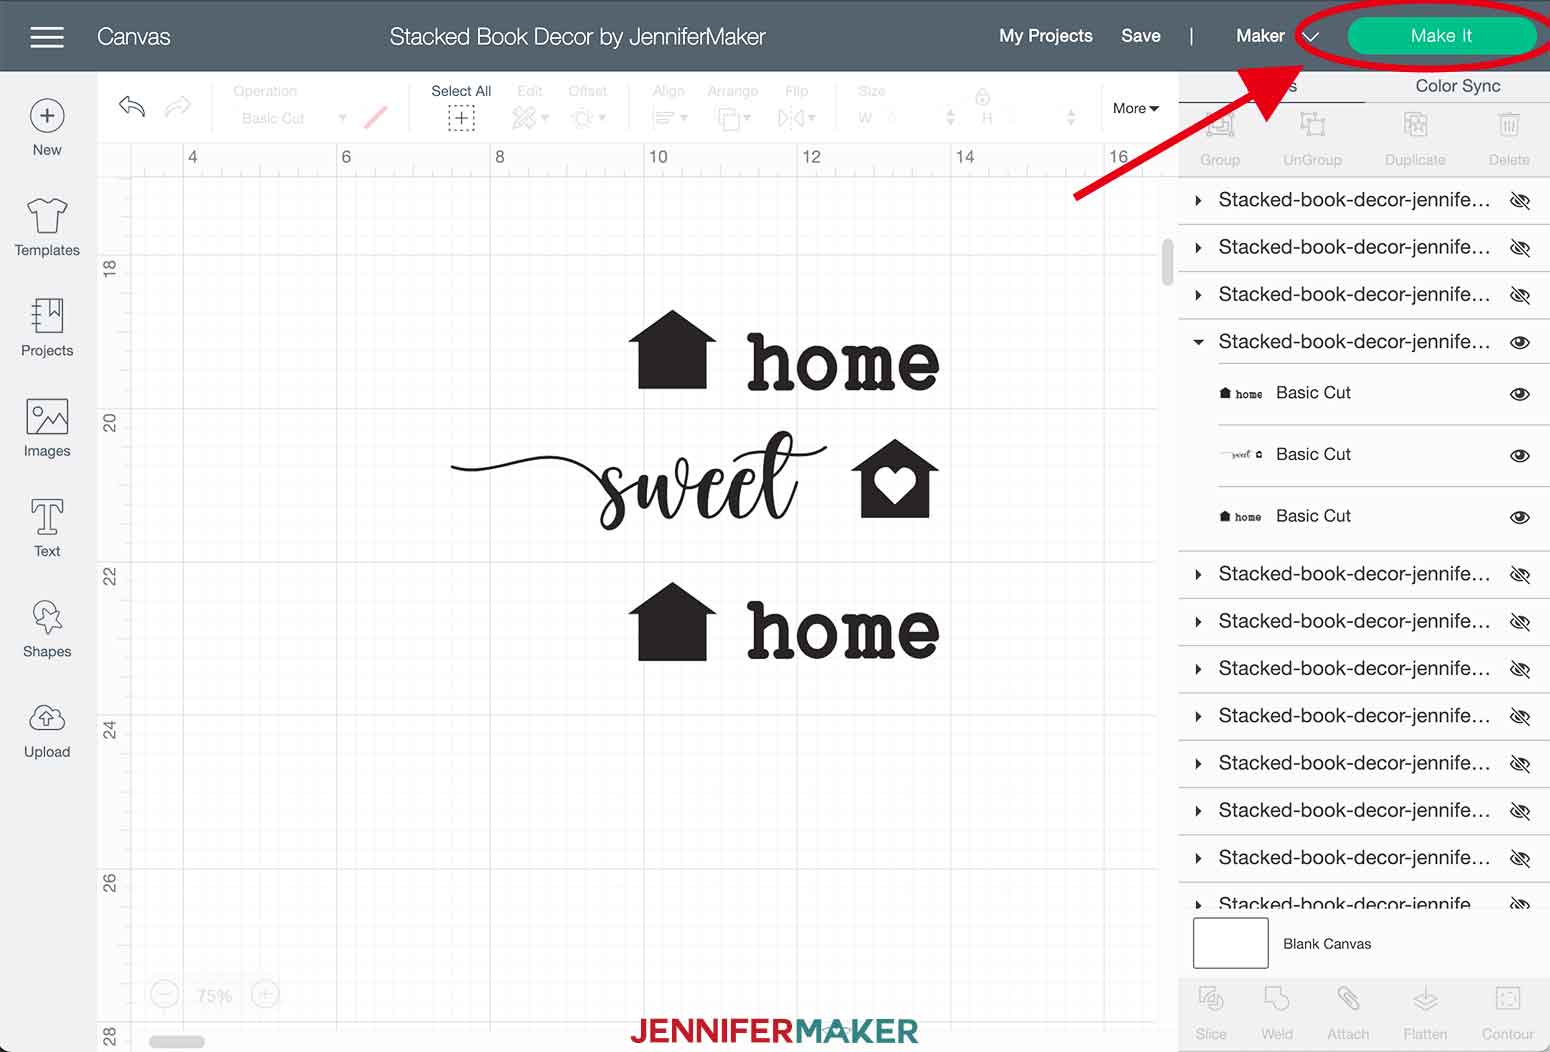
On the next screen, you do not need to make any changes. It is okay that the words are not attached because we're going to cut them apart when we apply them to the books. Click Continue in the bottom right corner.

Select your material. I am using Cricut Smart Permanent Vinyl (or you can use Cricut Premium Vinyl Permanent). I recommend cutting your design with More pressure.

Time to put your Cricut to work and cut your design!

STEP 3: APPLY YOUR DESIGN AND DECORATION
Once your Cricut is done cutting your vinyl, unload the vinyl and flip your Machine Mat over to remove your vinyl. This keeps it from curling.

Next, cut your design apart so you have the three separate pieces that you are going to apply. Time to weed your design! Remove all of the excess vinyl and remember to get all of the pieces inside some of the letters, too! These are called counters.
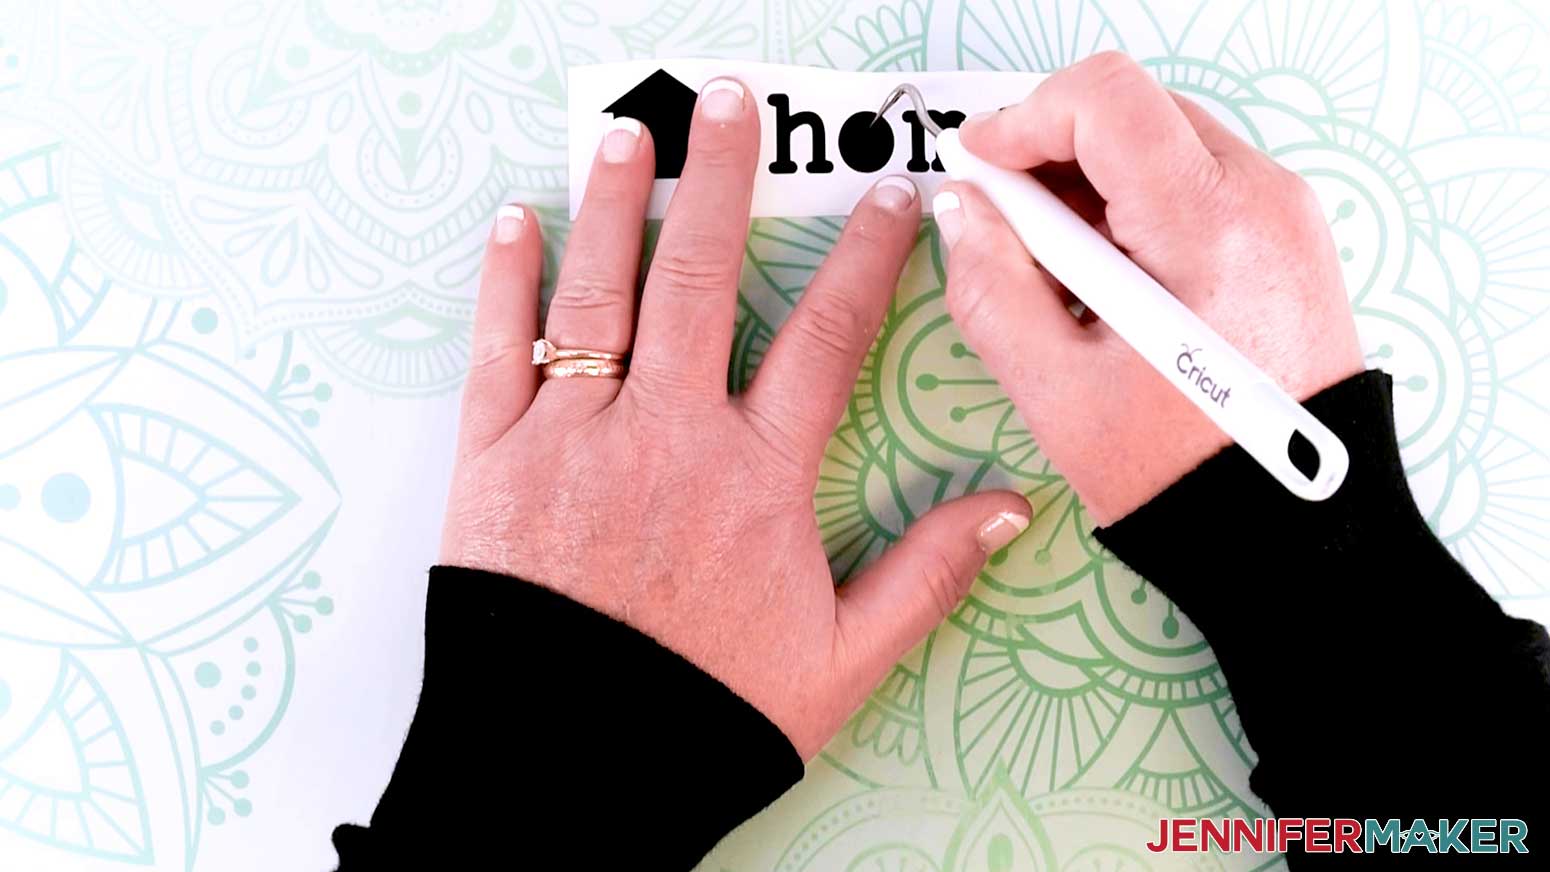
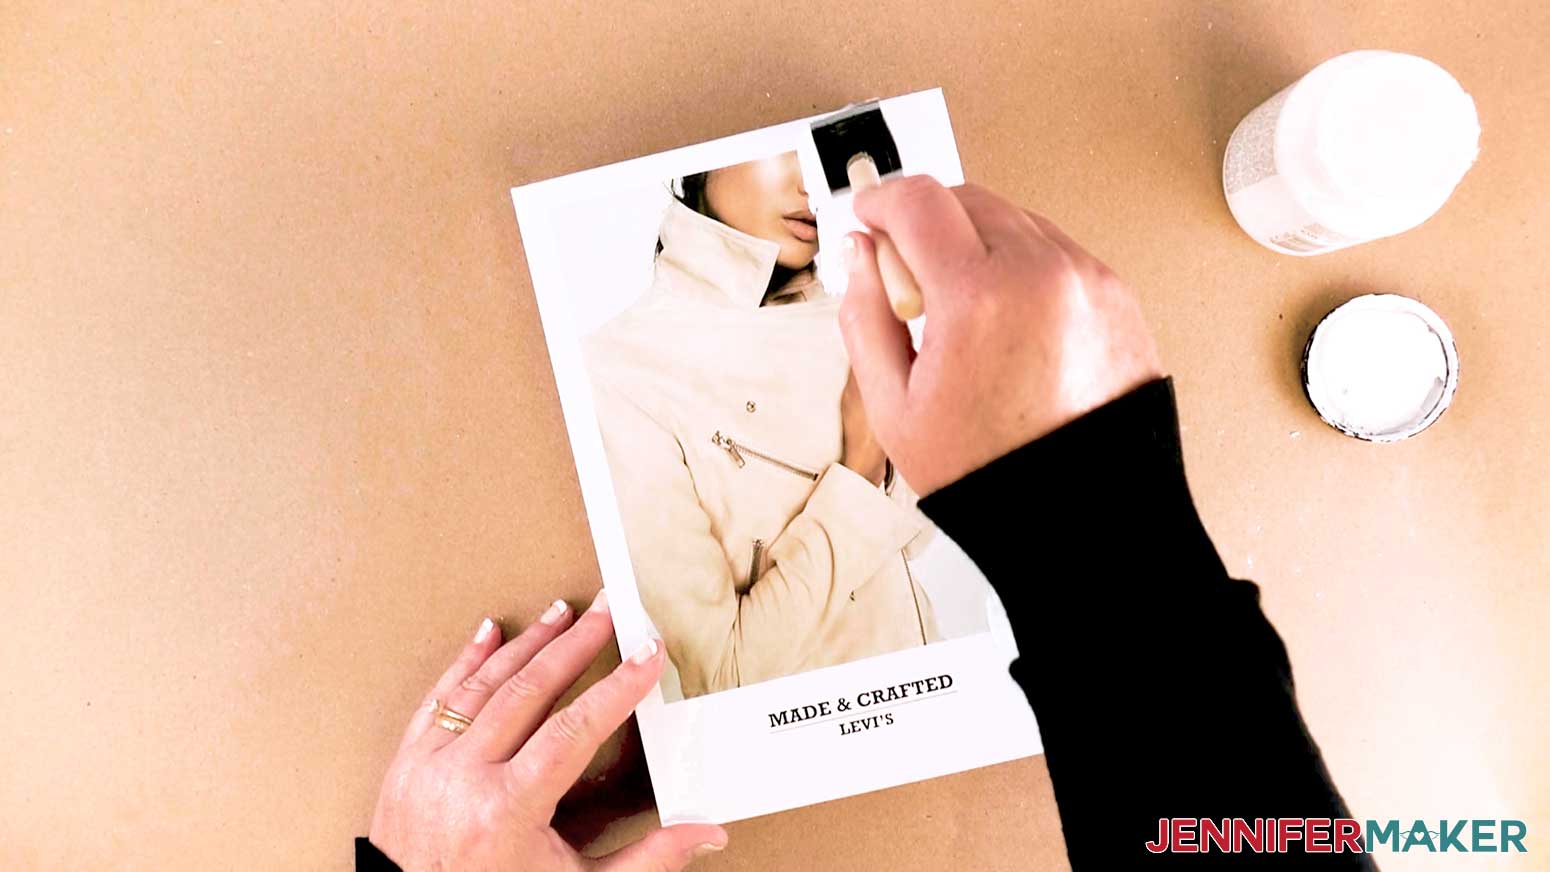
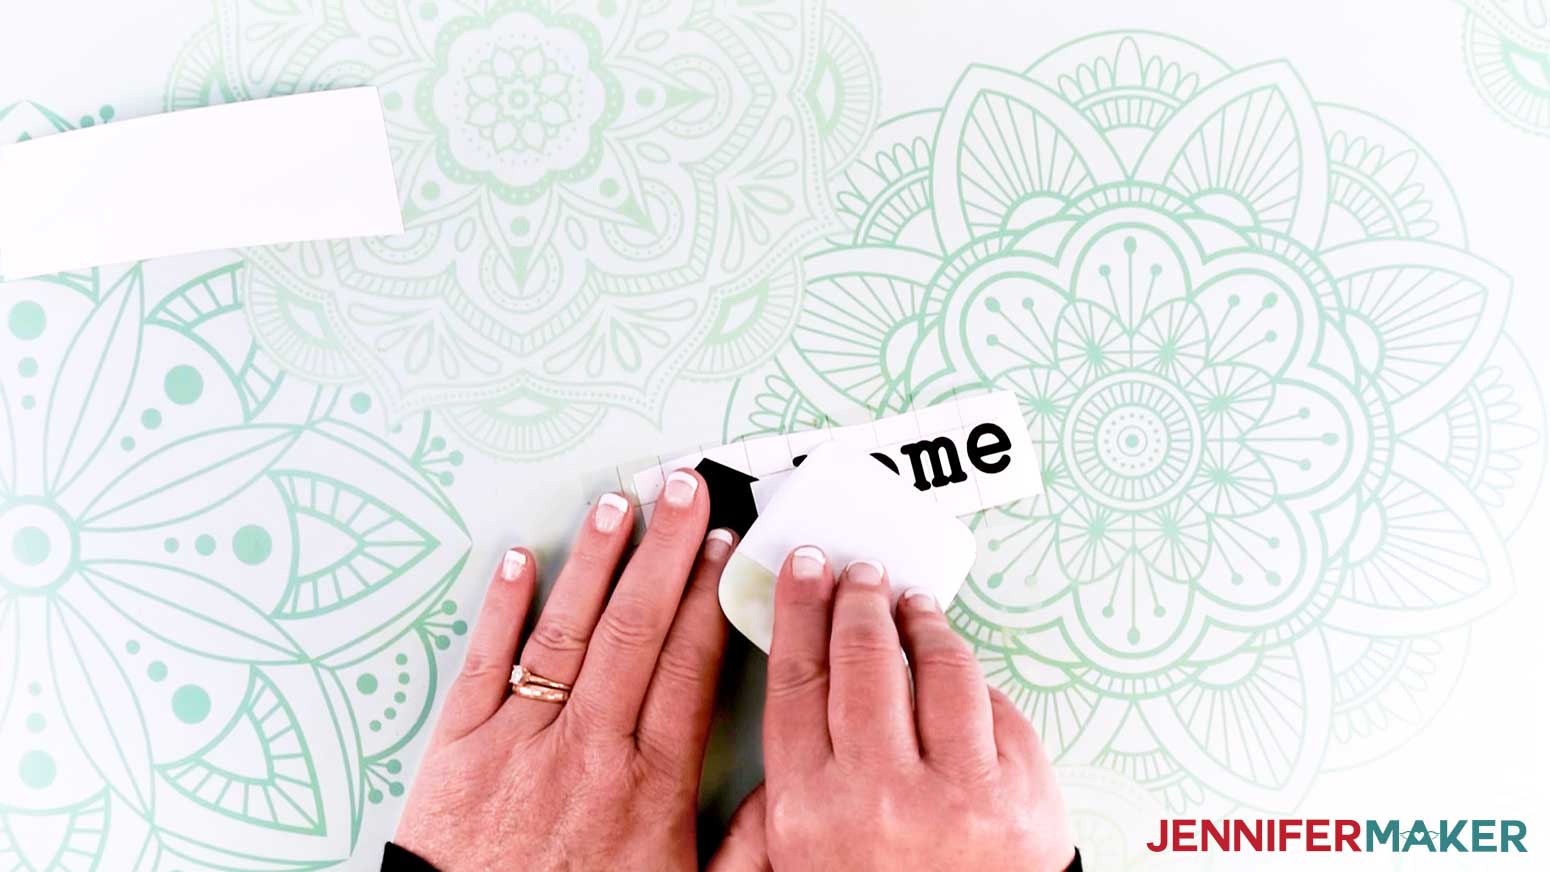
We are only going to apply one word at a time. Apply a piece of Transfer Tape over one word and peel away the backing of the permanent vinyl.
TIP: If you are have trouble removing your backing, use your scraper tool to burnish the design to the transfer tape.
![]()
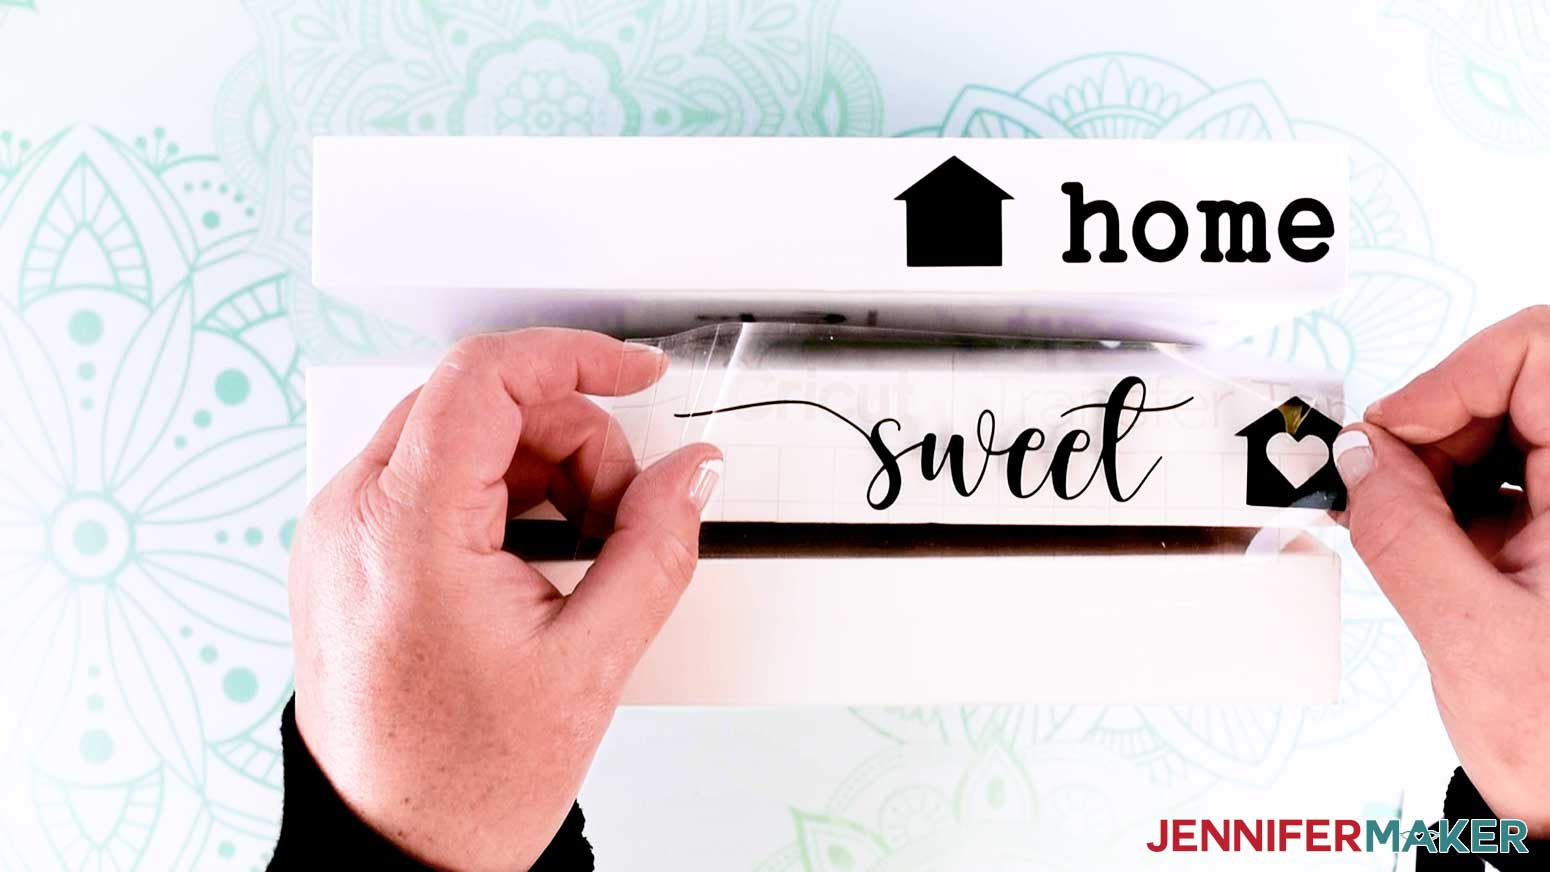
Apply your design to your book spine and remove the Transfer Tape. If your design peels away with the Transfer Tape, use your scraper to burnish the vinyl onto the book spine. Repeat these steps to apply all of your designs. I chose to align my words to the right but feel free to align them however you like best!
TIP: I found it easiest to stack the three books standing up when applying the vinyl to visually see the alignment as I placed the words.
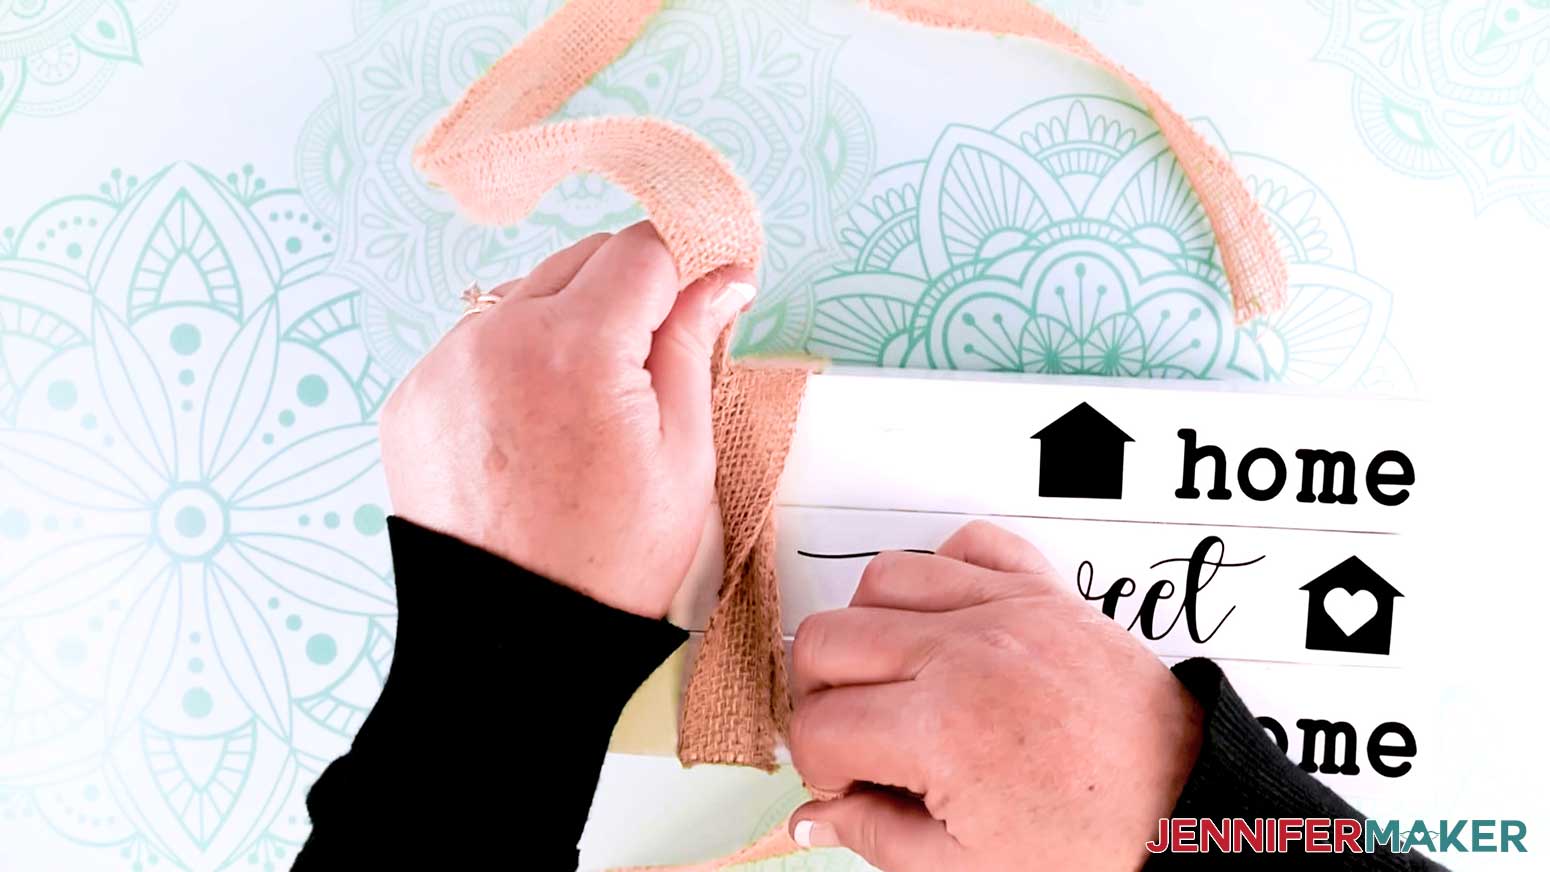
Once your vinyl is applied, it is time to decorate your Stacked Books Decor. You can use burlap ribbon, jute twine, wooden beads, artificial greenery and more! There are so many options to get creative with.

MAKING A BURLAP BOW: I cut about 4ft of burlap ribbon for the wrap and bow. Wrap your ribbon around your stack and allow extra to tie your bow. This bow is really simple, like you'd tie shoes, but feel free to make yours more elaborate.
MAKING A JUTE TWINE WRAP: I wrapped my jute twine six times around my books and tied the ends together in a bow just like the one above. The total length of my twine wrapped around and tied was 13ft.
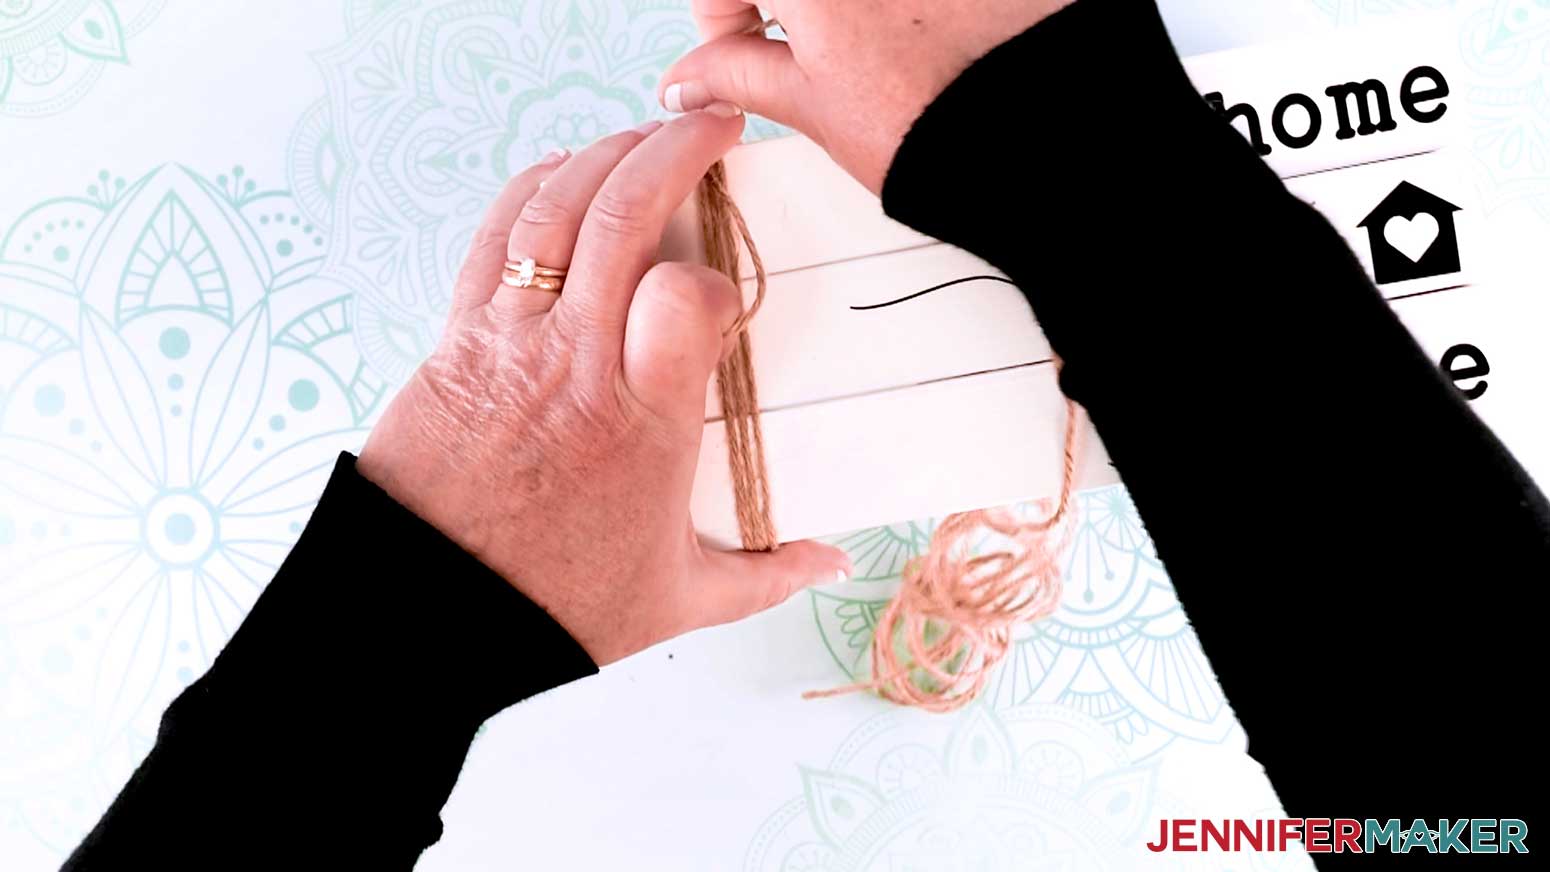
Once your ribbon/twine is wrapped. You can attach a strand of wooden beads, a holly branch, or artificial leaves.
Notes
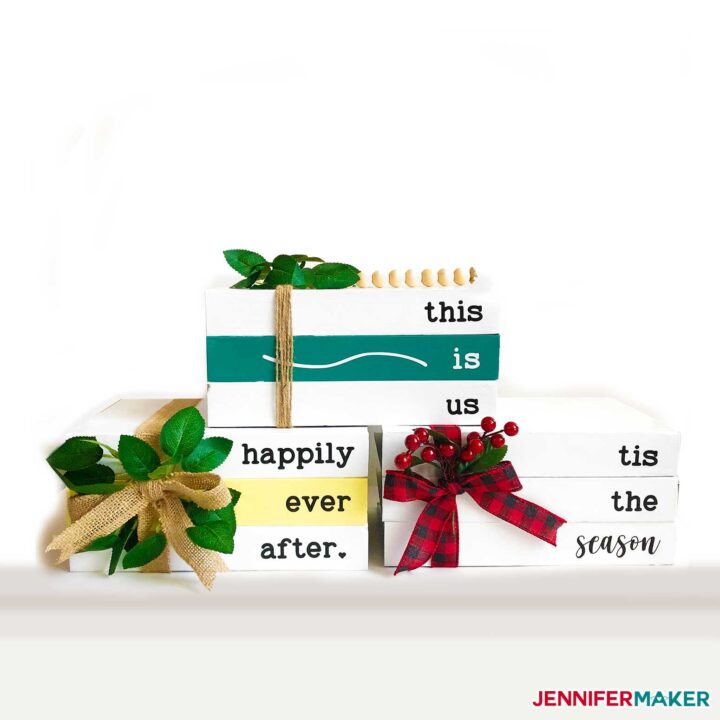
Look at how amazing these look to add to your holiday decor! I really love how the faux holly and plaid bow made the books look more put together. You can add any quote you’d like to the book spine and also place more books if you’d like to add a longer quote. There are so many possibilities!
Another fun idea is to add your family names, your last name, or even the date of your wedding to the stacks of books. I love the personalized look of that and love that it makes a house feel more like home. I think I will try that out next!
Answers to Your Questions About How to Make DIY Stacked Book Decor
Q: Where is your tutorial for this project?
This is a special project we made for our free Maker Academy Weekend event! A complete and detailed step-by-step video premiered during the event November 4-7, 2021. Get access to the workshop video and printable workbook with a VIP Pass to Maker Academy Weekend 2021, which comes with other perks and bonuses, too!
Q: Where can I get books for this project?
Your local thrift store or dollar store is a great place to find inexpensive books you can re-use and upcycle!
Get the free designs for my Stacked Books!
I love seeing what you make with my designs and how you use them! Please share a photo of your stacked book decor in our Facebook group or tag me on social media with #jennifermaker.
Love,

Want to remember this? Save this DIY Stacked Book Decor Tutorial to your favorite Pinterest Board!