
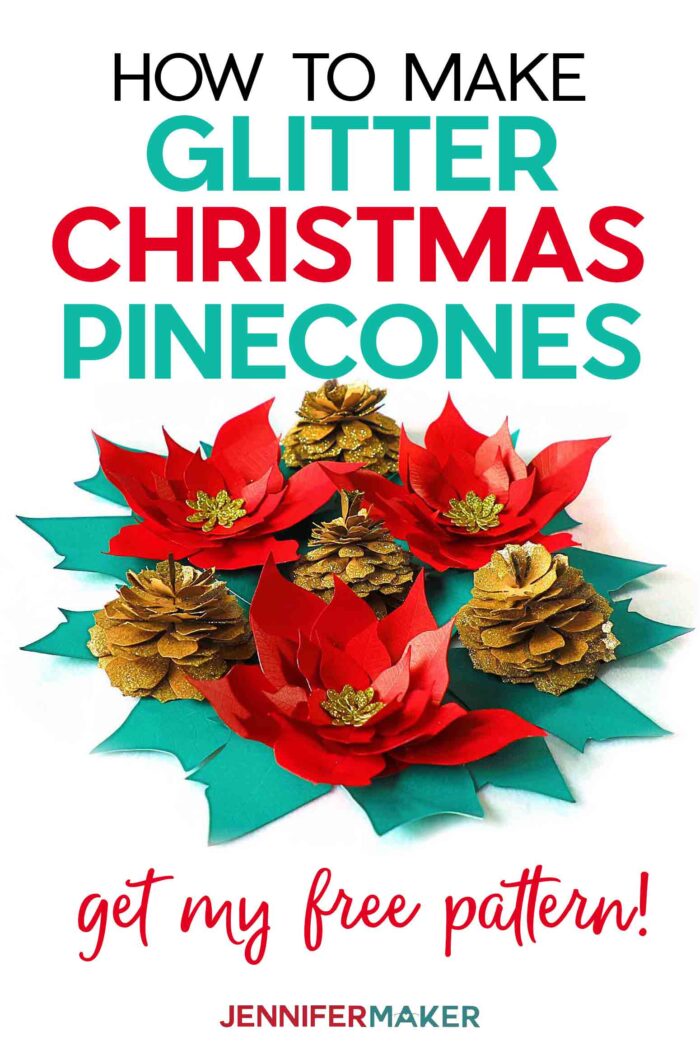
Learn how to make these life-like glittery Christmas Pine Cones out of paper! This easy project is a great addition to holiday decor!.
Quick and easy holiday decorations are always fun to create, and these easy Christmas Pine Cones will add a fun sparkle to your holiday! It’s just a couple sheets of cardstock, a sprinkle of glitter, and a dash of glue to make this magic happen! Make these pine cones small, or make them big! So for Day 9 of The Great Maker 25-Day Gift-Away Challenge, I am showing you how to make beautiful Christmas Pine Cones!

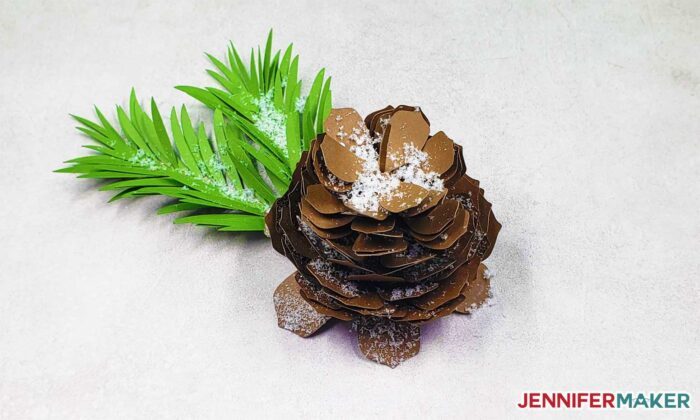
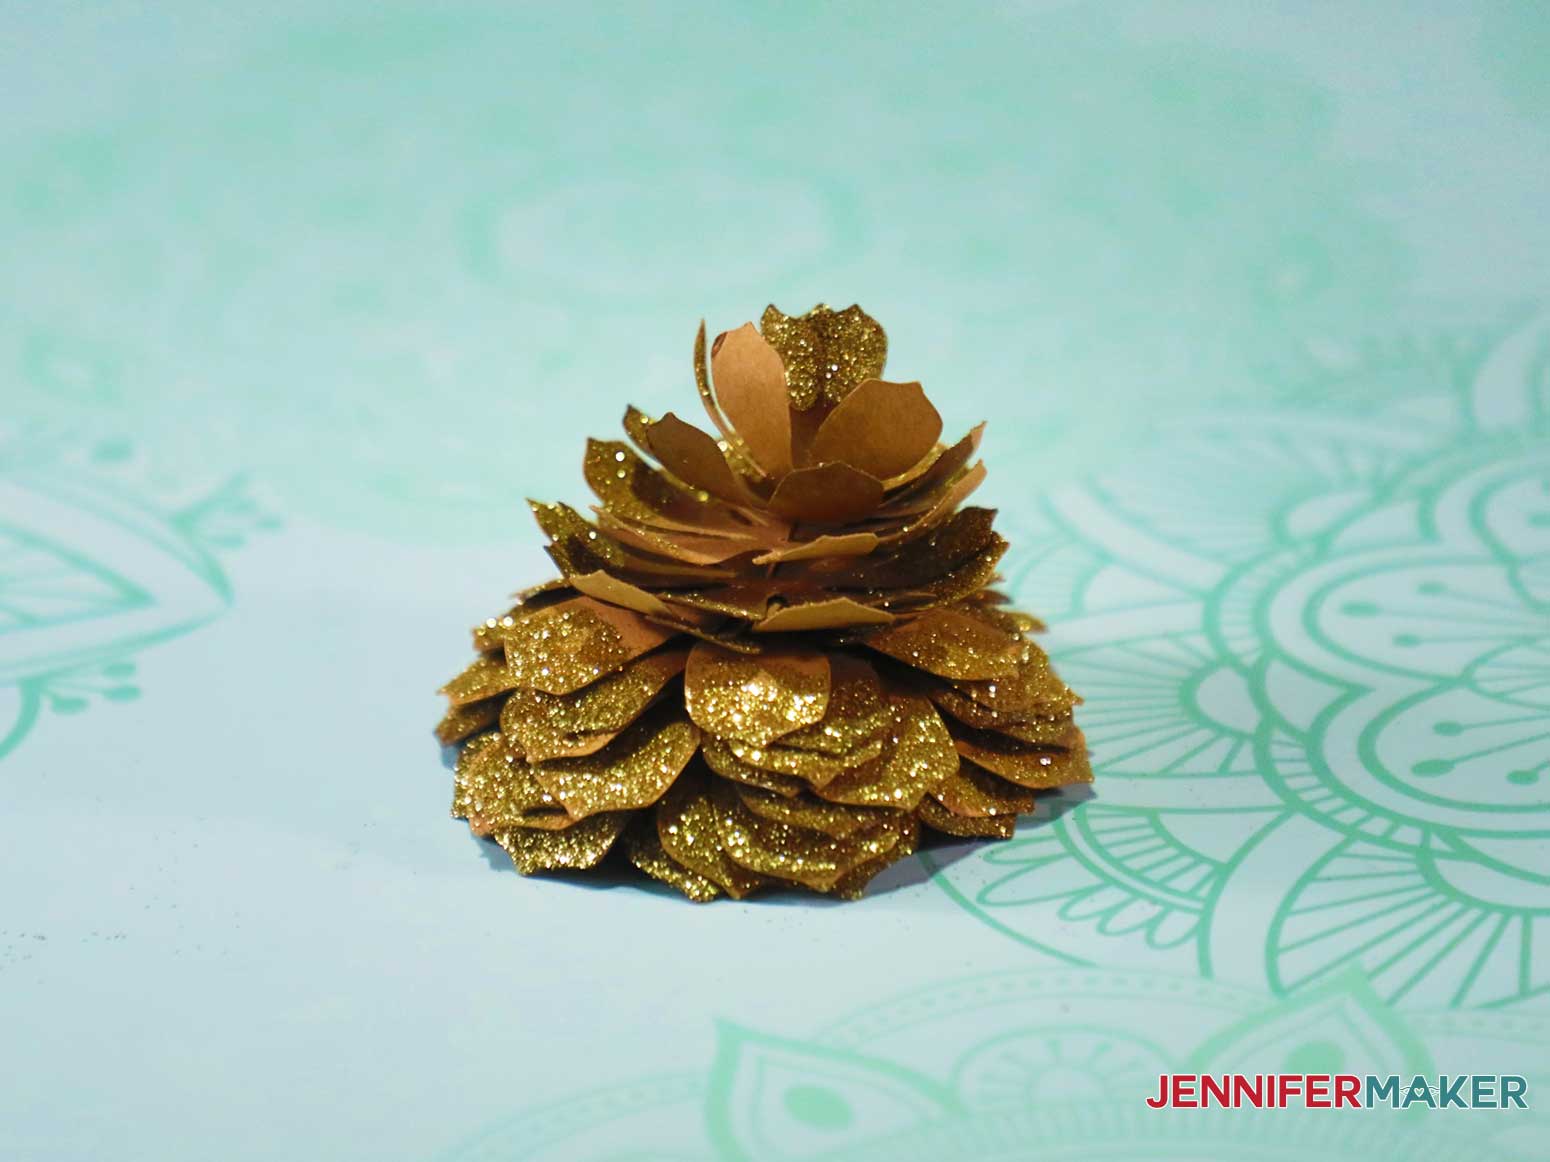
For this pine cone project, I used two sheets of12″ x 12″ 65 lb. textured cardstock in two shades of brown. The textured cardstock gives your pine cone a more interesting appearance. Don’t have two shades of brown? No problem — they look great with just one, too! Here’s a photo of a simple paper pine cone in basic brown:
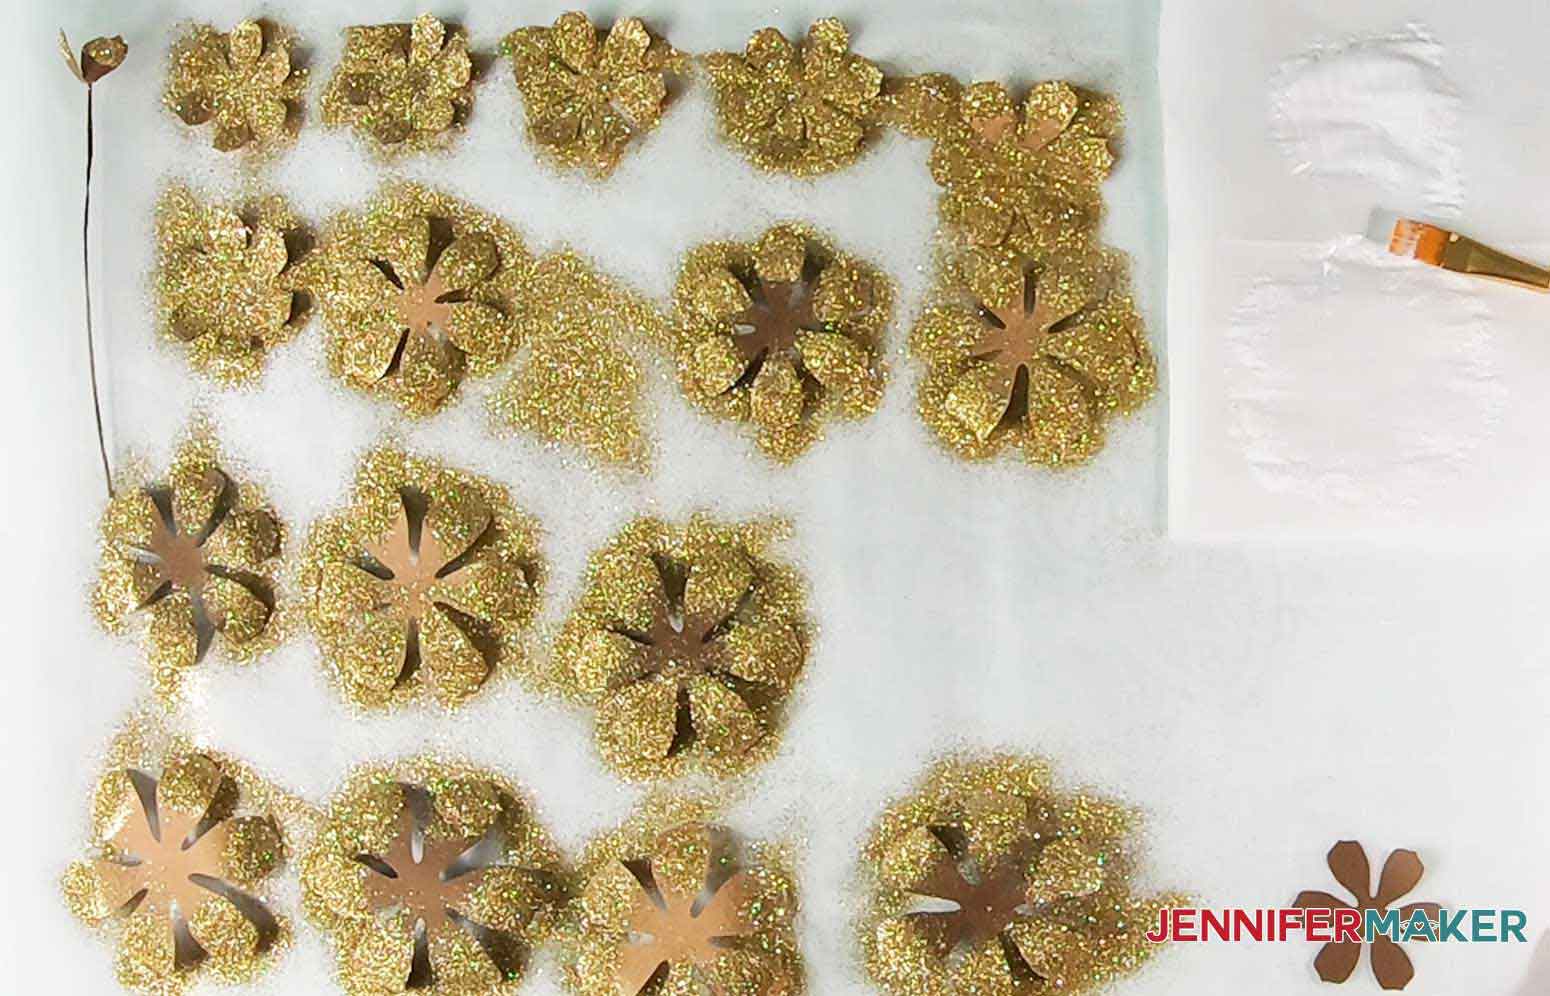
To fancy up the pine cones, you can use gold extra fine glitter on the pine cone scales for a more festive look. Now, glitter is fun … until it’s EVERYWHERE! So to avoid glitter mishaps, use a sheet of parchment paper or wax paper underneath your work area to collect all of the glitter to avoid a giant mess. You can thank me later!
Beyond this, you just need some tacky glue to put it all together and a couple of paintbrushes.
I cut these pine cones on my Cricut cutting machine, but you could also cut them by hand, of course.
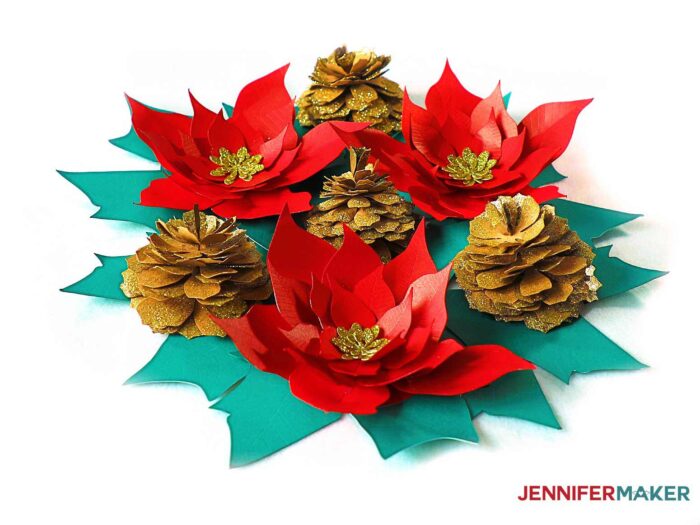
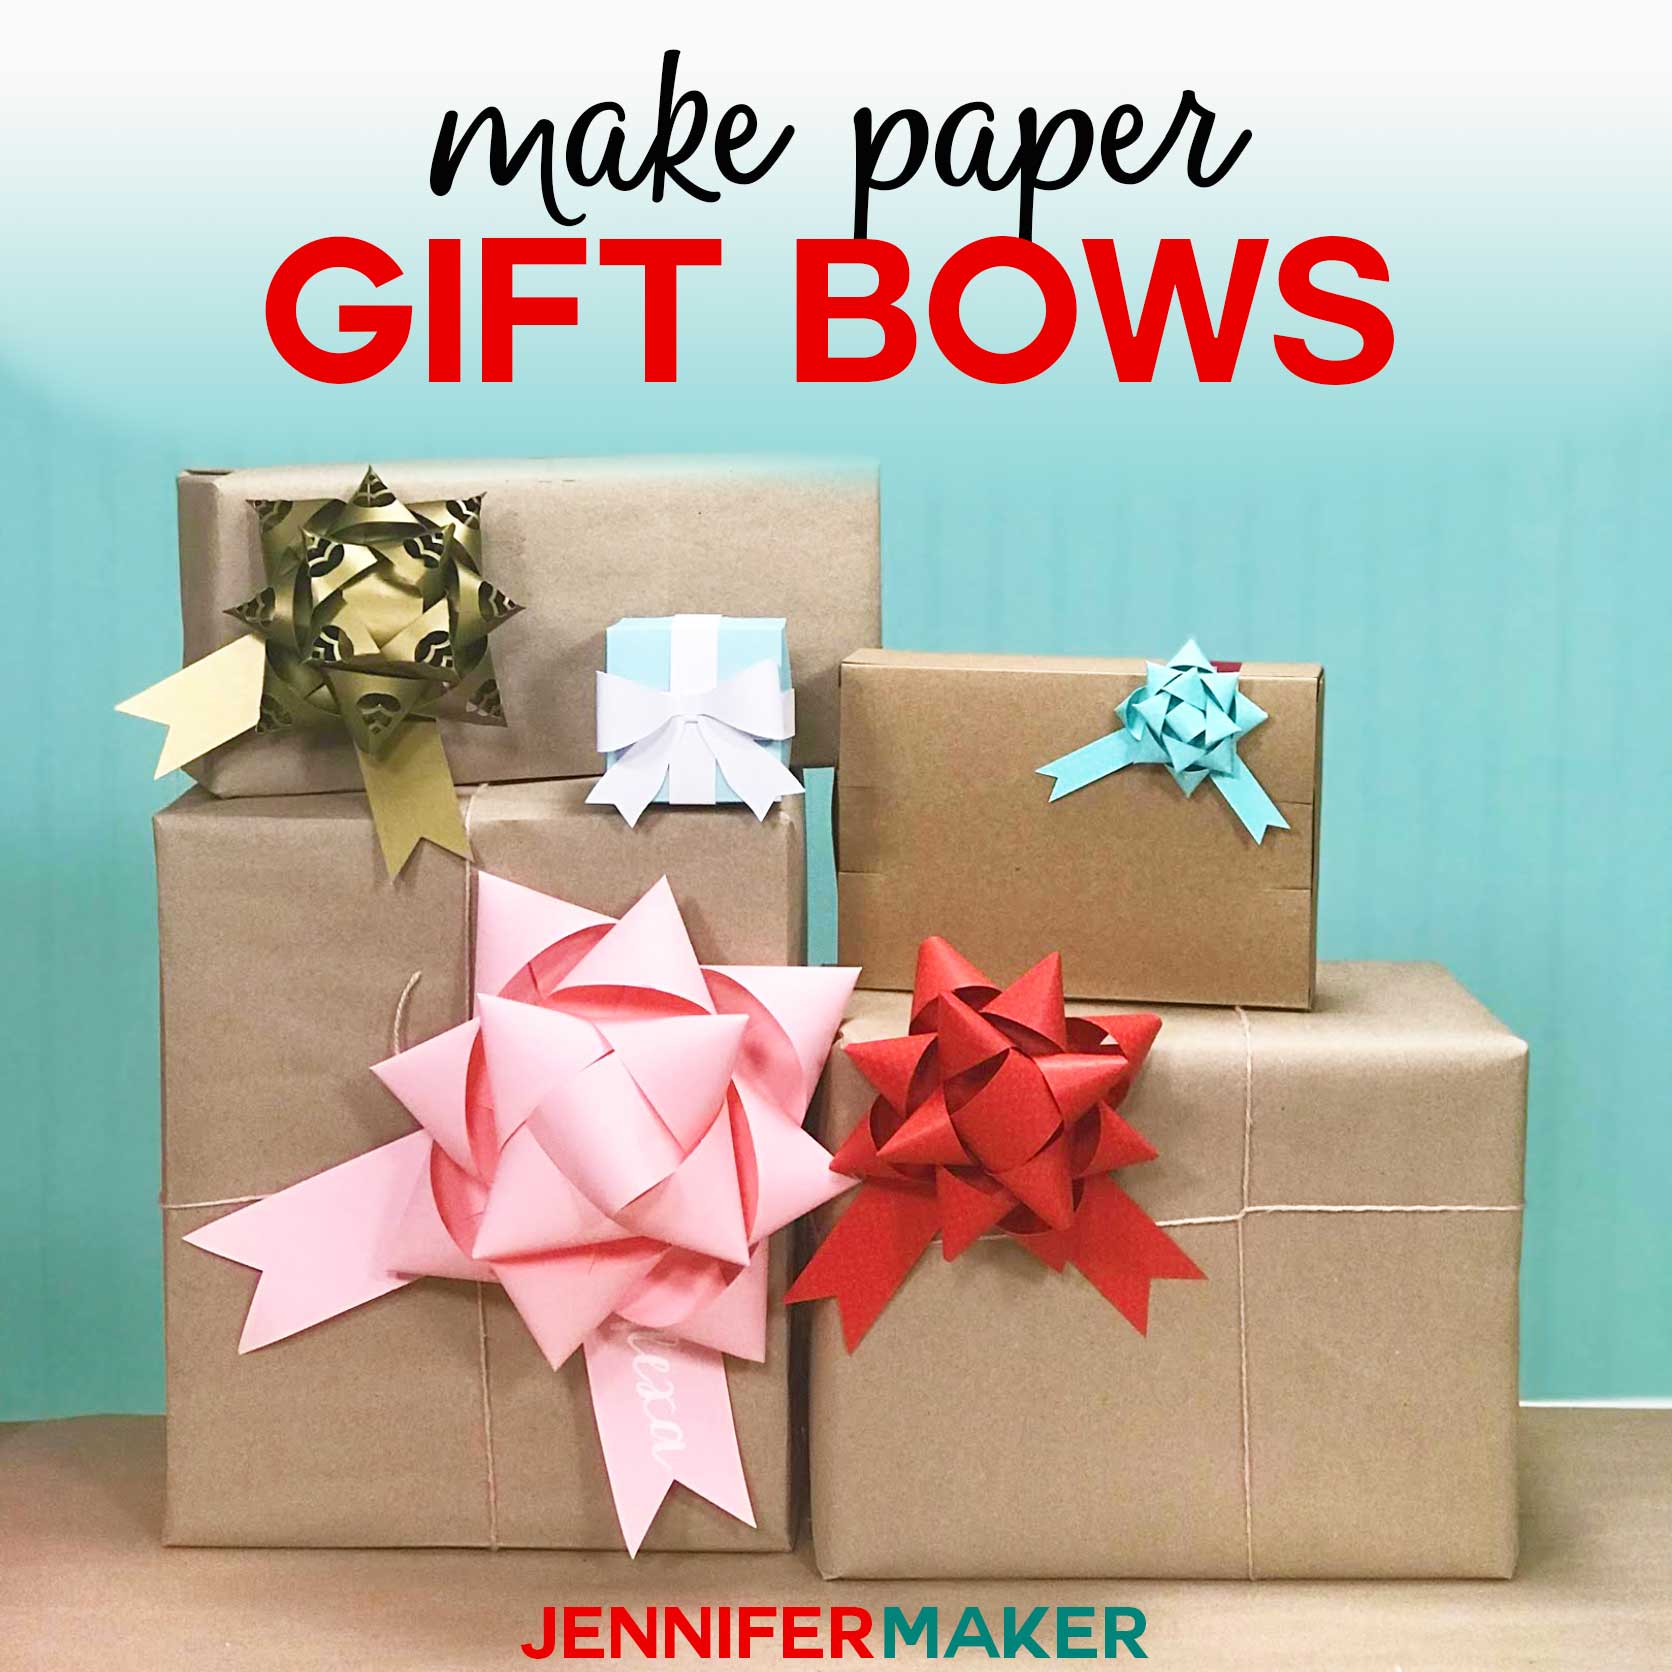
Here are the pretty pine cones with my paper poinsettias (get the free tutorial and pattern for those here!).
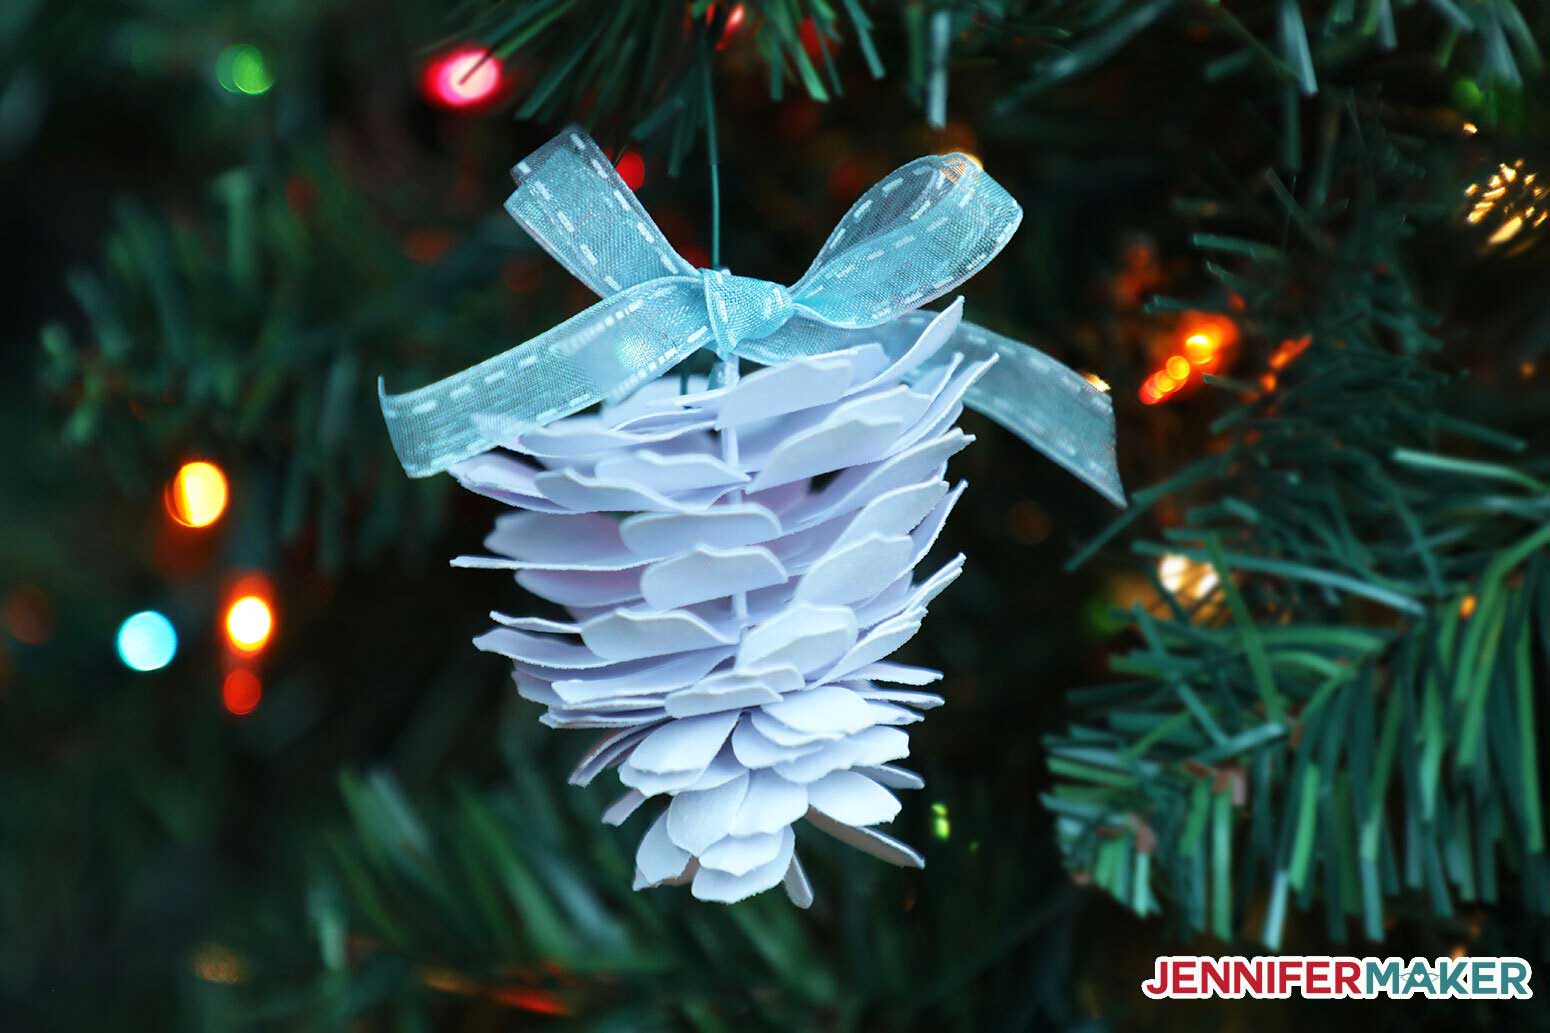
Put them in a centerpiece, or hang them on a tree like this one made by Kelly, a “design fairy” on my team:

Let me show you how easy it is to make these Christmas Pine Cones! This post contains some affiliate links for your convenience (which means if you make a purchase after clicking a link I will earn a small commission but it won’t cost you a penny more)! Read my full disclosure policy.
Materials to Make Glittery Christmas Pine Cones
View our Amazon shopping list with the exact items we used to make this project!
- Two sheets of 65 lb. textured 12” x 12” cardstock in contrasting brown colors (This is the exact brand I used)
- Glitter (gold, extra fine)
- Tacky glue
- StandardGrip Cutting Mat
- Flat Paintbrush
- Teflon Sheet or Parchment Paper (for containing your glitter)
- A way to cut your paper (I used the Cricut Maker cutting machine but this can also be cut on a Cricut Explore)
- Design #260 – My free SVG and printable PDF design files (available in my free resource library—get the password by filling out the form at the bottom of this page)
How to Make Christmas Pine Cones
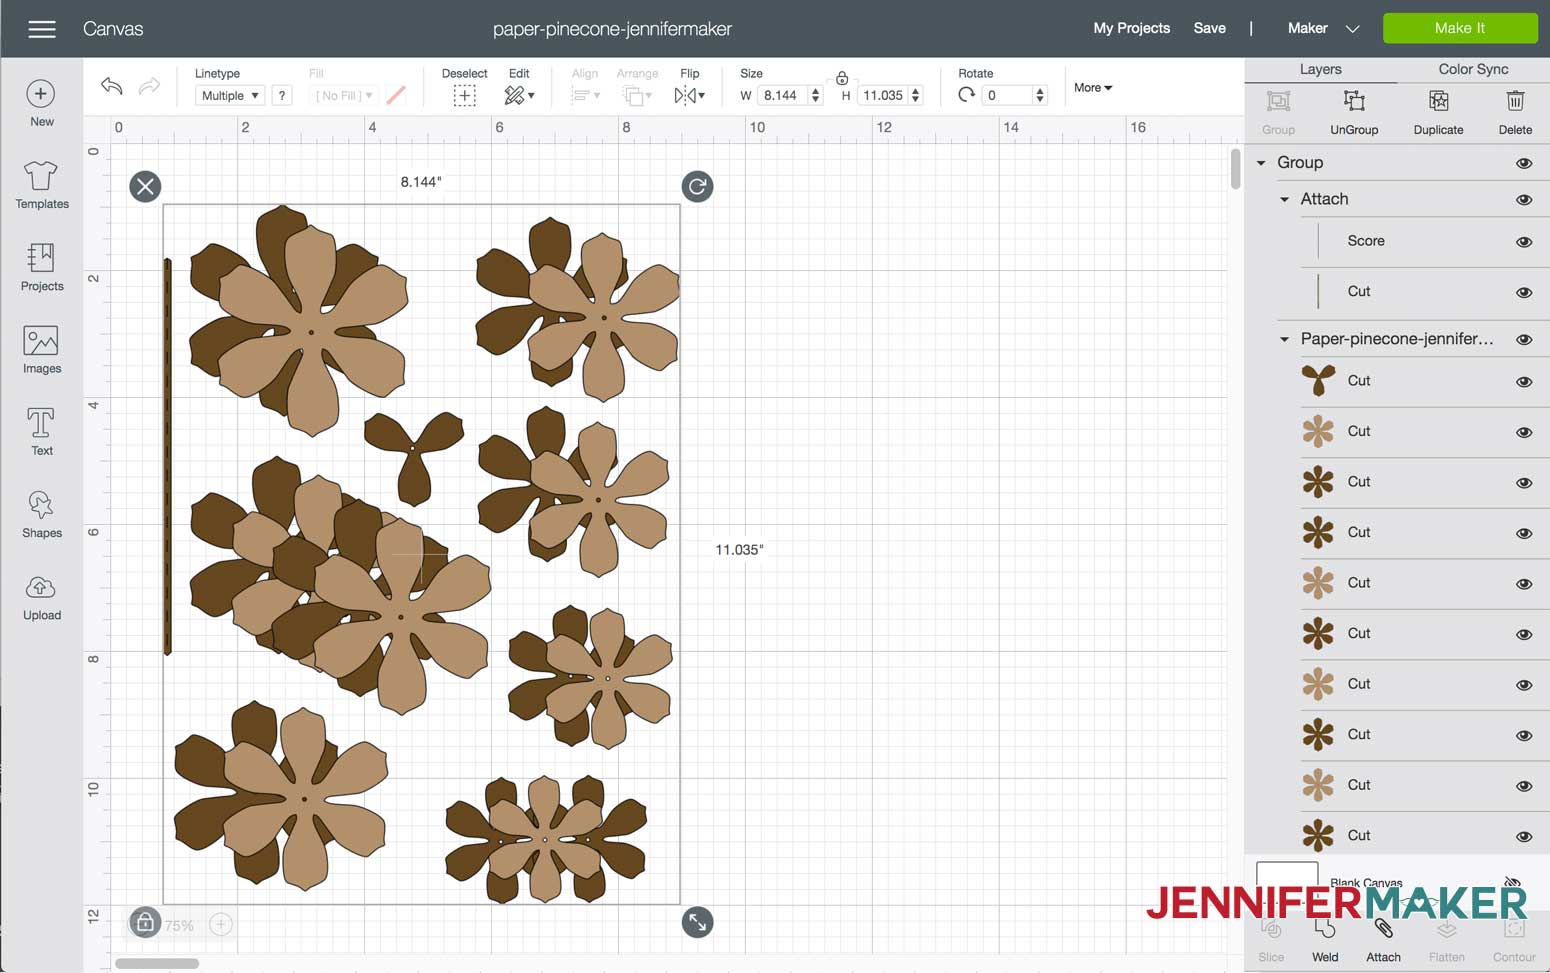
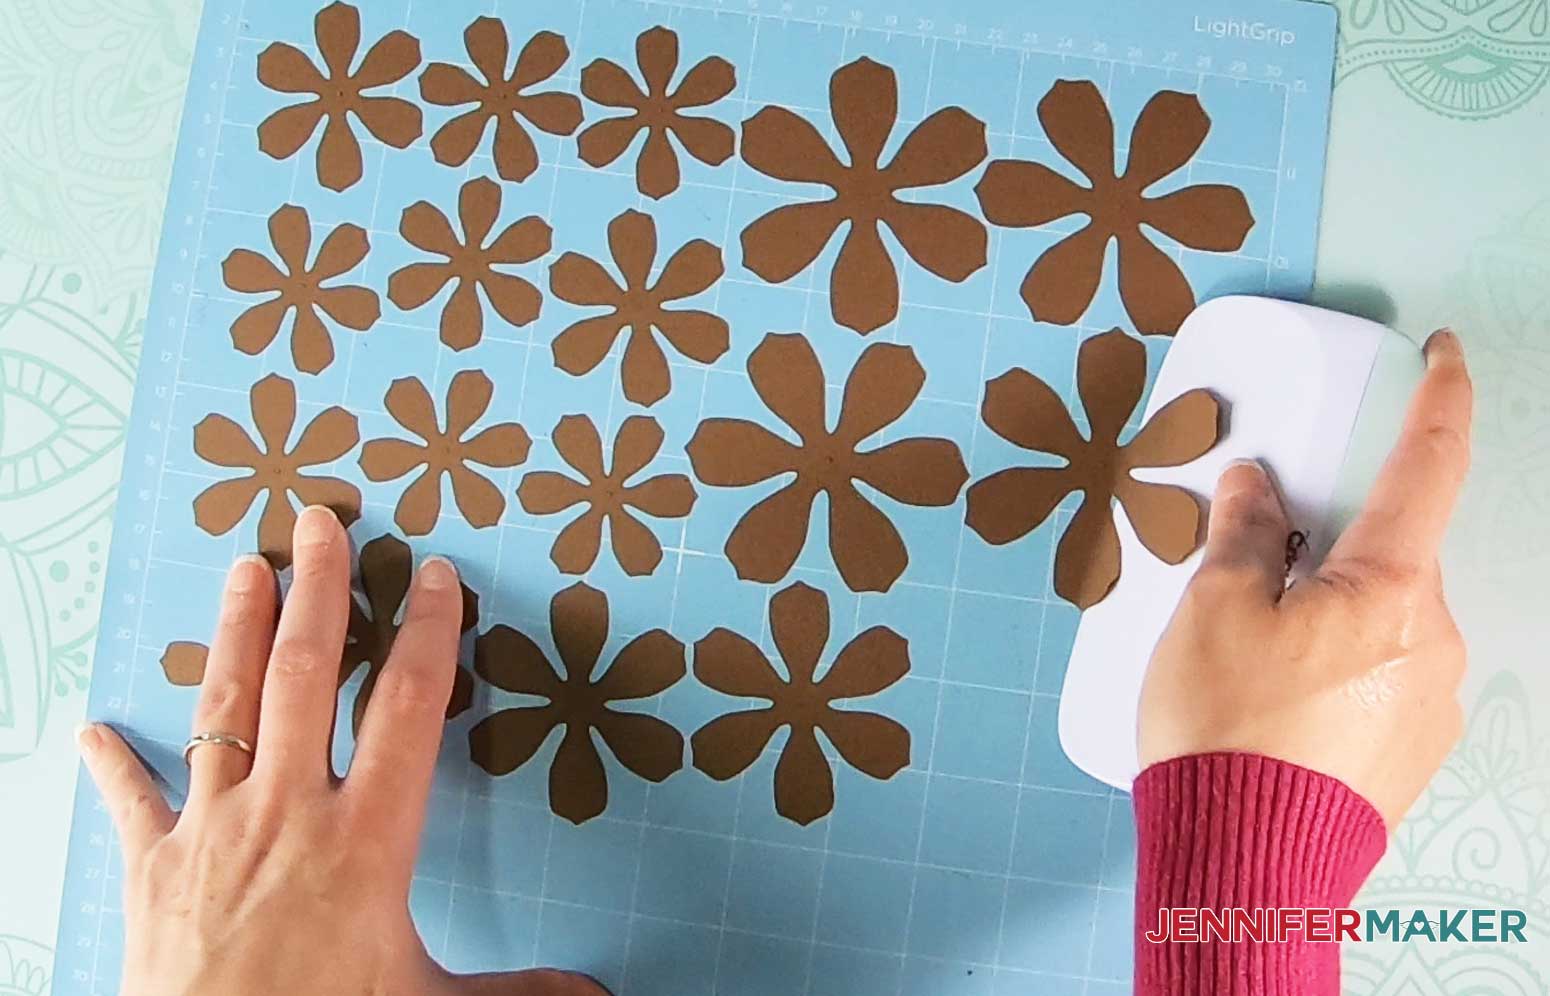
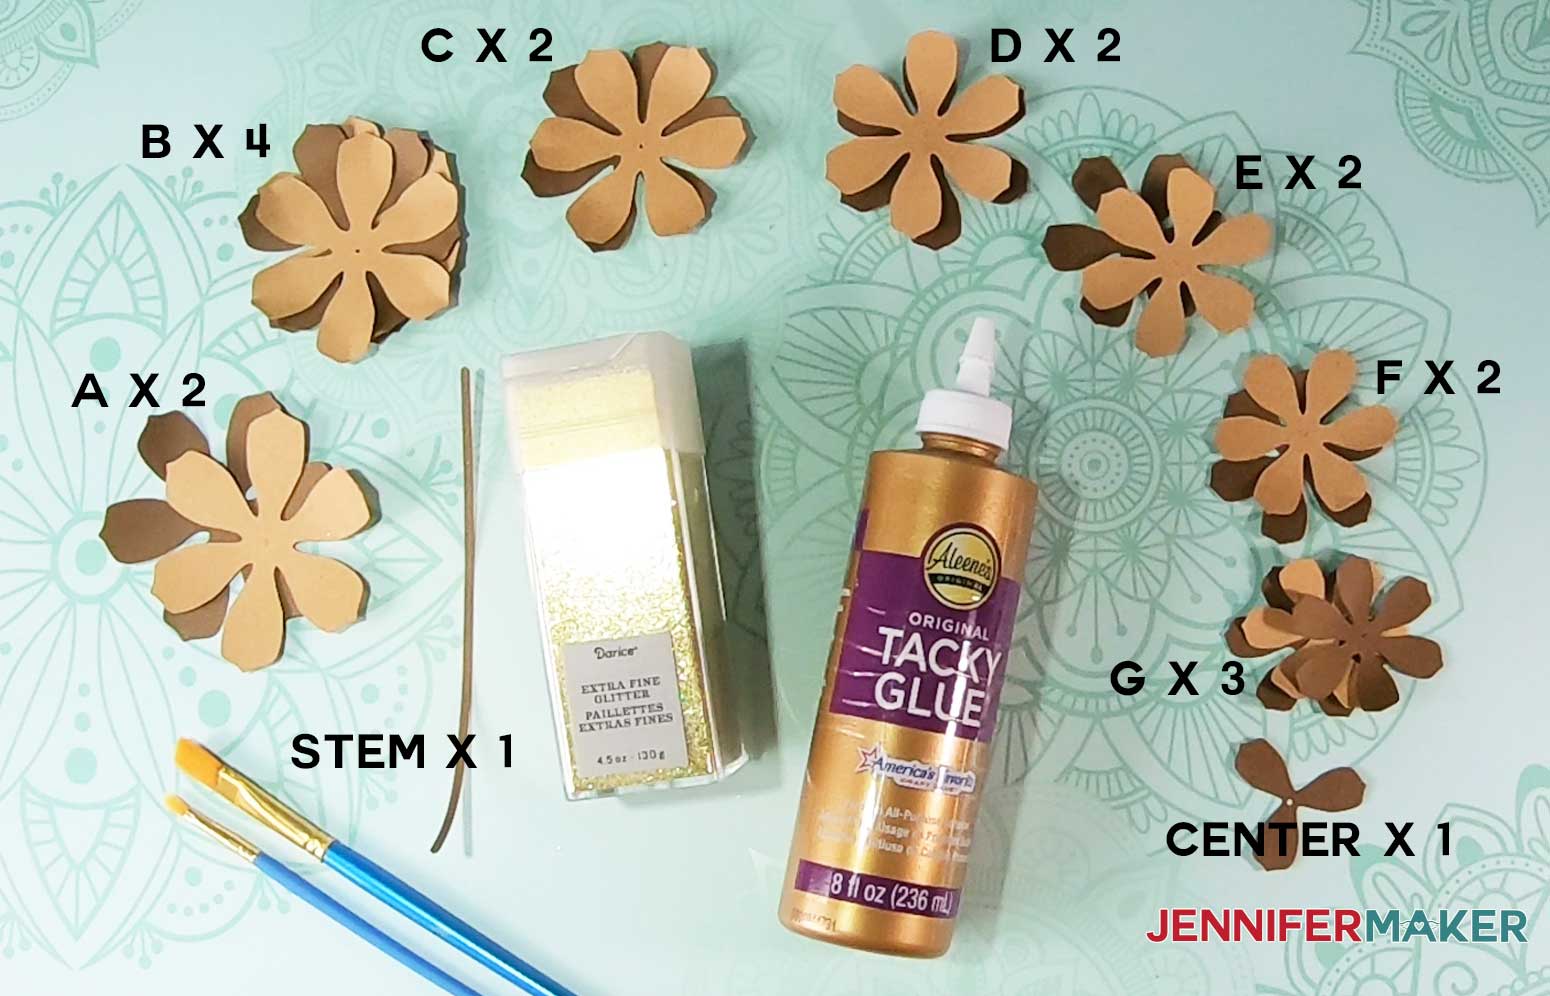
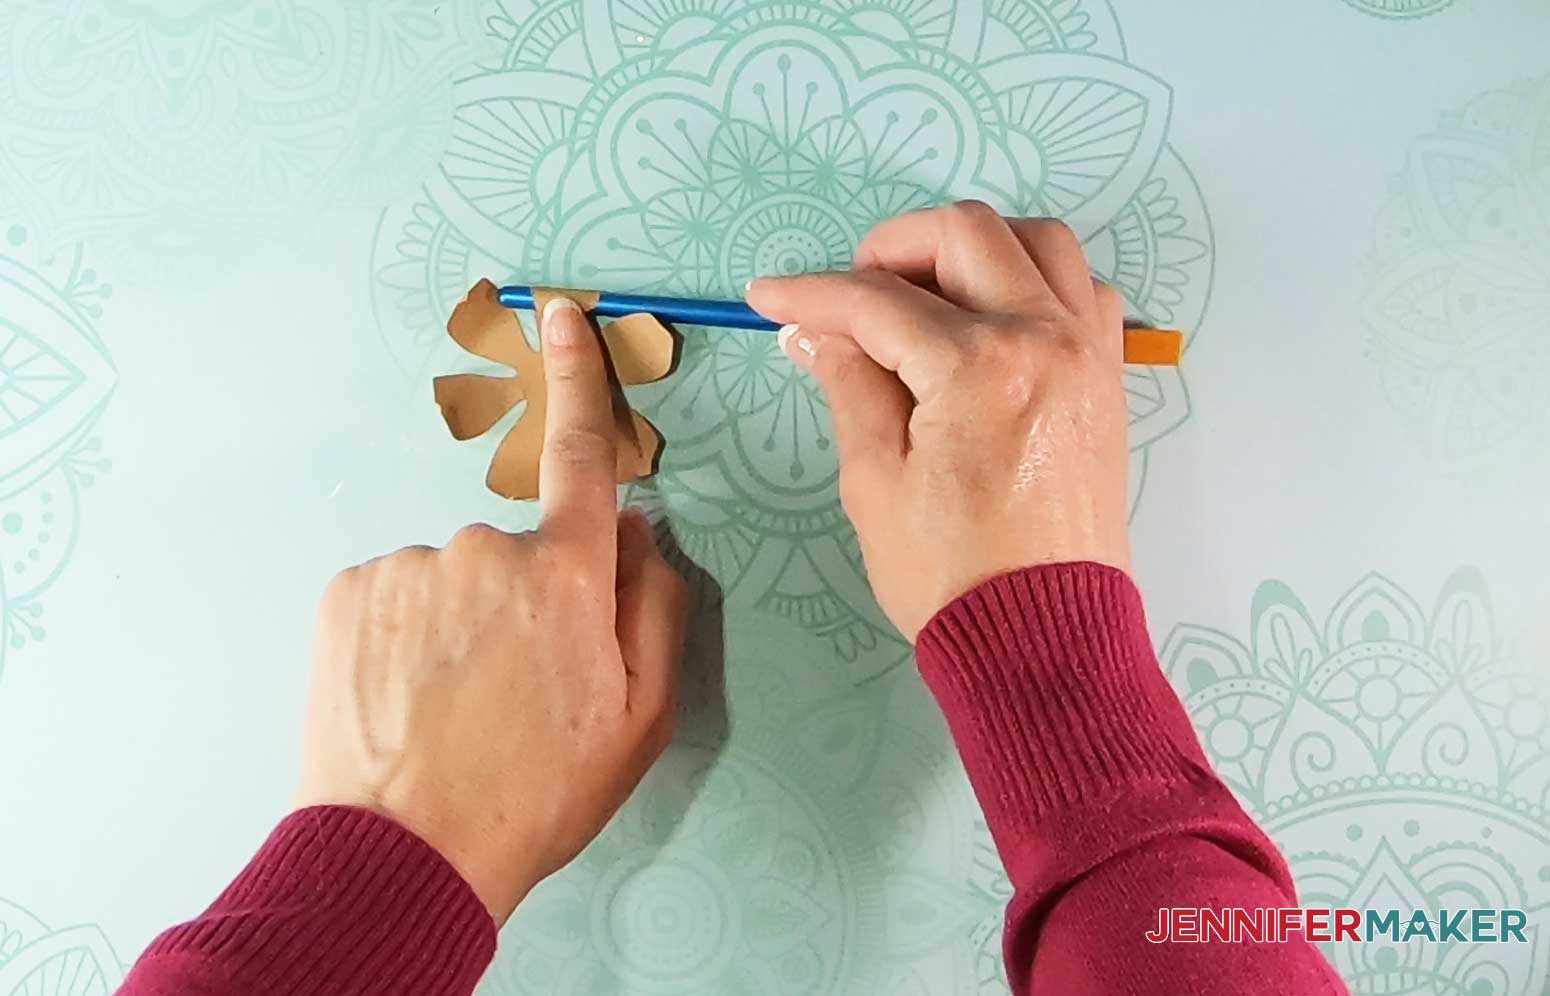
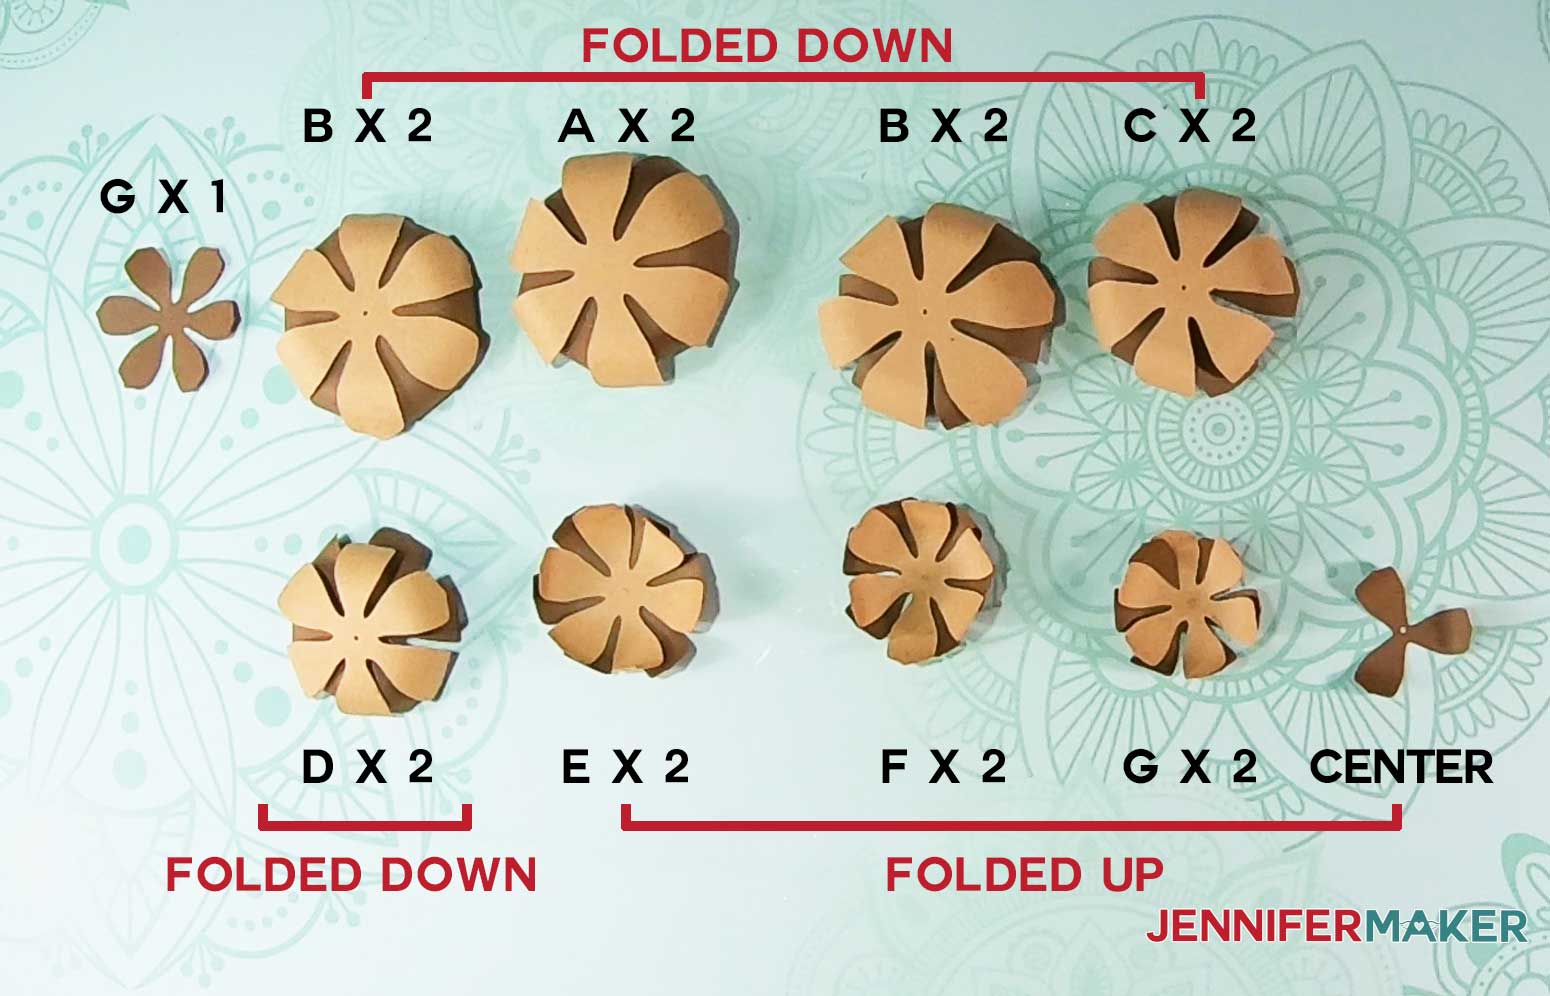
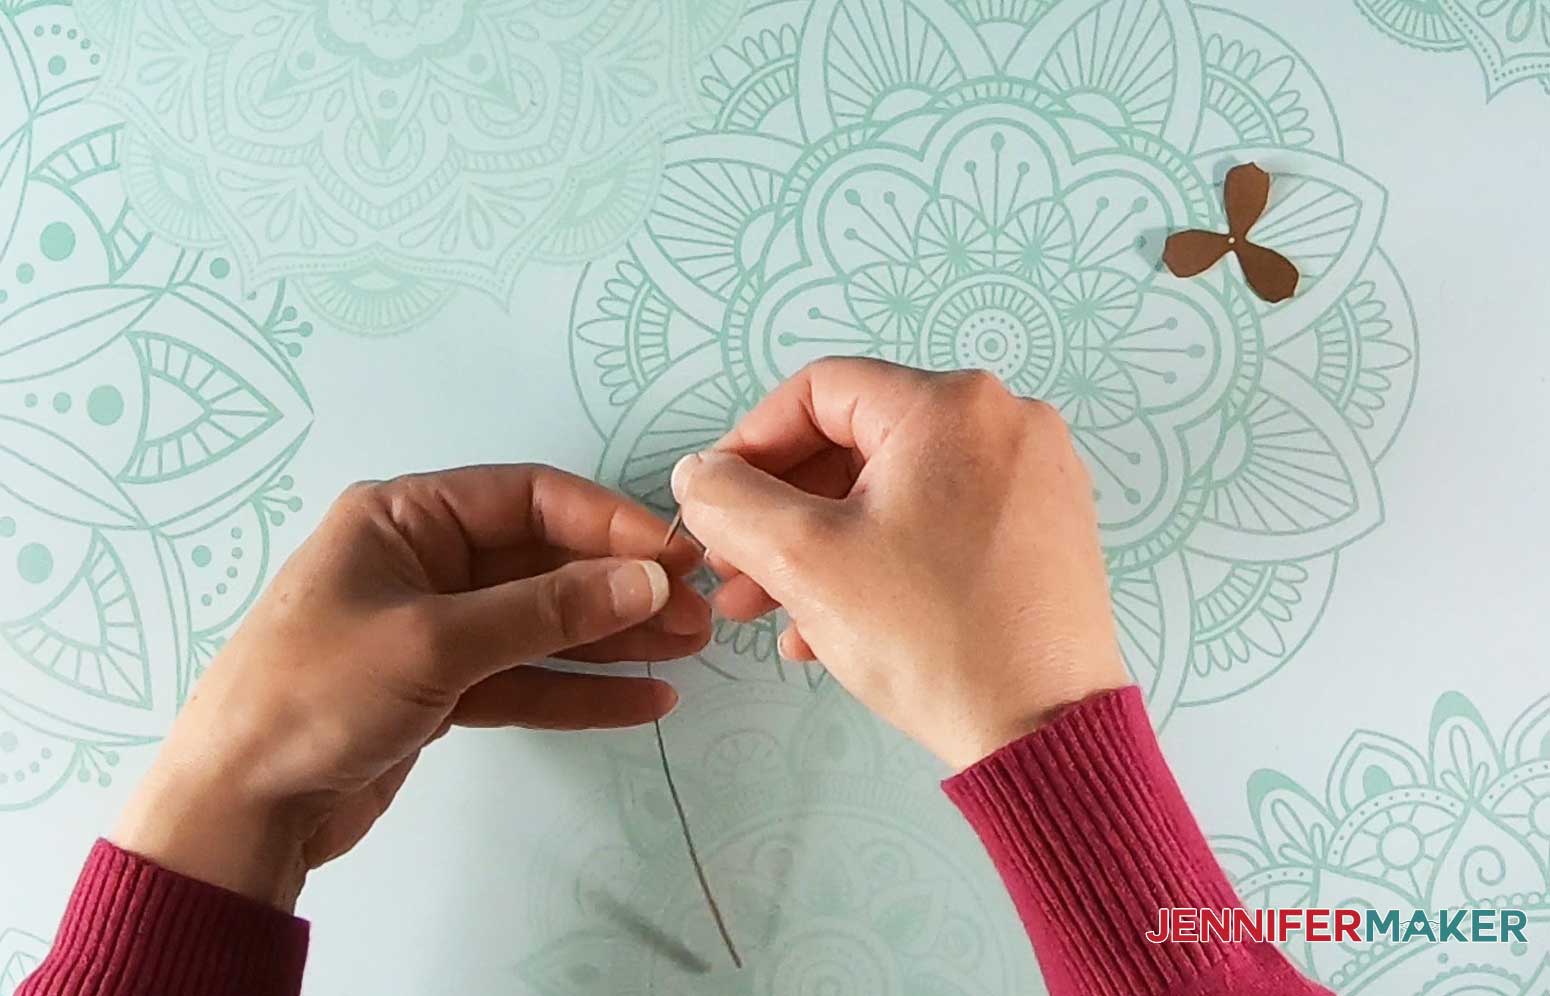
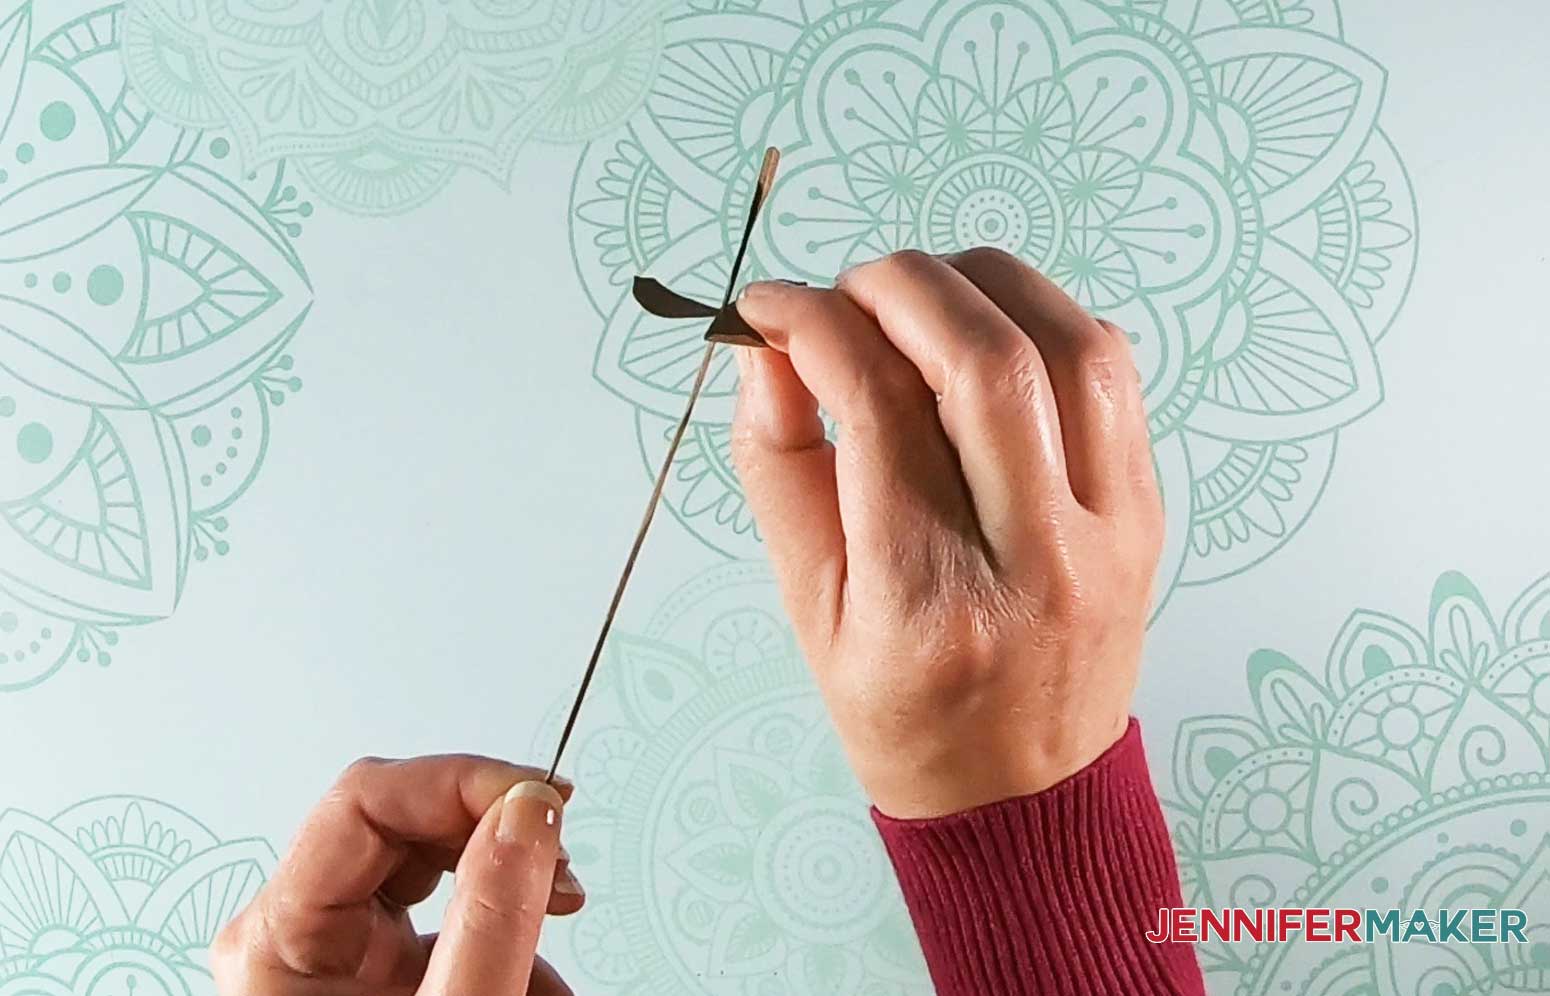
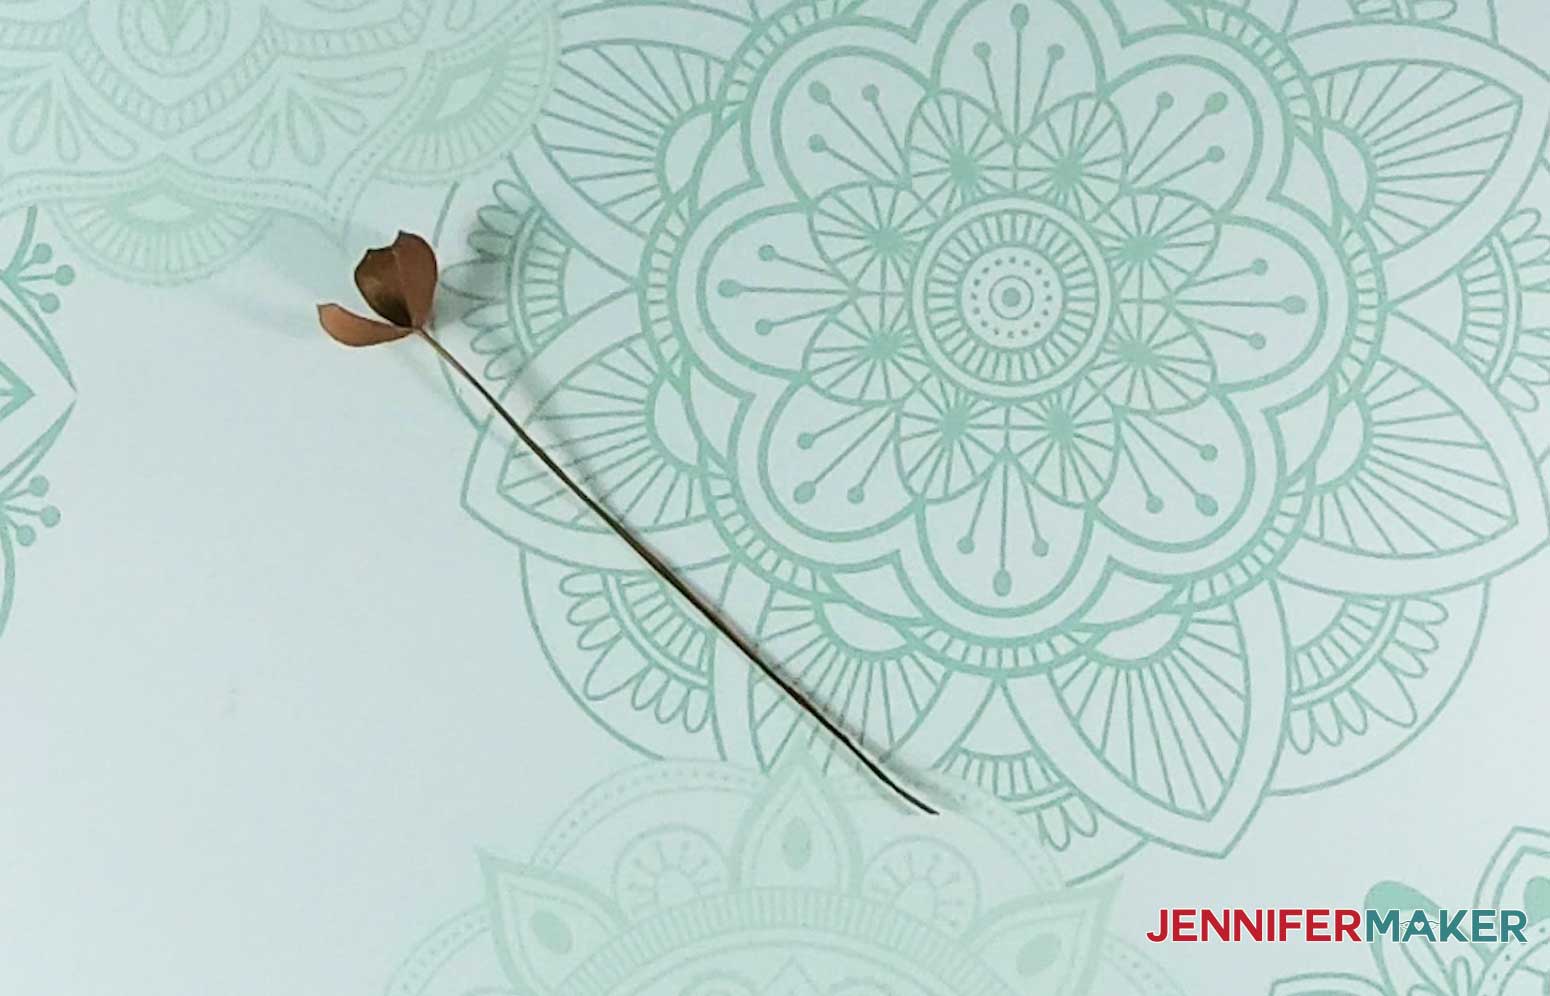
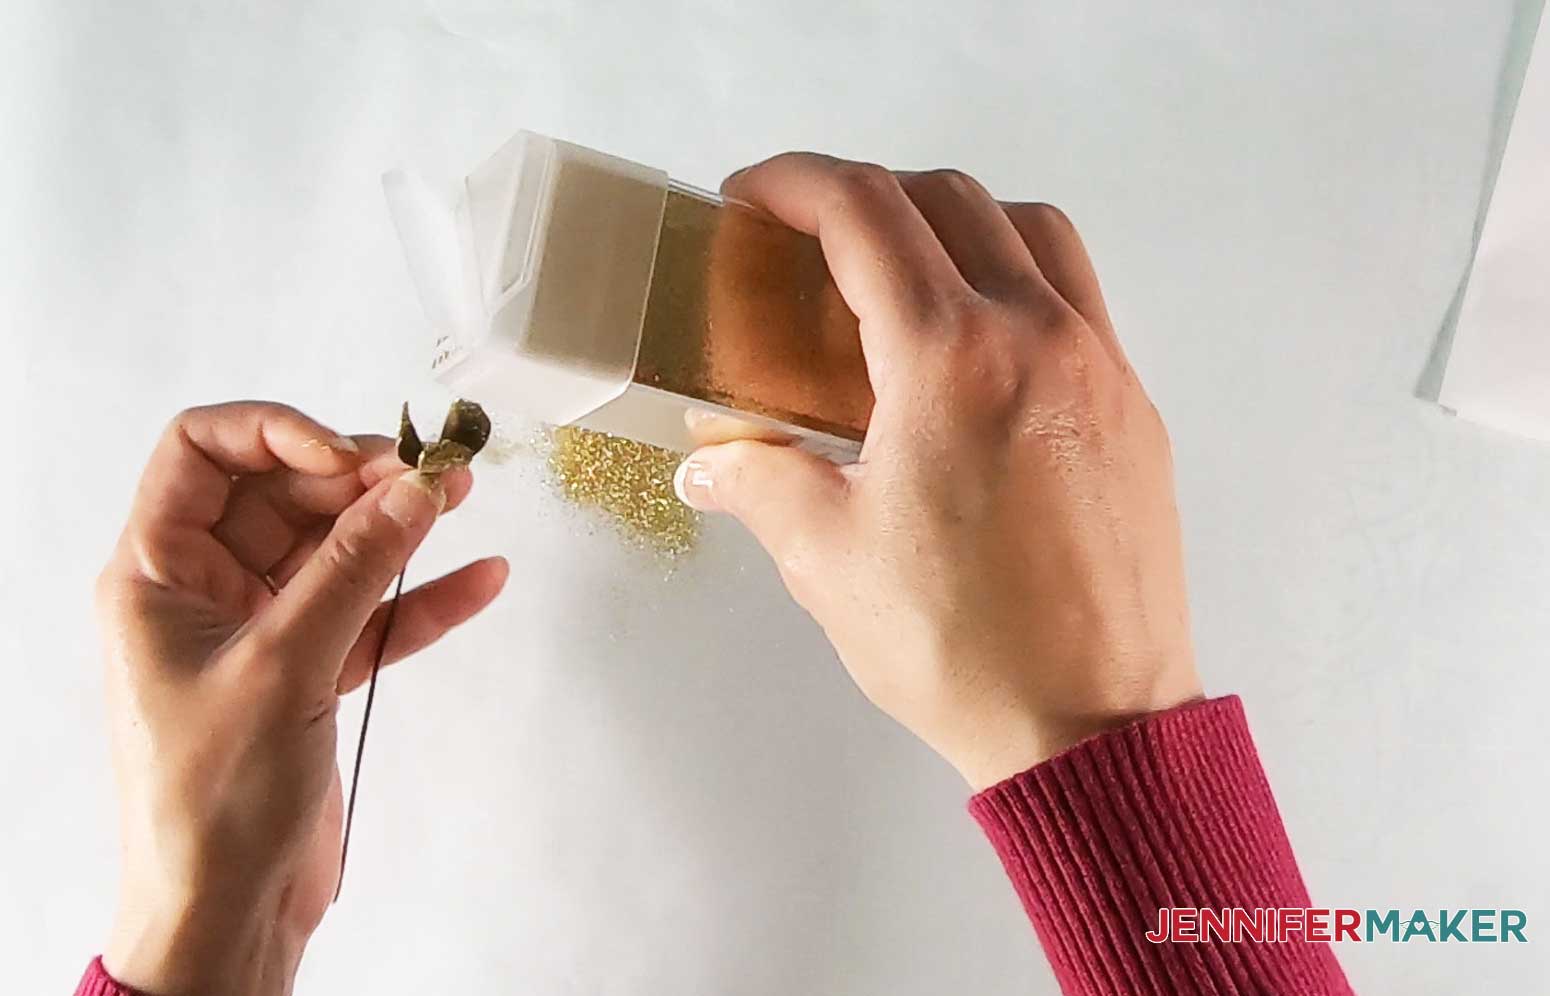
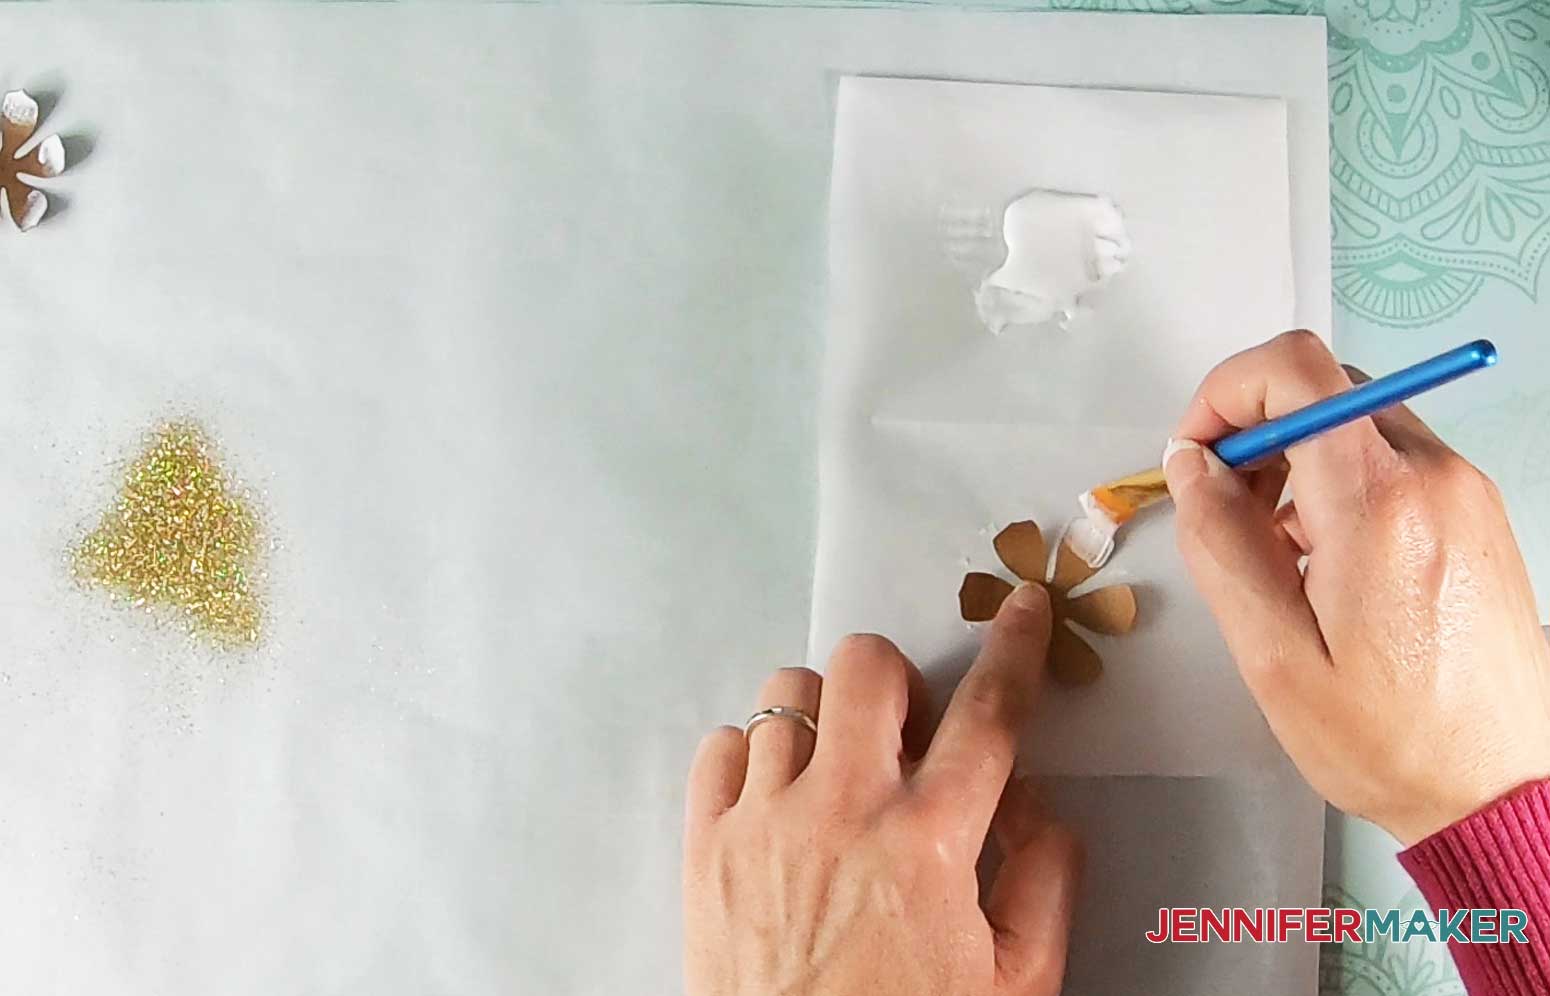
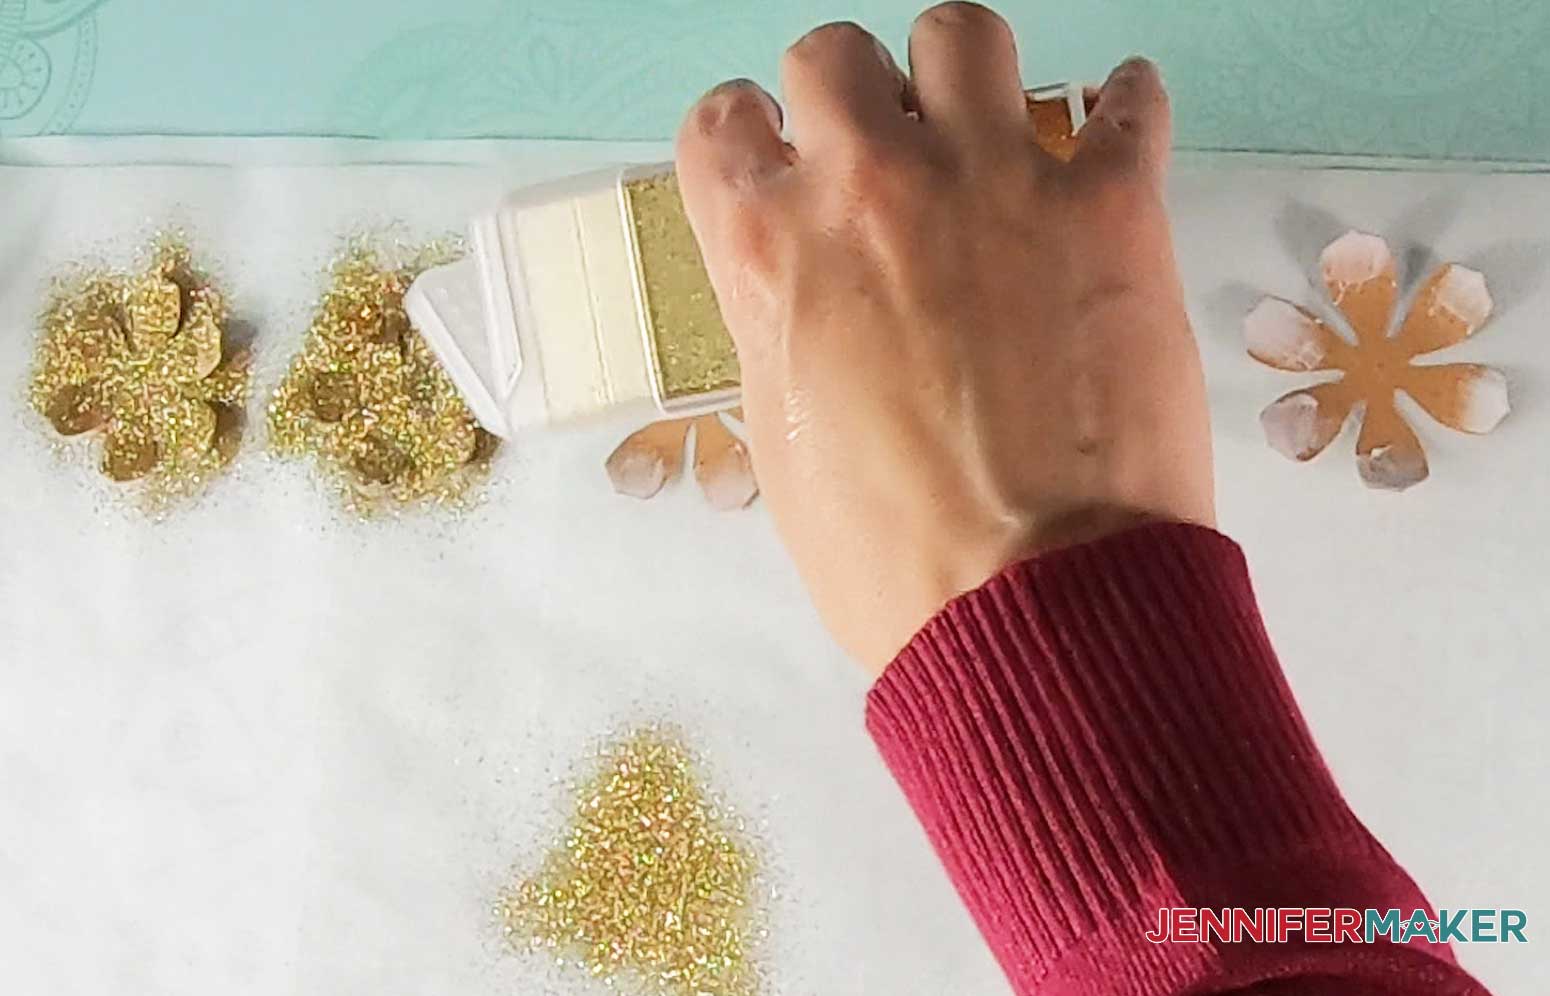
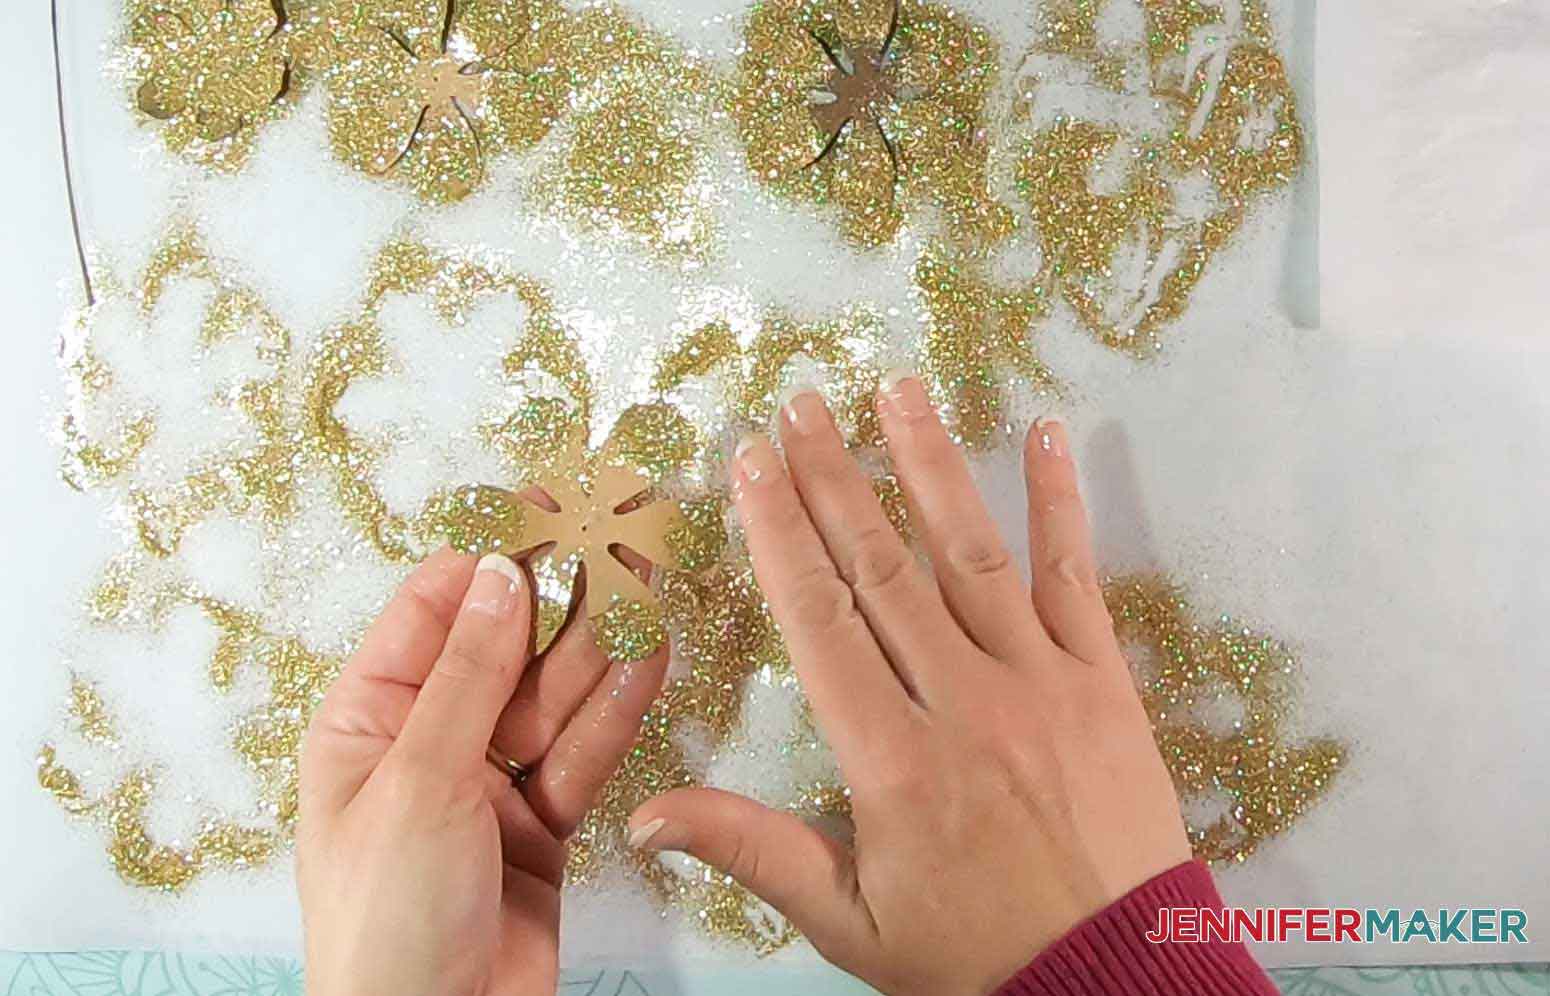
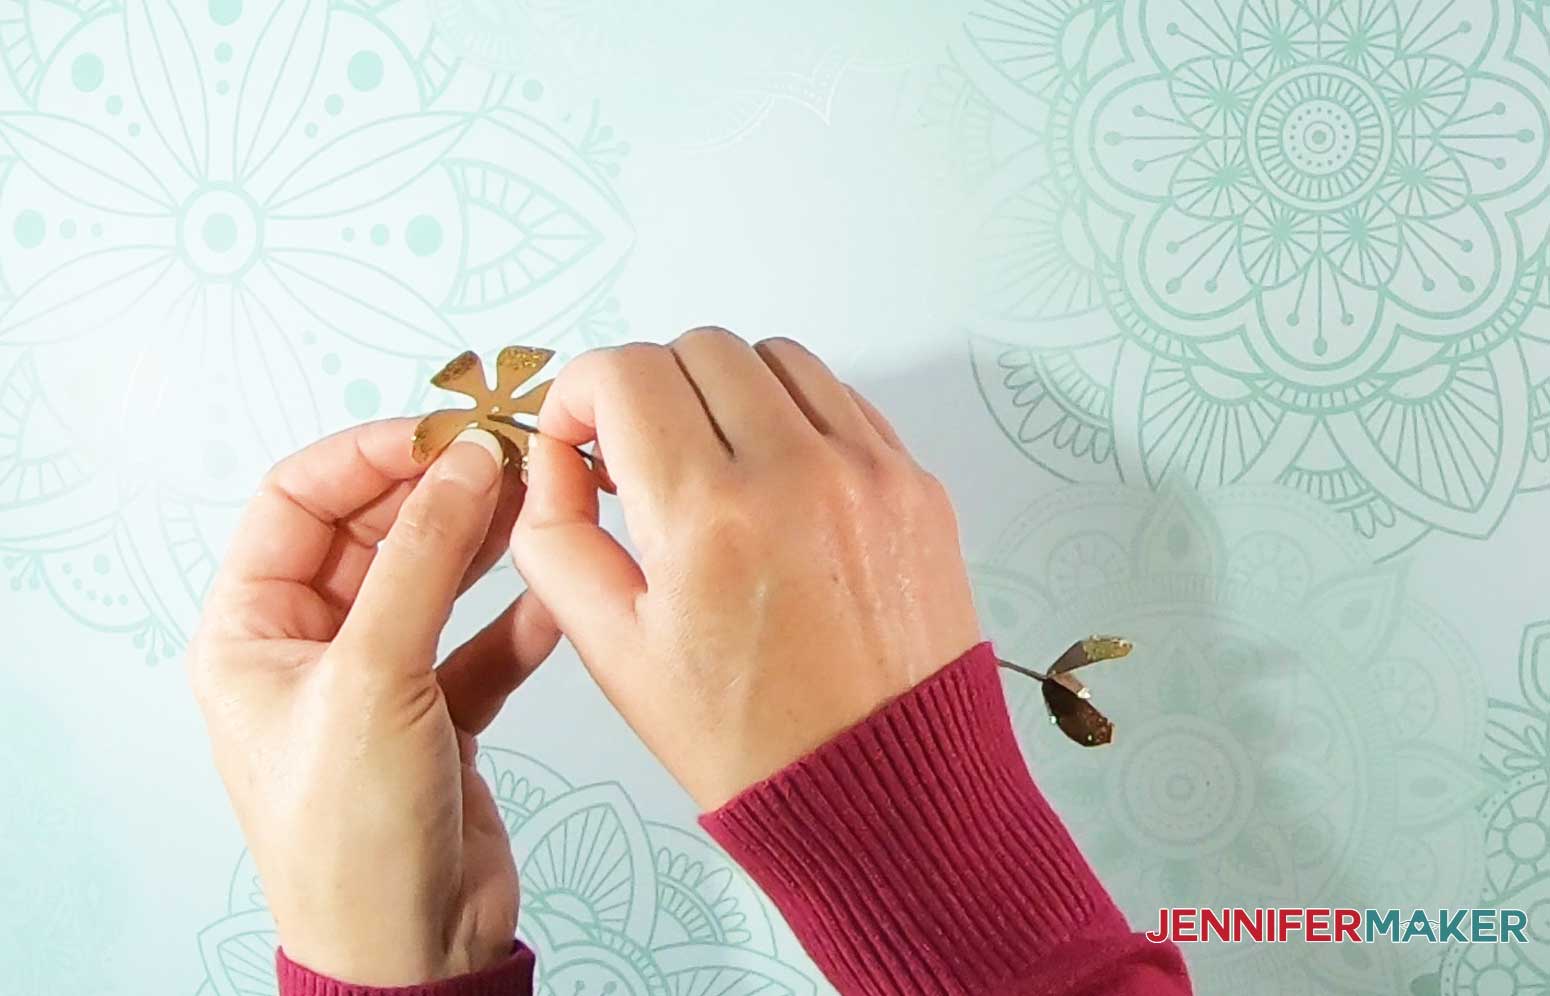
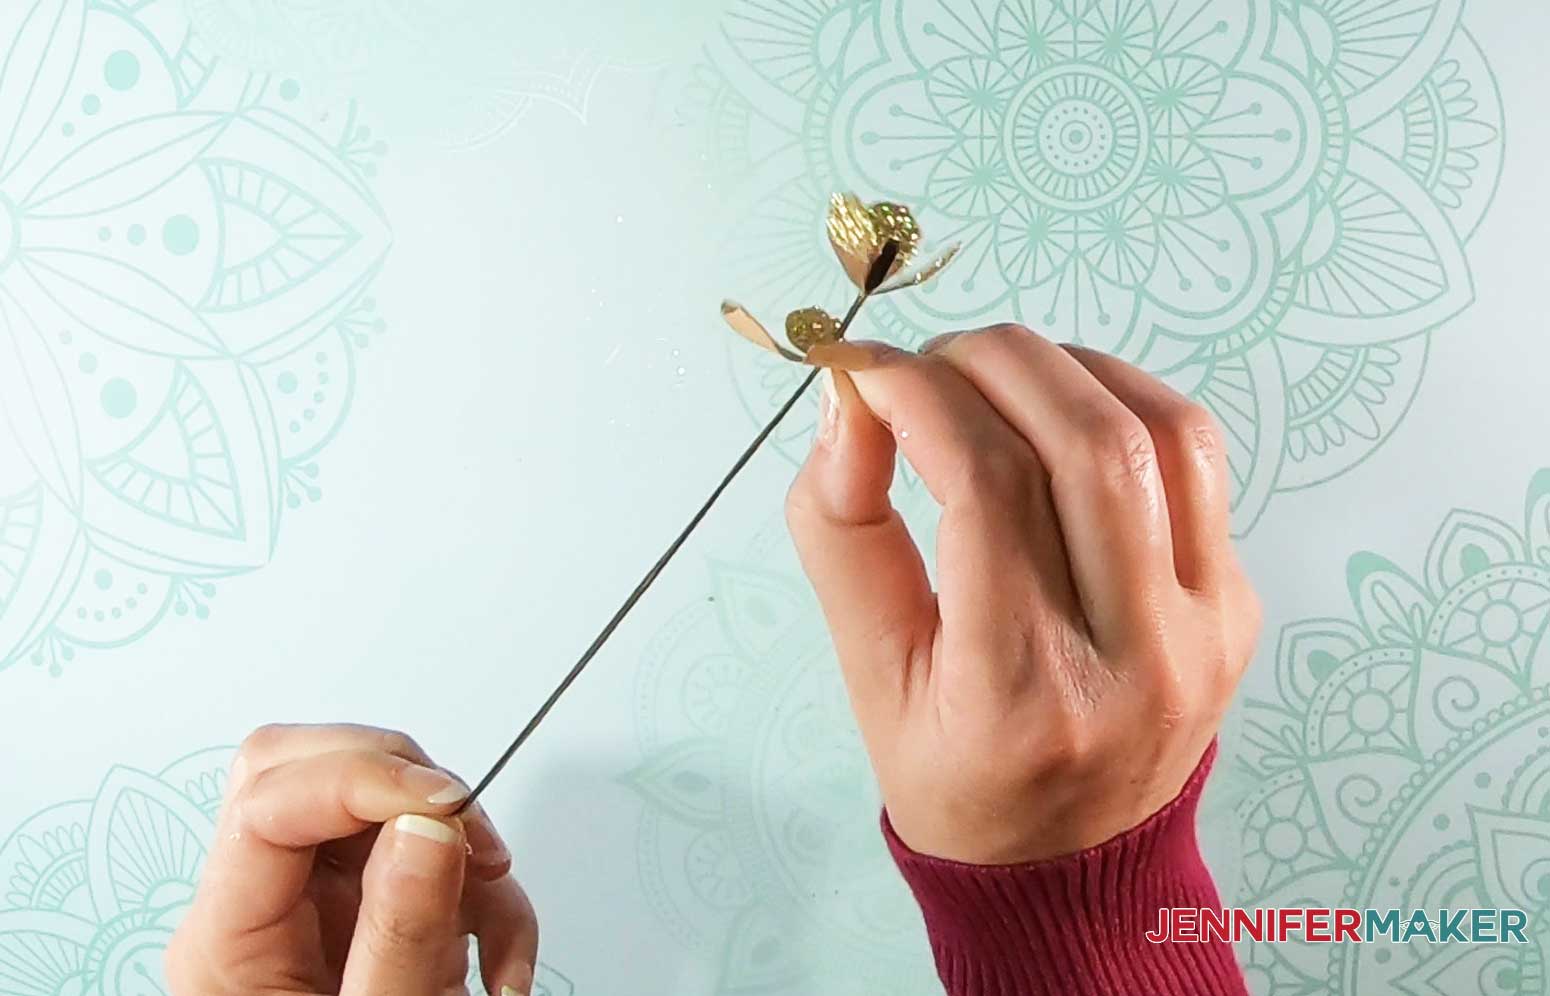
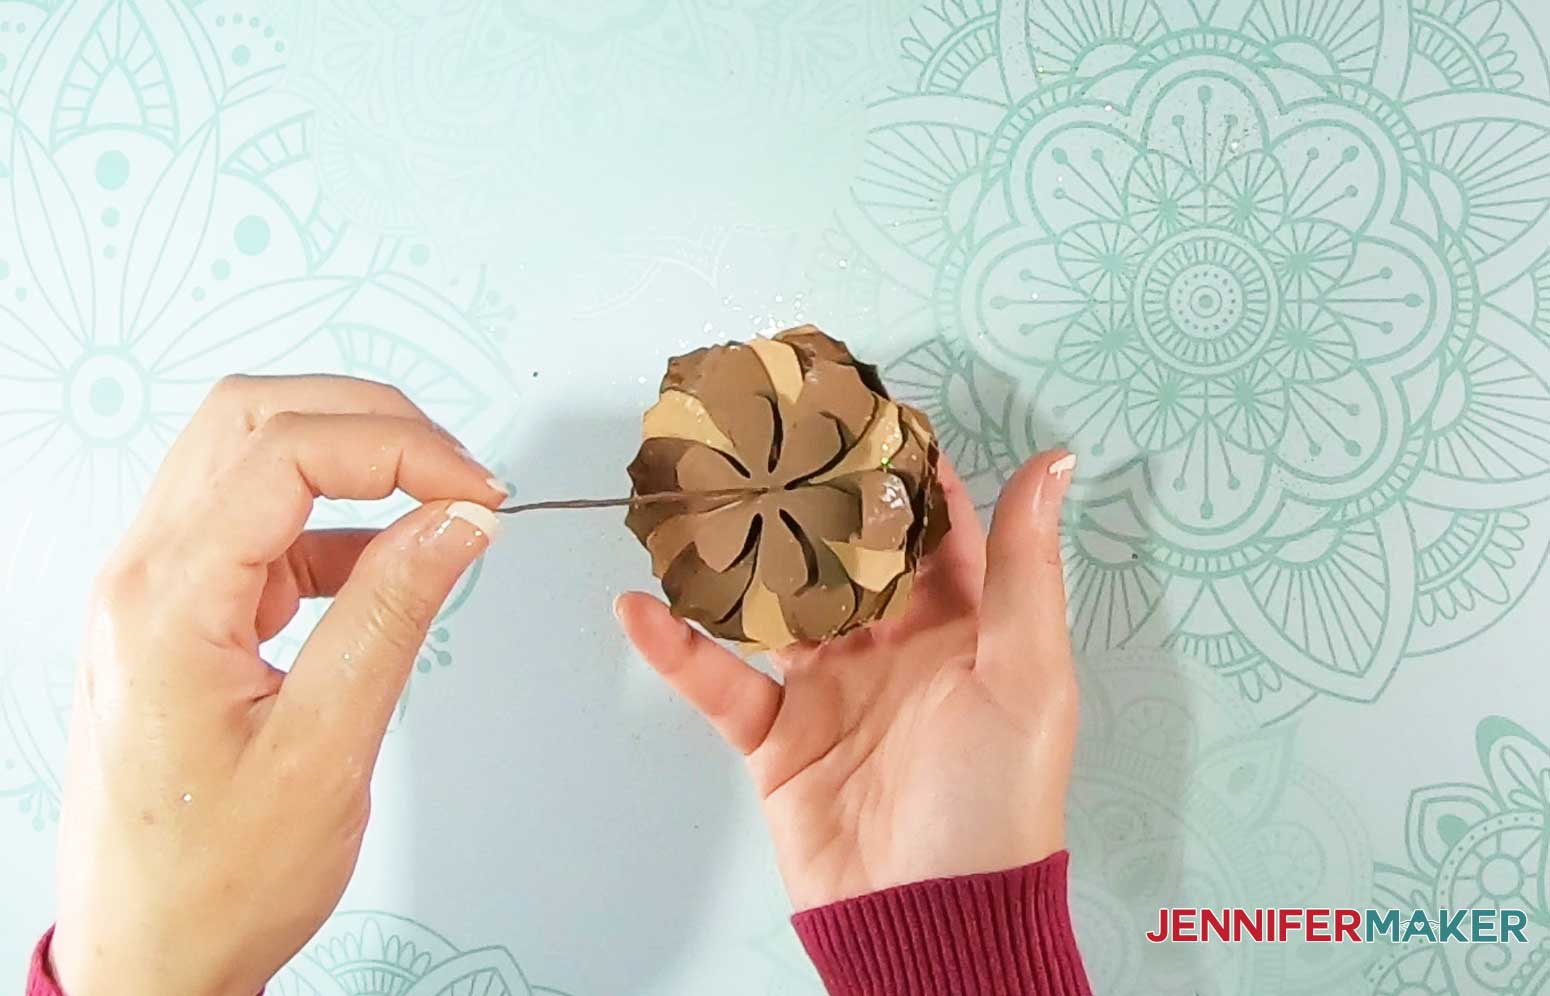
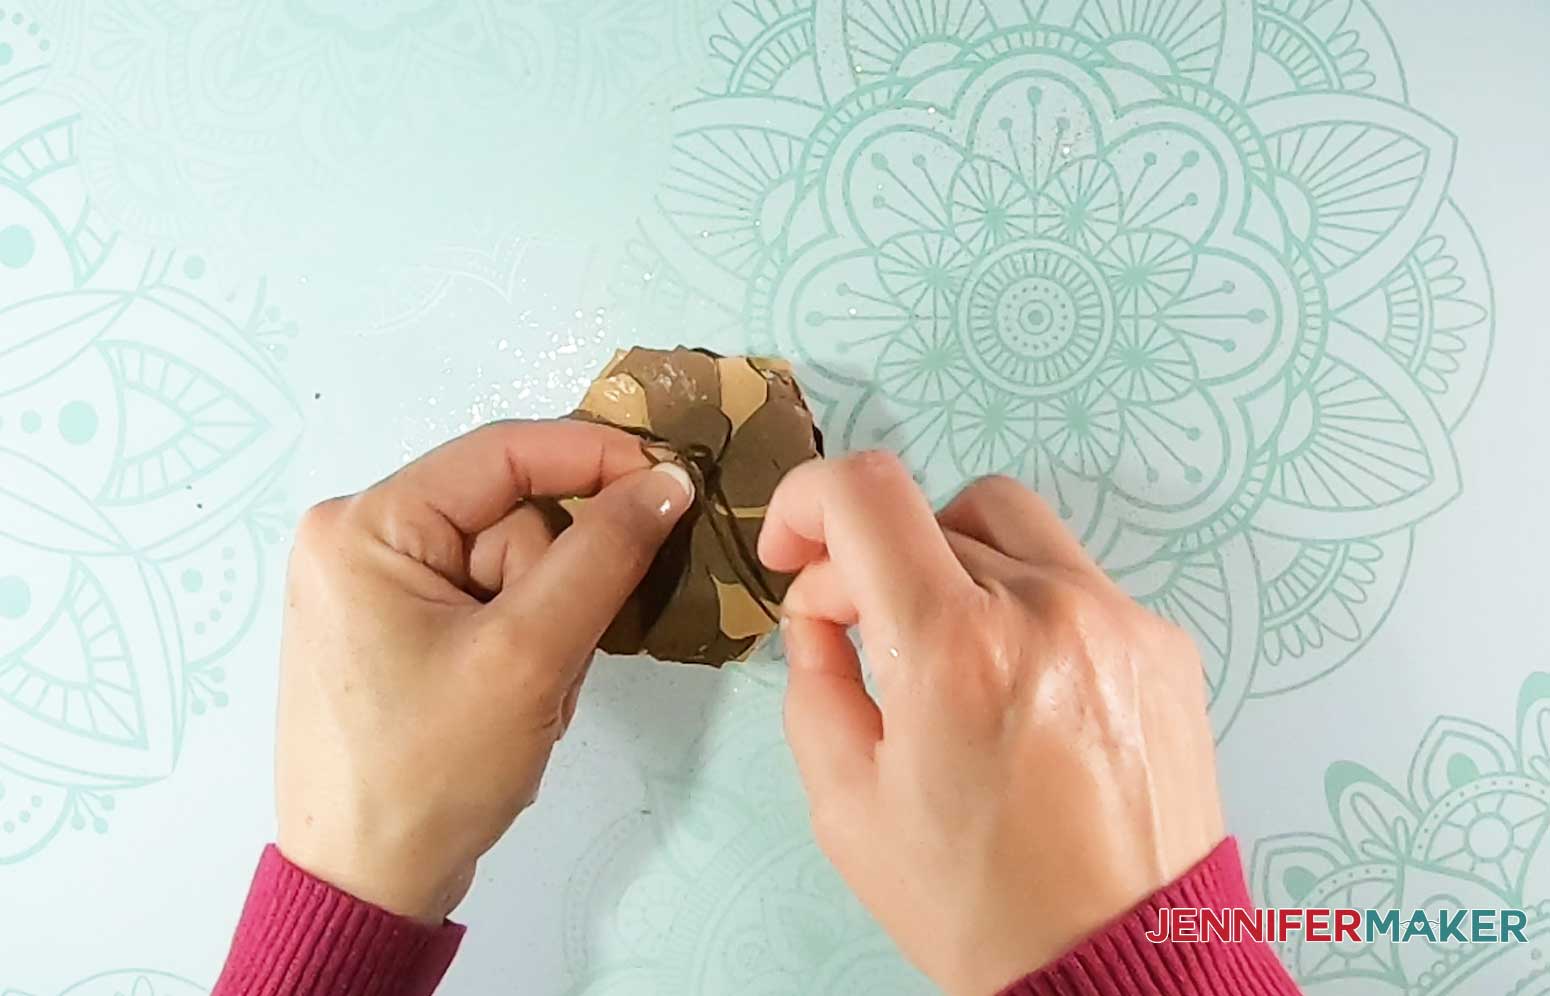
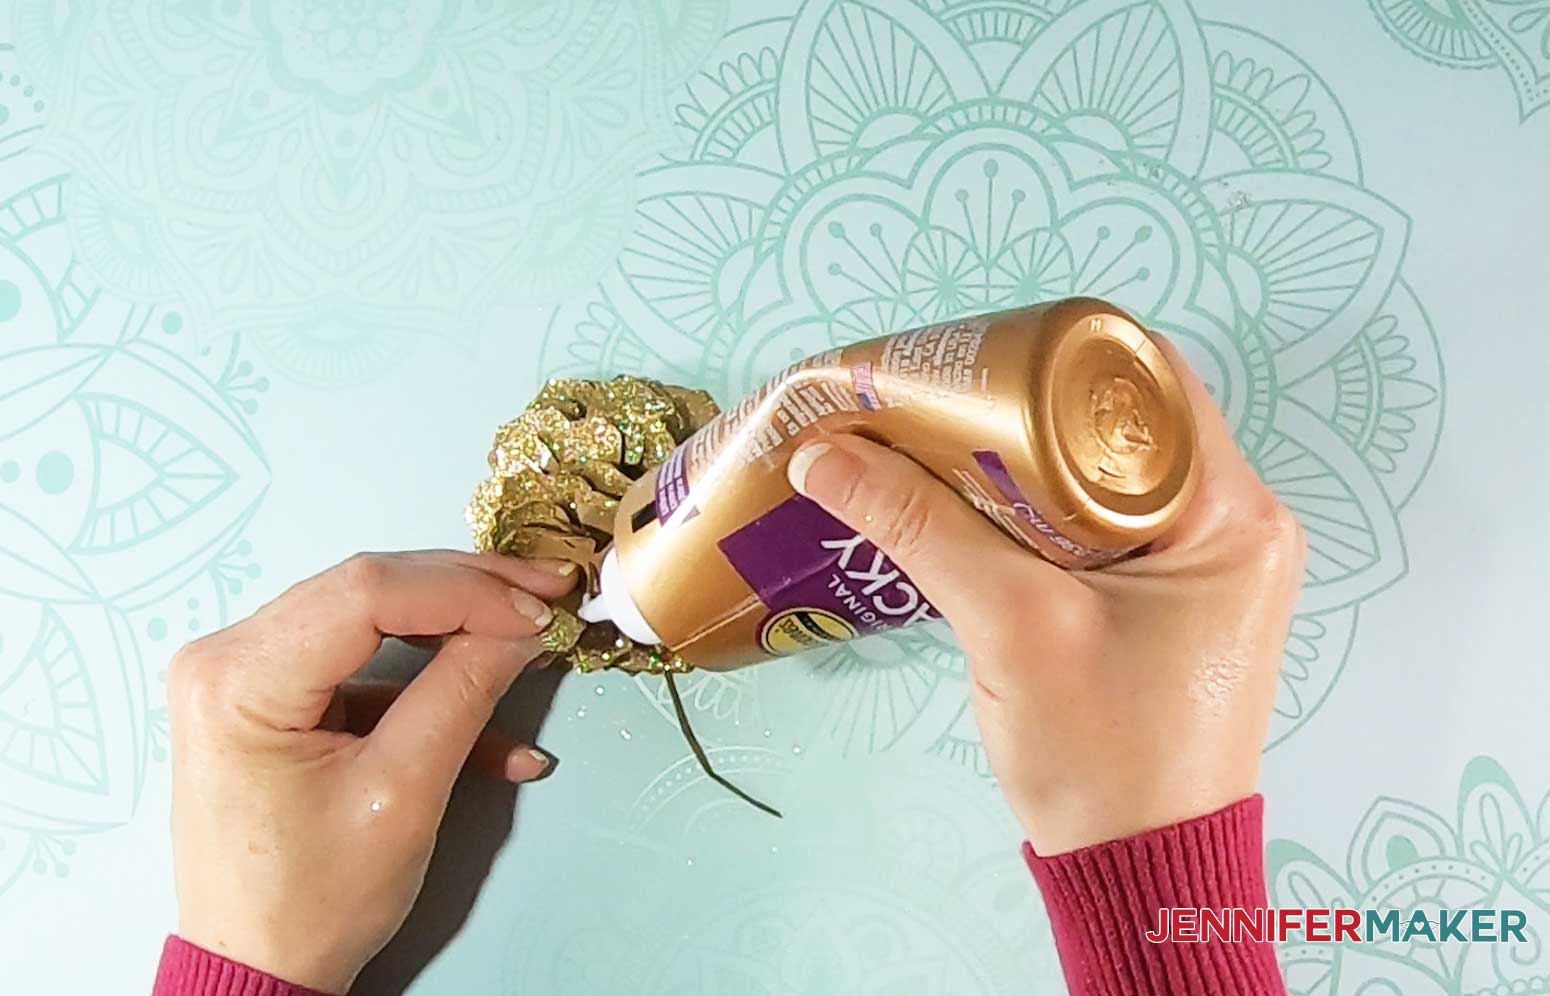
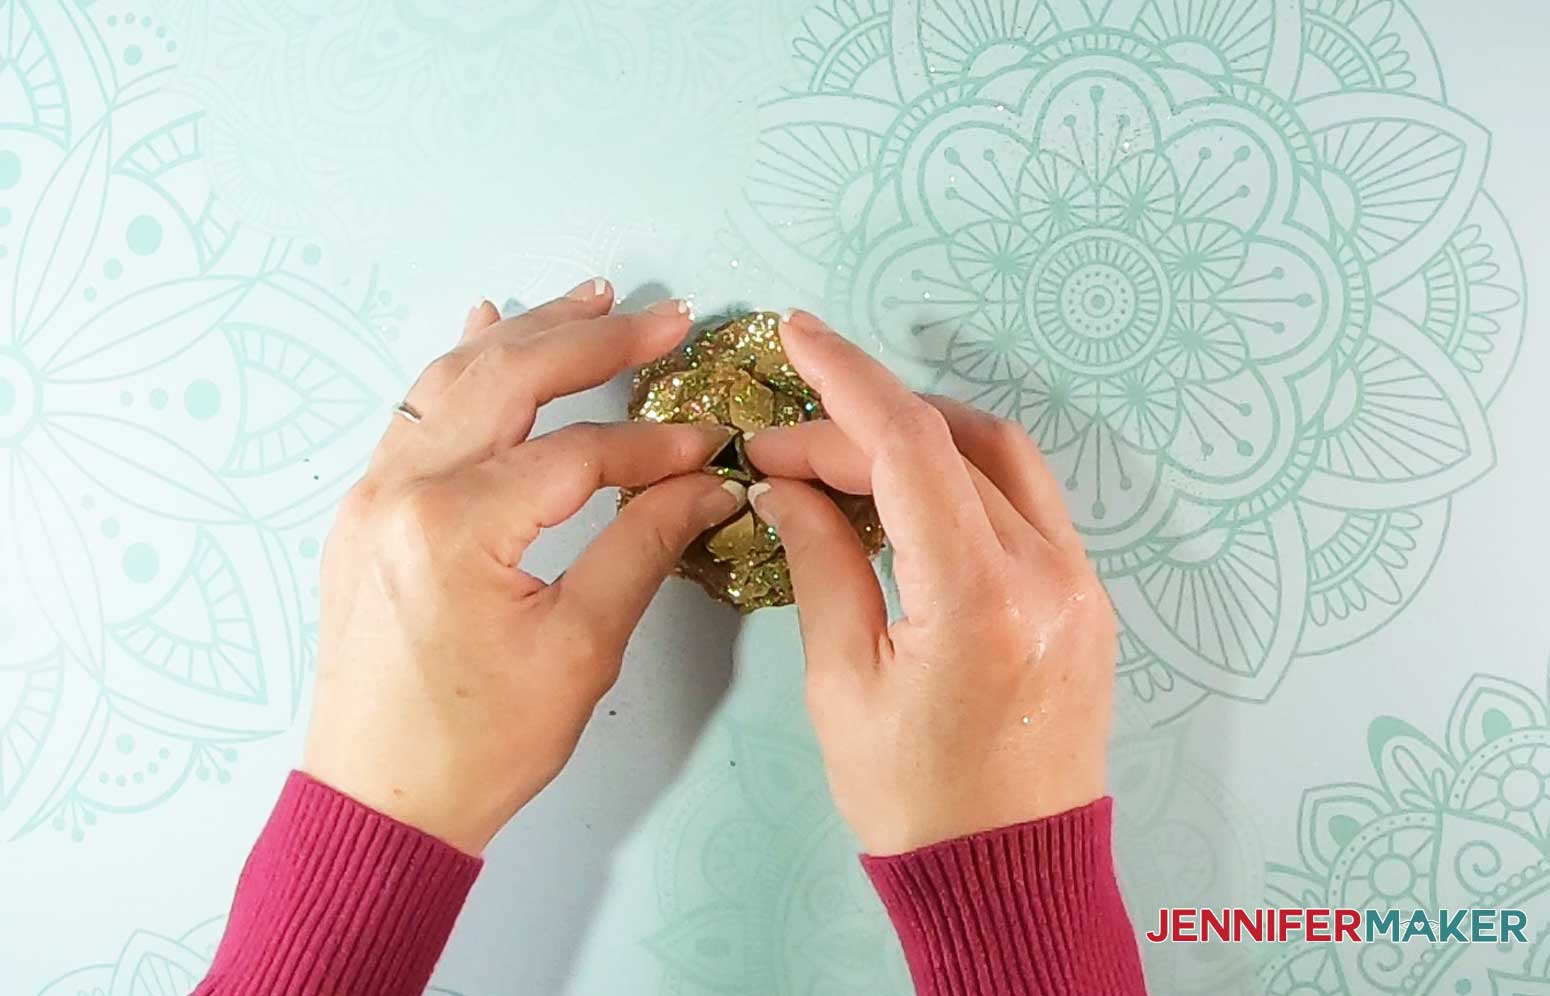
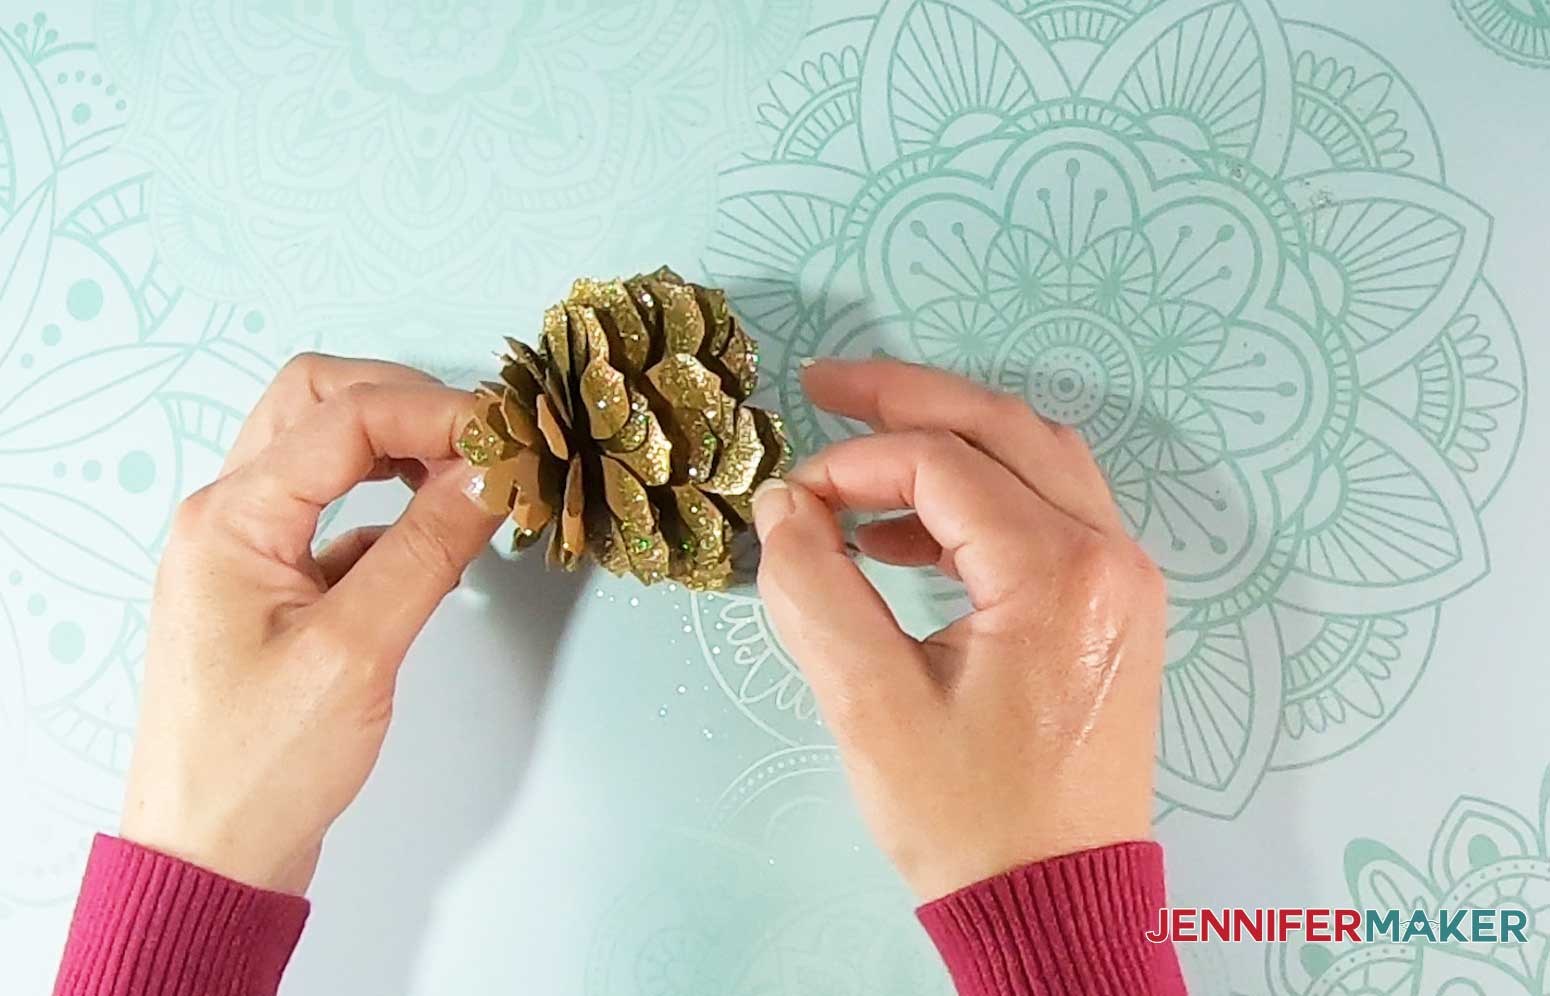
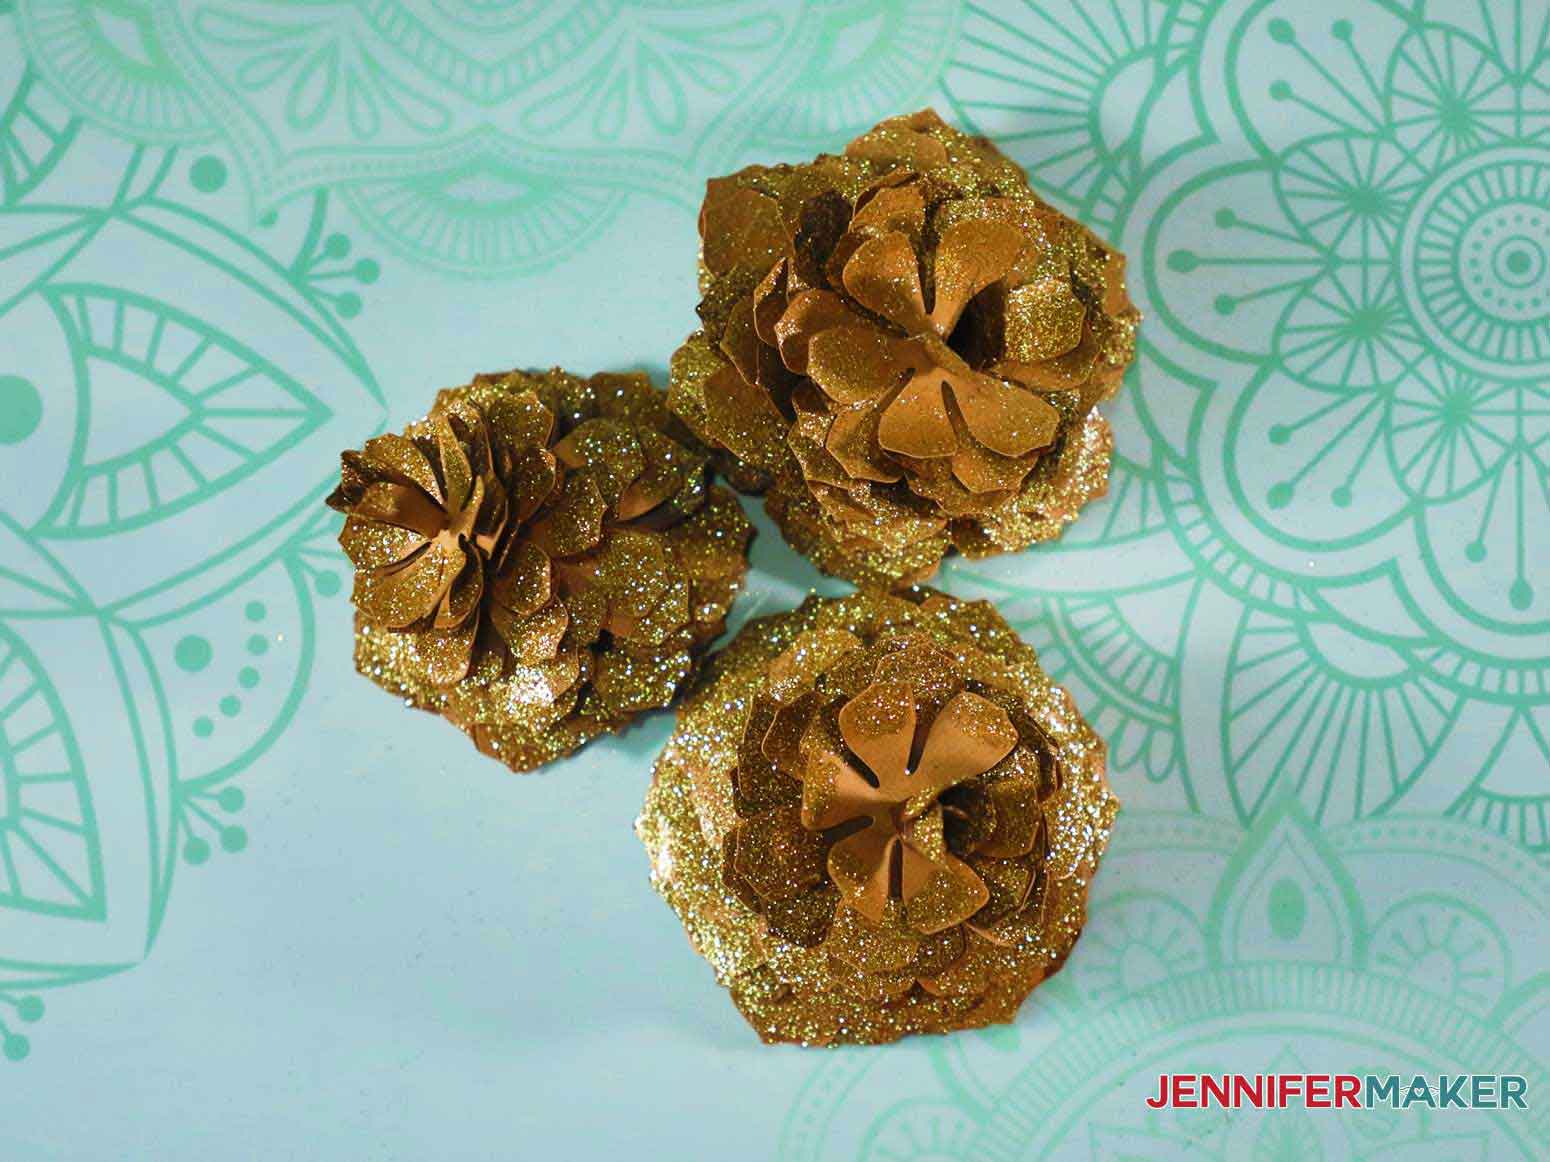
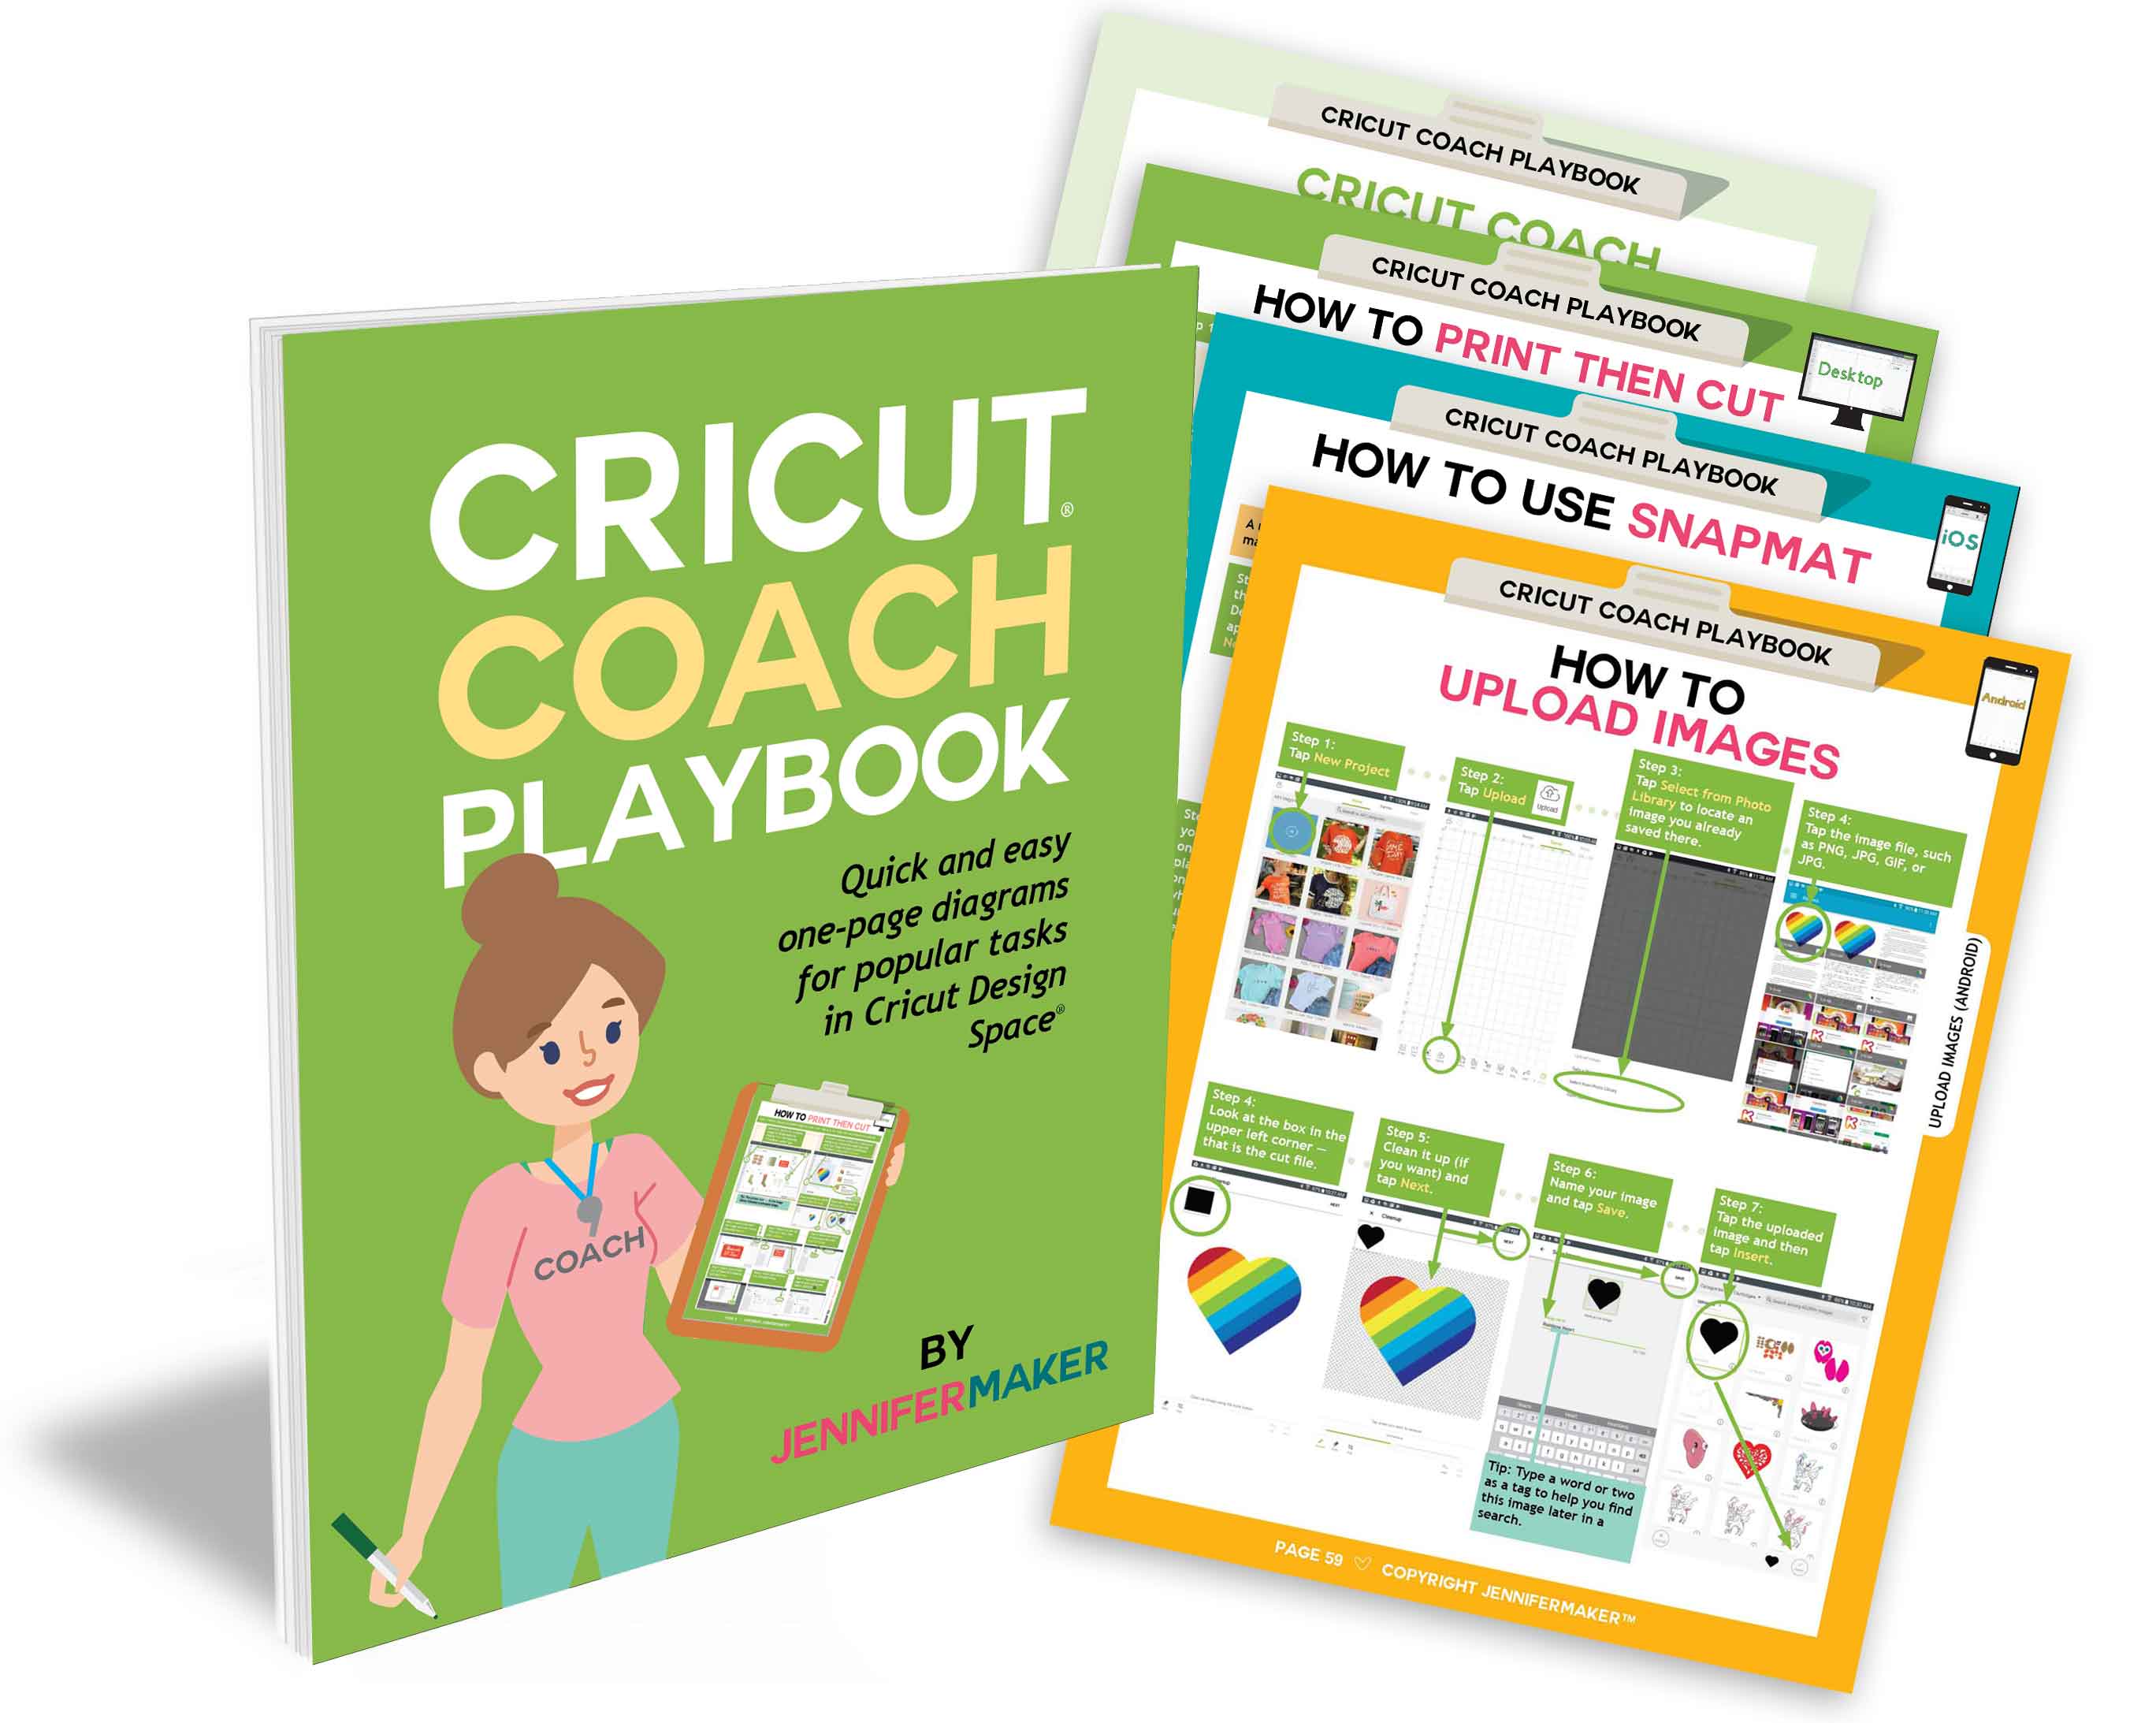
This life-like glittery paper pinecone is a great addition to holiday decor! Get Design #260 which is my free Christmas Pine Cones SVG design from my free resource library (get the password to the library by filling out the form at the bottom of this post). If you're going to cut it on your cutting machine, upload the file to your design software. If you're not sure how to upload an SVG cut file to Cricut Design Space, watch this helpful video training series I made. If you're on an iPhone or iPad, here's how to download and upload SVG files to the Cricut Design Space app. The SVG file should import with the Score and Cut lines already designated. This is what the files look like in Design Space when it's uploaded and you’re ready to cut: Click "Make It" and you will be prompted to select your material settings and place your paper on your cutting mat. Follow the prompts to load the mat and tools into your Cricut. Tip: When you remove your cardstock from your mat, be sure to flip your mat over and peel the mat away from the paper to avoid curling it. Go slowly so you don’t rip your paper. These are the materials you’ll use to make a glittery paper pinecone. There should be two scale pieces of each size (one in each color) EXCEPT the second to largest (B), of which there should be four AND the smallest (G), of which there should be three. Arrange all your scales in order from largest (A) to smallest (G). I labeled this photo to show you the pieces and how many you should have of each: Using the blunt end of a paintbrush or a dowel, curl the ends of your scales. Note the direction I curled the edges. The largest scales curl downward and the three smallest curl upward. (NOTE: I did not curl the small base piece). As I curled each scale, I arranged the pieces in the order they will be threaded onto the stem from the base to the tip of the pinecone. I alternated each light and dark piece. Use this photo for reference on which direction to curl each piece and the final order in which they will be threaded: Fold the stem in half lengthwise along the score line, making sure to leave the top 1/4 inch unfolded. This end will be on the top end of the pinecone. Thread the center scale (the three-pronged piece) onto the stem. Push it toward the unfolded end of the stem. Then fold up the scales to surround the unfolded part of the stem. This is the tip of the pinecone. Cover your workspace with a Teflon sheet or parchment paper. Apply glue to both the inside and outside of the center scales with a paintbrush. Generously sprinkle glitter to coat the glue completely. Set the stem aside and apply glue to the tips of the remaining scale pieces with a paintbrush. Generously sprinkle glitter on each piece to coat the glue completely. I work on about three pieces at a time to make sure the glue doesn’t set too quickly. These are all my glittered pieces. Let them dry for about an hour. After the glue is completely dry, shake off the excess glitter. TIP: To save and reuse the discarded glitter, shake it off onto the Teflon sheet or parchment paper. Fold the sheet in half and pour the glitter back into the glitter container. Thread the scale pieces onto the stem in the order you arranged them in Step 2, starting with the smallest and alternating the colors (Gx2, Fx2, Ex2, Dx2, Cx2, Bx2, Ax2, Bx2, Gx1). Be sure to feed the scales with the curve facing the correct direction according to the diagram in Step 2. Now, carefully push the scales toward the top, making sure to leave some space between each piece and twirling each piece so the scales alternate. Play with the distance between the pieces until you start getting the distinctive pinecone look. When you’re happy with the shape, add the final small uncurled piece (G) at the bottom. Either dab the stem at the bottom with glue to adhere it to the bottom piece or tie a knot in the stem. Cut off the excess stem. Apply glue to the edges of the center scales on the top of the pinecone and hold them together to create a cylinder around the tip of the stem. Arrange the pinecone pieces until you achieve a natural shape by separating the pieces along the stem and re-curling the scale edges with your fingers as needed. This is what my finished glittery paper pinecones look like: I used these glittery paper pinecones in a table arrangement along with a reduced-scale version of my giant paper poinsettia pattern. And here's one in all white cardstock! Special thanks to the JenniferMaker Design Fairy Team, specifically Design Fairy Kelly, for helping me design this glittery pinecone and assemble this holiday-themed table decor. As an Amazon Associate and member of other affiliate programs, I earn from qualifying purchases.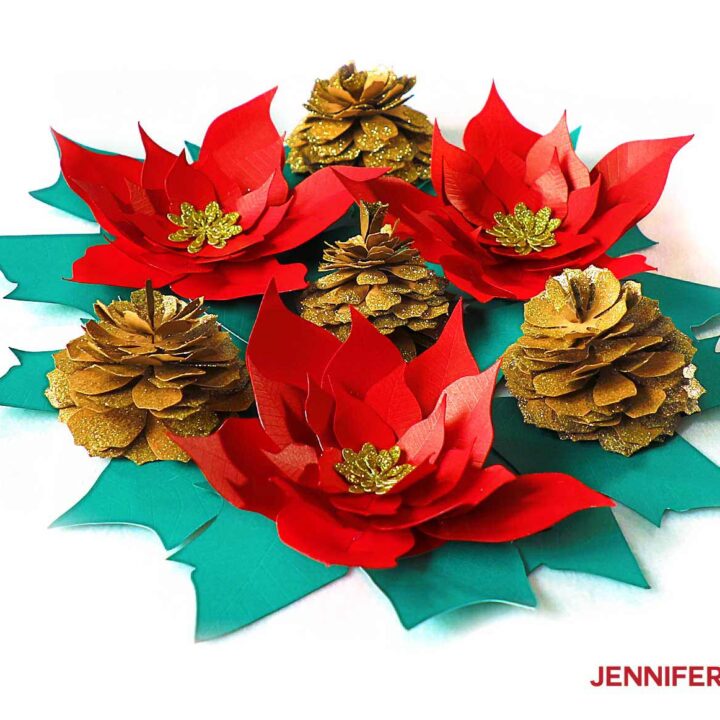
Christmas Pine Cones
Materials
Tools
Instructions
STEP 1: PREPARE AND CUT MY FREE DESIGN FILES
Gently remove each piece from the mat.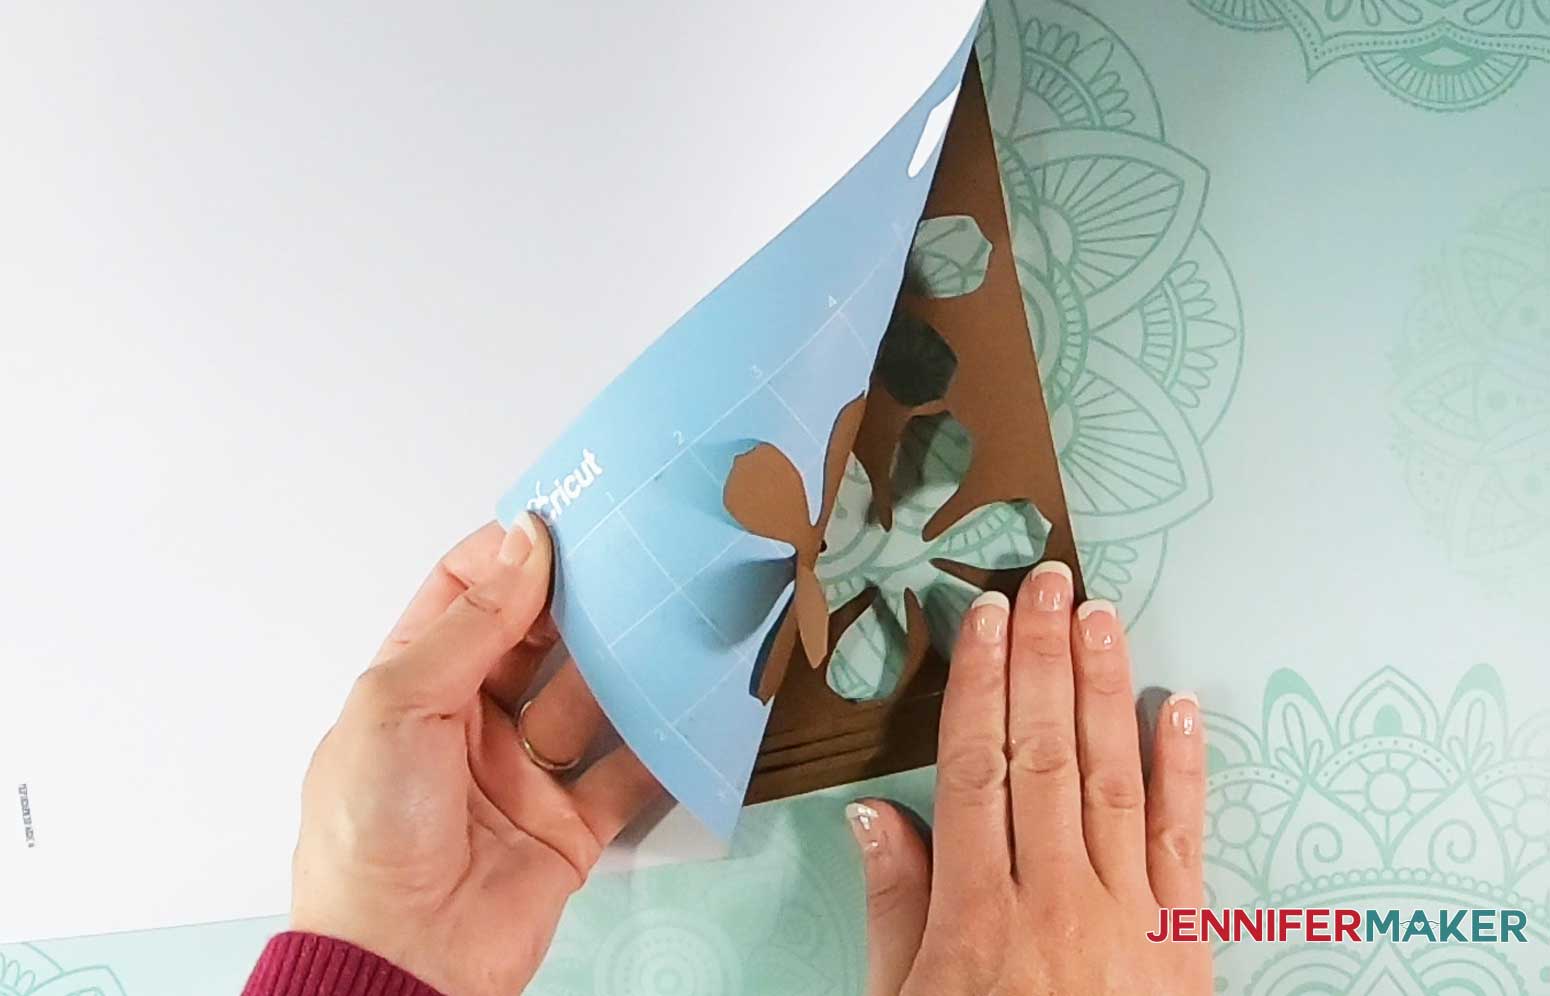
STEP 2: PREPARE AND DECORATE THE SCALES


STEP 3: ASSEMBLE THE PINECONE

STEP 4: SHOW IT OFF

Notes
ACKNOWLEDGMENTS
Recommended Products

Answers to Your Questions About How to Make Christmas Pine Cones
Q: Can these be made on the Cricut Joy?
Yes, they can!
Get my free SVG files to make Christmas Pine Cones
I’d love to see your Paper Christmas Pine Cones. This is an easy way to decorate and add a little sparkle! I think these would also look amazing as GIANT paper pine cones — just increase the pattern size before you cut! Please share a photo in our Facebook group or tag me on social media with #jennifermaker.
Love,

Want to remember this? Save this Christmas Pine Cones tutorial to your favorite Pinterest Board!

What about the original machine that came out…will the book help on it ??
The book will help you use Design Space which is the software that newer Cricut machines use. If you don’t currently use Design Space, this book will not be helpful the the machine your currently use.
The stick part will not even fit into the hole in the petals, even after folding along the score line. What am I doing wrong?
Hi Nicole, try folding it a bit smaller, maybe even folding it over a second time to see if that helps.
I love all of your crafts!!! I was wondering if you have made a star of Bethlehem svg? I think a light up one that you could put inside a shadow box would be awesome
Thank you, Marianne! I have not done a star of Bethlehem SVG, you are welcome to suggest it here though, https://jennifermaker.com/projectrequests/
Great teaching of pinecomes. You were very clear and I can’t wait to make some.
So glad you enjoyed it, Sheron!