
 Merry Christmas and Happy Holidays to everyone! What a wonderful month this has been, creating projects each day and sharing them with everyone. YOU are the best gift! And for today, the last day in my MAKE IT MERRY: 25 Days of Maker Projects Christmas, I want to give you something really special. Last week when I asked everyone for their favorite project in the Make it Merry series, the answer was overwhelmingly in favor of my Winter Lantern (people also love my new heart lantern as well). So for day 25, I’m doing something special—I am committing to designing 12 new paper luminaries and lanterns, each one available at the start of every month in 2018, and go very well with my DIY hanging lamp!
(NOTE: I originally wrote this in 2017, and met most of my 2018 commitment to design a new paper luminary each month during the year! You can find the entire list with the months if you go to my resource library and scroll about two/thirds of the way down the page to the heading that reads “MAKE THE LIGHT: PAPER LANTERNS.” But I’ve got even more great patterns in addition to these if you click on the “LANTERNS & LUMINARIES” box when you go to my resource library!)
But there’s more!
- Each month’s luminary or lantern will match the theme and spirit of the season (and YOU get input on what I put on each lantern!)
- My paper luminaries and lanterns will come in different styles, shapes, and techniques
- The luminaries and lanterns will form a special and exclusive collection of original designs. I’ll be filling up an empty shelf in my craft room … and I hope you’ll do the same!
Plus there’s something HIDDEN in each one…
In each design, I will hide something. (Don’t worry—I will give you hints as to what to look for!) If you find it and enter its name on a special page here on my blog, you will get access to a new and unique item that goes with your paper luminary or lantern. It could be an extra element to add to your lantern, a different layer, something that goes inside, or something to decorate it with.
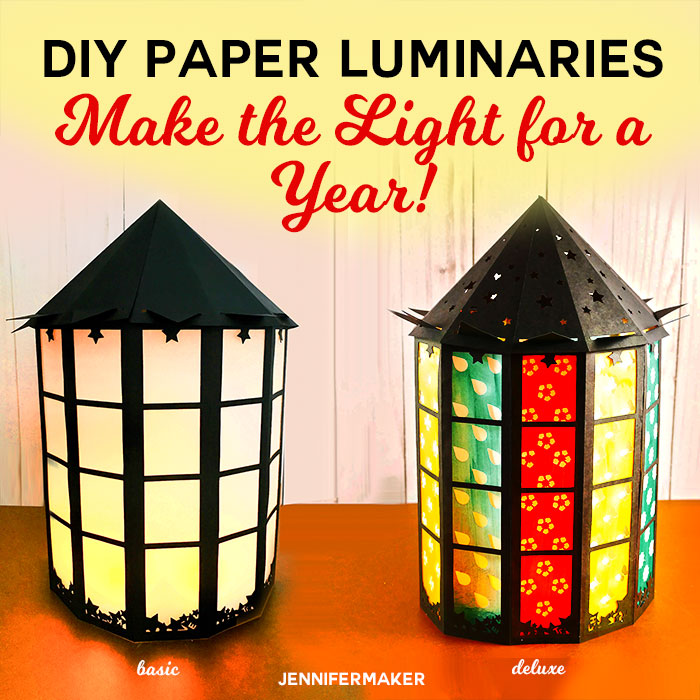
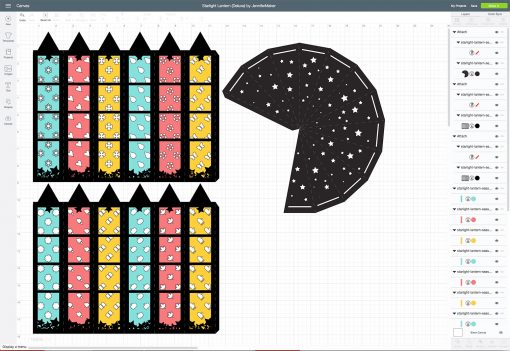
To get things rolling, I designed this new paper luminary for January 2018! This is a simple 12-sided lantern with a basic starlight design and a solid roof. Here’s what the basic lantern looks like:

You can make it as shown above, but if you find the HIDDEN PHRASE in the design and enter it in at a special page (all uppercase letters, no spaces), you’ll get access to a second layer that you put inside your luminary to see the seasons of the year PLUS a different version of the lantern’s roof that is filled with stars. Here’s what the deluxe version of this lantern looks like:
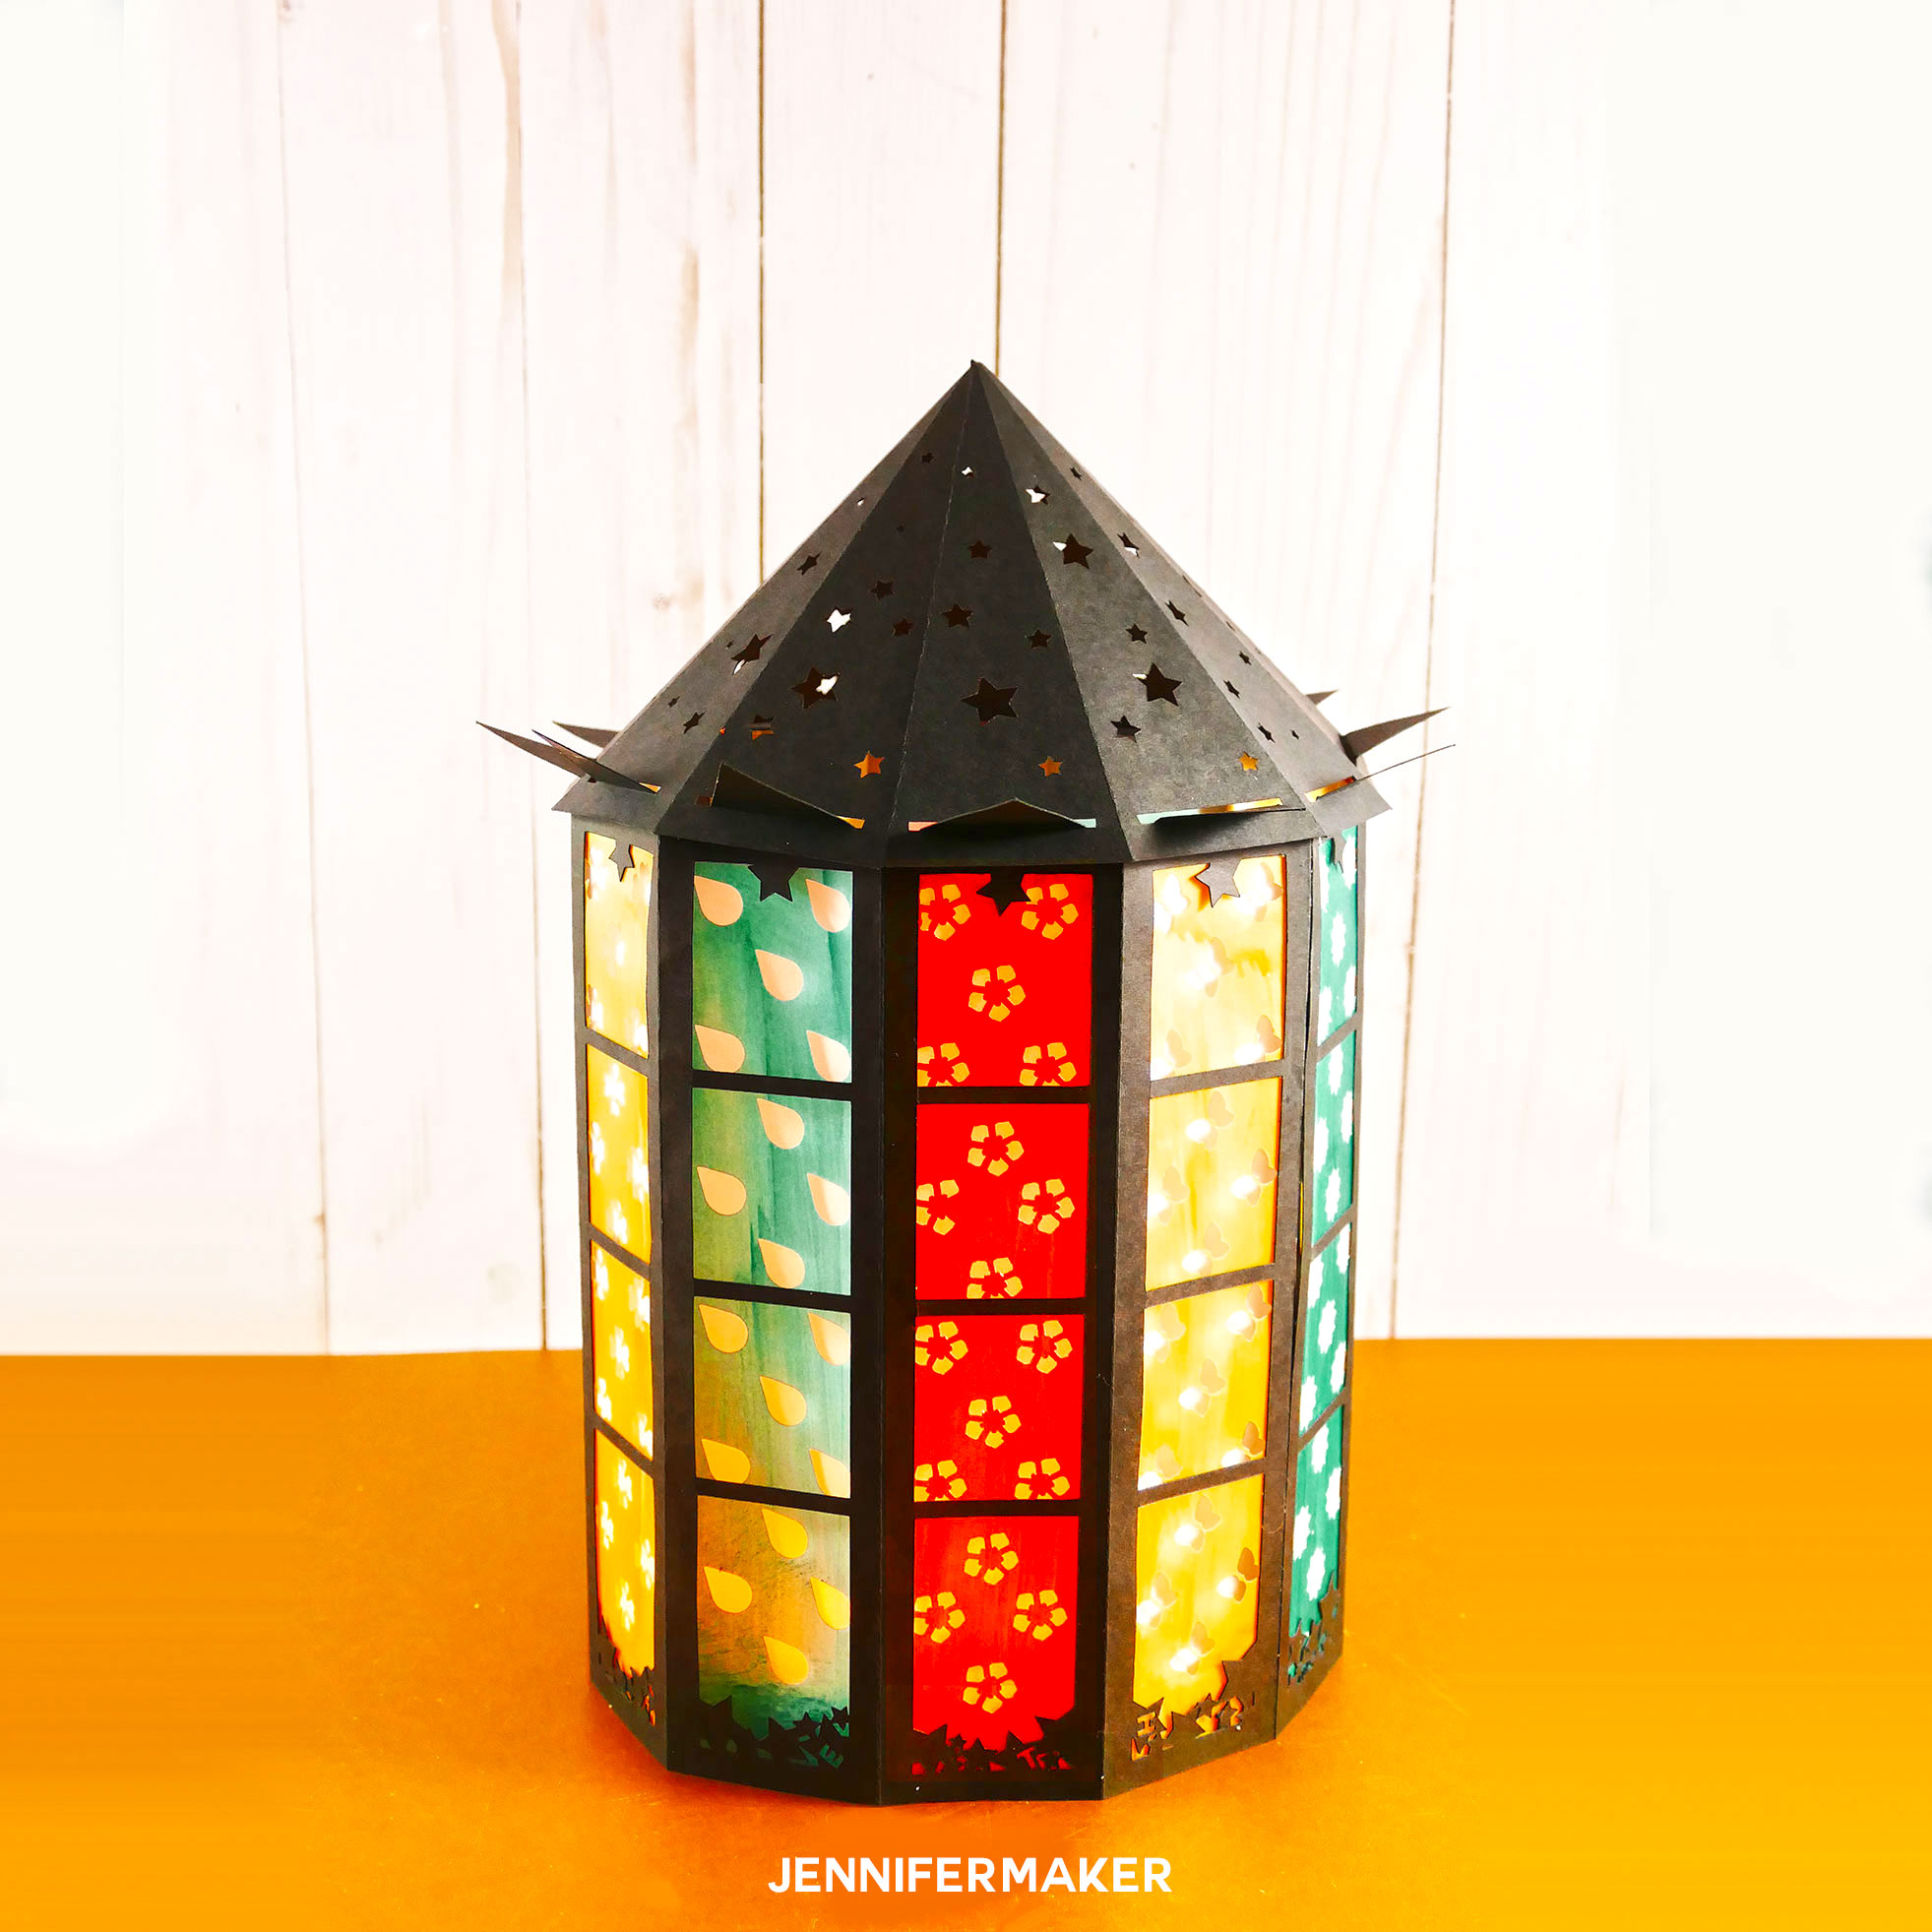
So to get this deluxe version, download the basic version from my free resource library, upload it to your favorite design software (such as Cricut Design Space), and look for the hidden phrase in the design. Then enter the phrase (all uppercase, no spaces) at this page: Starlight Lantern Deluxe (Hint: Some of the letters are sideways and may not all appear as they seem!)
Let me show you how to make this Starlight Lantern! This post contains some affiliate links for your convenience (which means if you make a purchase after clicking a link I will earn a small commission but it won’t cost you a penny more)! Read my full disclosure policy.
Materials for the DIY Paper Luminaries: Starlight Lantern
- 65lb. 12″ x 12″ cardstock (I used three sheets of black)
- Vellum (if you don’t have any, regular white copy paper works, too — I used 3 sheets of vellum
- (Optional) A way to color your vellum (I used alcohol inks, but you could also use markers)
- Tacky glue and/or spray adhesive
- LED tealights to put inside your lantern
- A way to cut your paper (I used a Cricut)
- Design #88 – My free SVG cut files/patterns (available in my free resource library—get the password at the bottom of this post)
How to Make Your Starlight Lantern
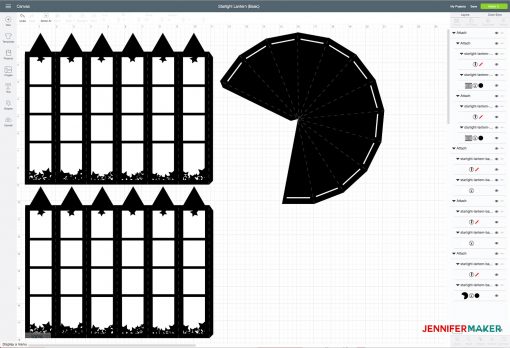
First, download Design #88 which is the pattern for this project from my free resource library. If you’re going to cut it out on your cutting machine, upload the file to your design software. If you’re not sure how to upload an SVG cut file to Cricut Design Space, watch this helpful video training series I made.
Cut out your cardstock and vellum. Note that there are score lines set in my file — you’ll need to change the score lines to “Score” and group everything back up before you cut it out. If you do not intend to score your project, delete or hide the four score line layers.
Fold the cardstock at each score line between each side.
At this point you should be able to see the hidden letters on each side of the lantern. Once you do, you can type them in (all uppercase, no spaces) at Starlight Lantern Deluxe to download the deluxe file to upload and cut. If you want to add in the bonus layers found in the deluxe version, cut it out now from either vellum or cardstock and glue it into each side.
Tip: If you’re making the Deluxe Version, you can color your vellum before you cut it out as I did. I used alcohol inks that I rubbed with a cotton pad to soften and look like stained glass. If you don’t have alcohol inks, you can get a similar effect with water-based markers and a damp cotton ball.
Glue the vellum inside the lantern.
Glue the two sides of the lantern together at both tabs to create a cylinder.
Fold your roof at the score lines.
Glue the roof together at the tab to form a cone.
Place the roof on top of the lantern. The points go into each slot in the roof.
Fold over the points inside the roof slots to keep the roof in place.
Put a tealight in it and enjoy the light!
Get my free cut files for the Starlight Lantern
If you make one, please do send me a photo at [email protected] or tag me on social media with #jennifermaker.
Happy Holidays!! See all of the tutorials and free designs in my MAKE IT MERRY: 25 Days of Maker Projects Christmas!


This is such an awesome and unique idea! I can’t wait to see each month’s design in the coming year. Thanks for all you do! 🙂
Love this.
So glad to hear that, Jeanne!
Thank you! This will be fun!