

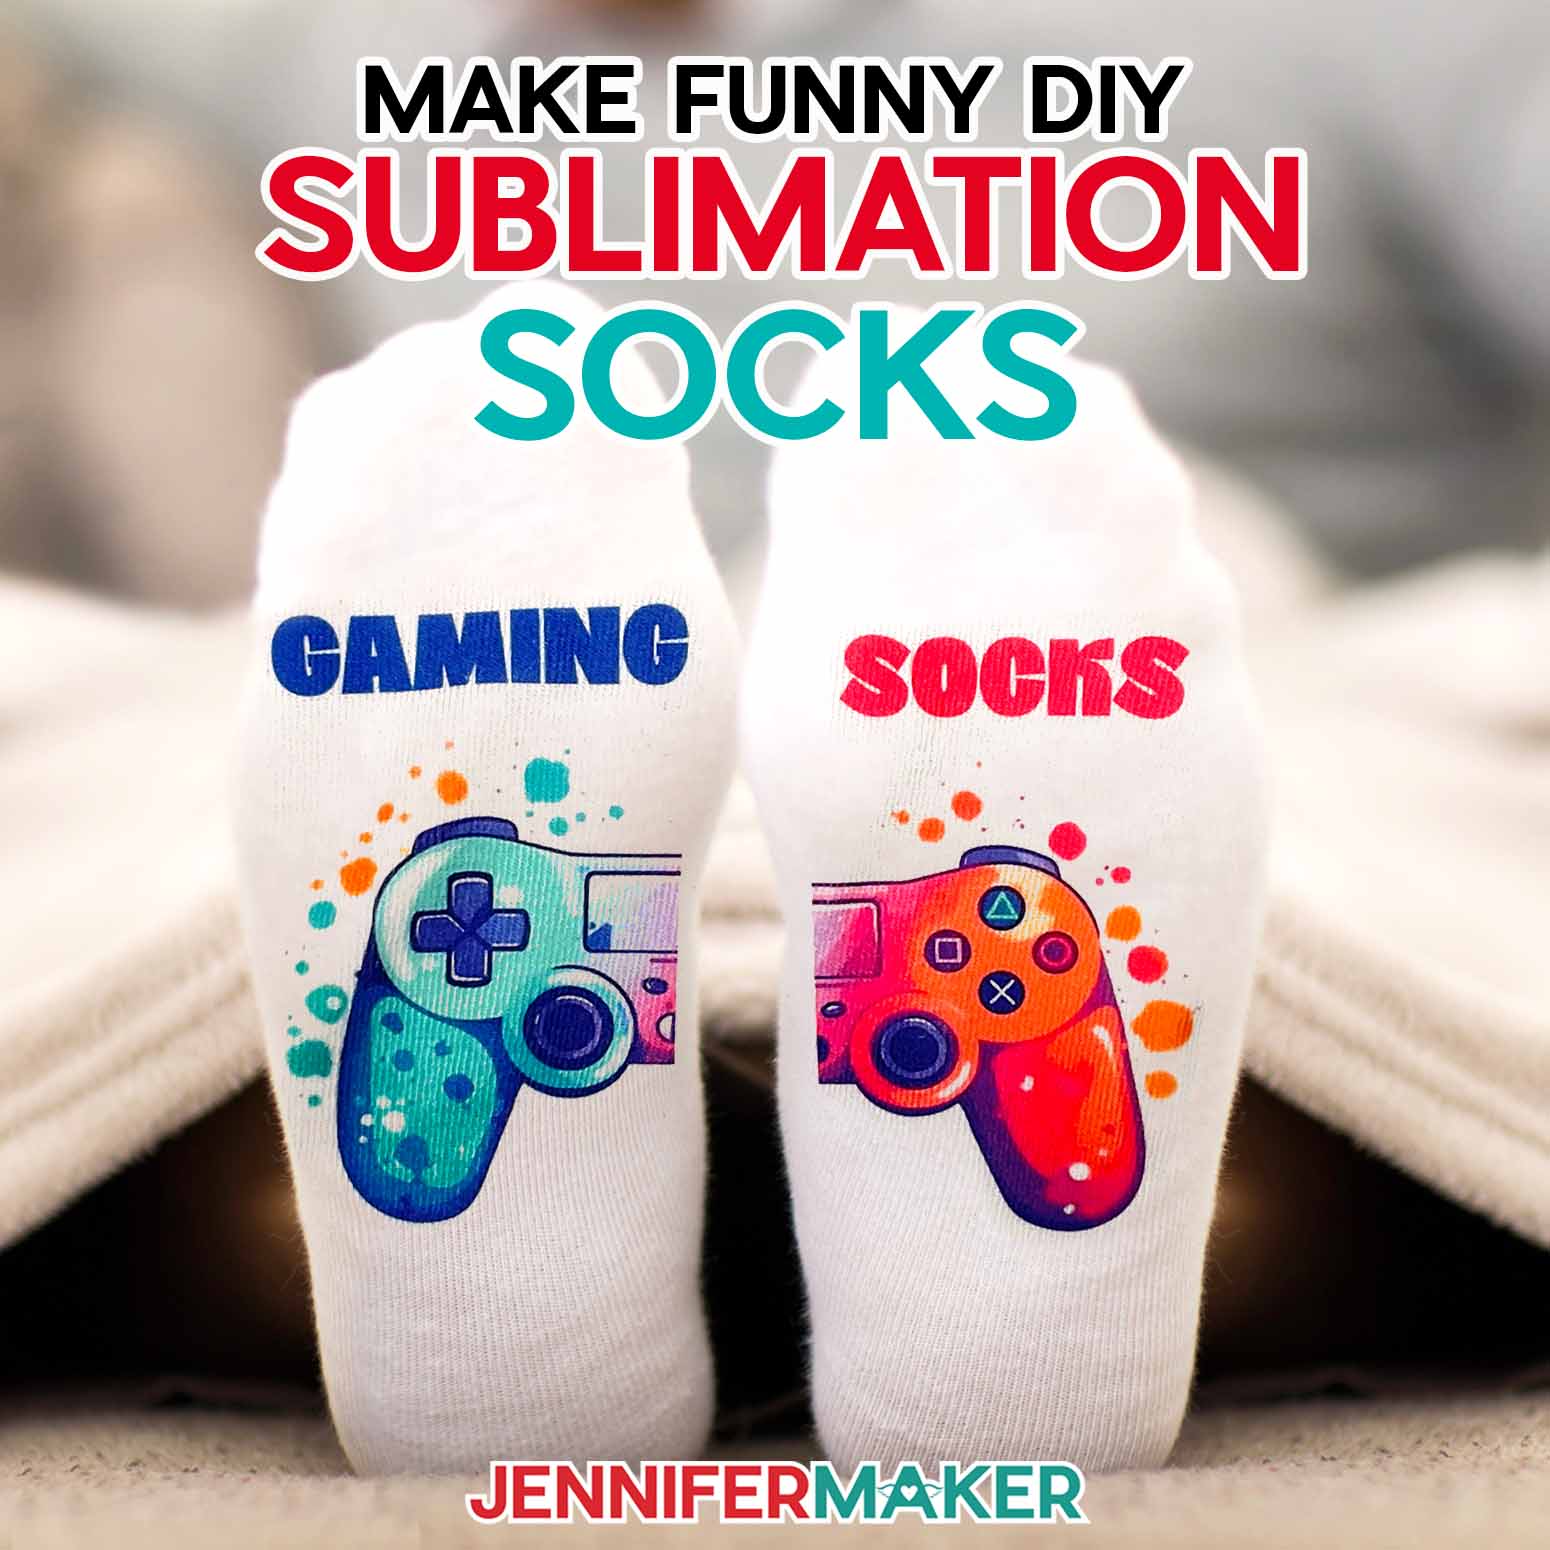
Learn how to make adorably fun and personalized socks – great for movie nights, curling up with a good book, or crafting your time away! These DIY funny socks with sayings make great gifts, too! I teach you how to make these fun socks with either Infusible Ink or iron-on vinyl in this tutorial.
Have you seen those socks with sayings on the bottom of them, so when you put your feet up, they say “Coffee please” or “Bring Me Tacos?” They are SO cute. And perfect for wearing around the house this time of the year — I, myself, am a great lover of socks. The only problem with these socks is that it can be hard to find just the right saying in just the right style. But when you can make your OWN socks, and personalize them however you want, suddenly all options become available! So for Day 21 of The Great Maker 25-Day Gift-Away Challenge, I am showing you how to make DIY funny socks with sayings.
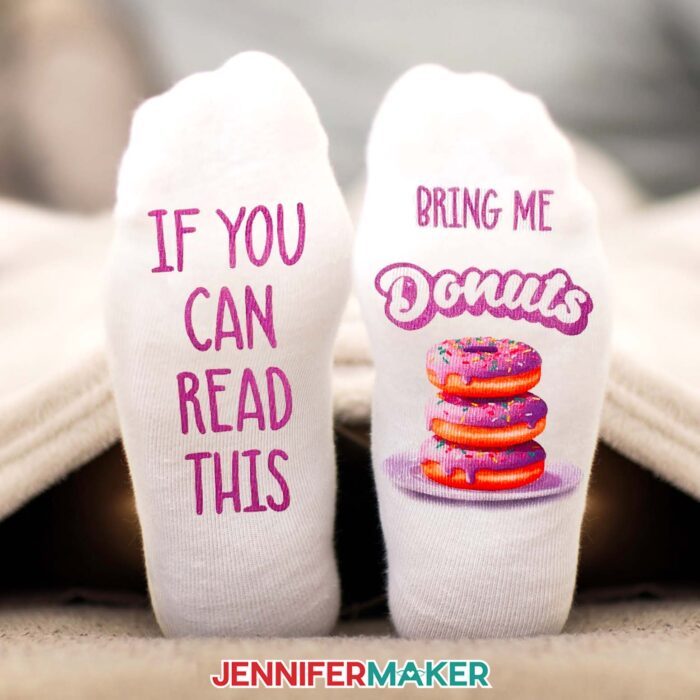
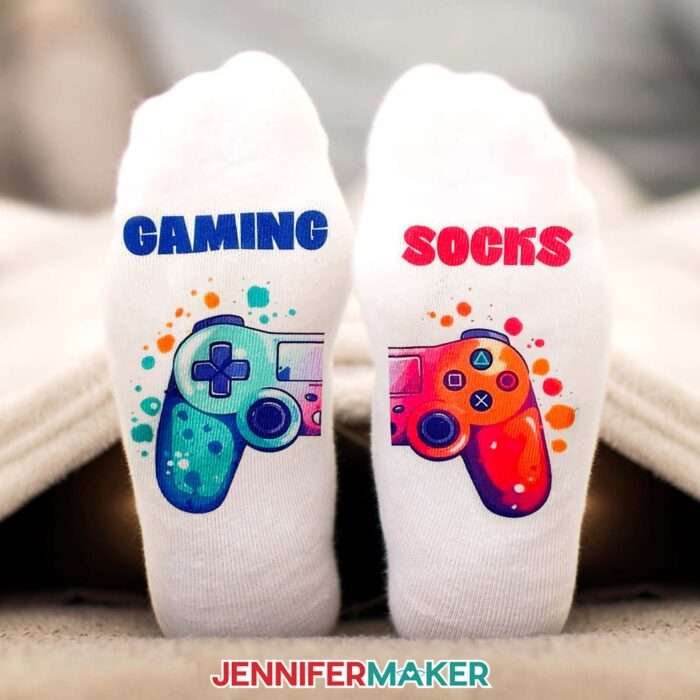
July 2023 Update: I’ve added sublimation designs made with an AI generator for even more DIY funny socks with sayings! You can combine these designs with my tutorial on How to Sublimate Socks to create super-durable projects!

See exactly how to make these fun socks with sayings in my tutorial video, or keep scrolling to read the tutorial:
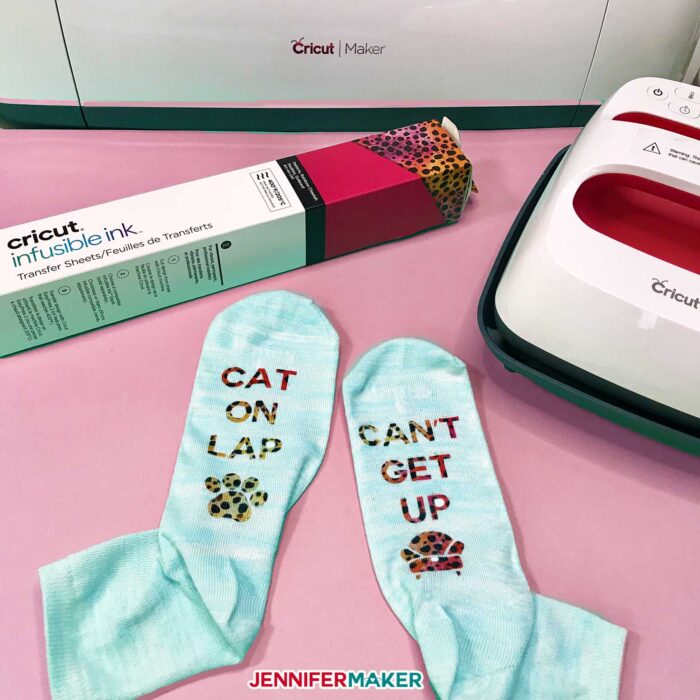
What kind of socks do you use for this project? The type of socks you prefer to wear and buy will determine HOW you make your sock sayings. If you buy cotton socks, you’ll need to use iron-on vinyl. If you buy polyester socks, you can use a flexible iron-on vinyl like Cricut SportFlex. And if those polyester socks are also white or light colored, you can use Cricut Infusible Ink! Between the three materials, Infusible Ink is by far my favorite. It stretches right along with the sock and it’s not coming off any time soon, unlike some of the iron-ons. That said, if the sock is just meant to be worn once in a while, any of these materials are probably fine. Your choice!
Remember, if you want to make the sublimation socks, you’ll get the best results with white, 100% polyester socks.
I have links to all the socks, vinyl, and Infusible Ink I used for these DIY funny socks with sayings below (under “Materials”). In addition to the socks and material, you need a way to cut your material, like a Cricut cutting machine, a way to press it onto your sock, like an EasyPress, some parchment paper, and some card stock. A lint roller is also a great idea!
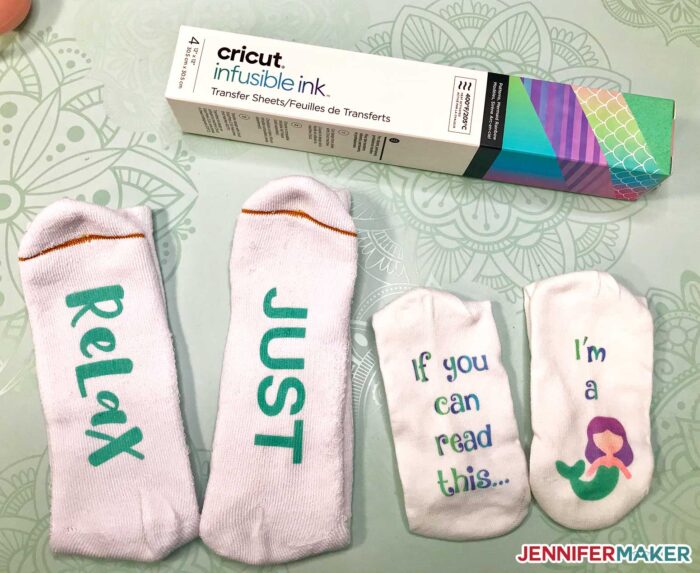
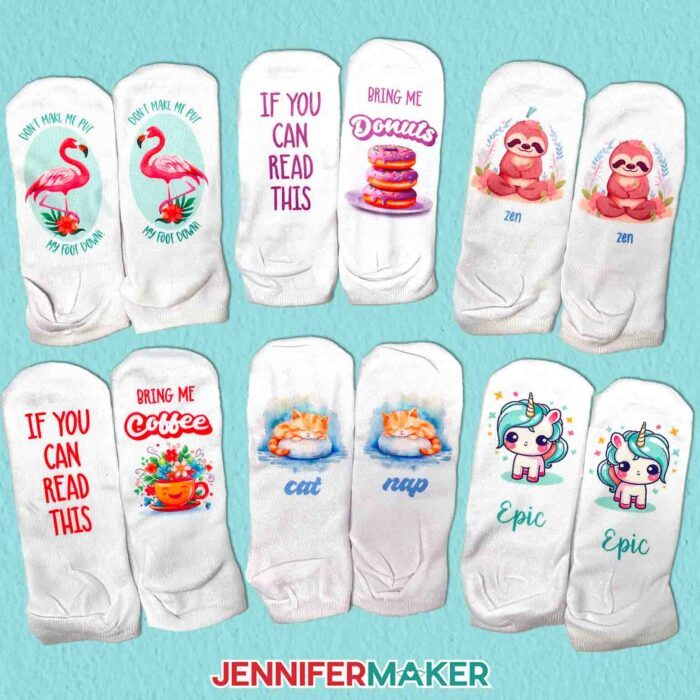
I’ve made 10 different sock designs for iron-on vinyl or Infusible Ink transfer sheets that you can use freely— you’ll find them over in my free library here on my blog. Let me show you where to get them, then I’ll show you how to cut them out and get them onto your socks!
June 2023 Update: To make even more DIY funny socks with sayings, you can use my free sublimation designs! Follow my tutorial on How to Sublimate Socks to use my designs to make some super cute socks.
Some of the designs are the same on both feet, so you don’t need to pay attention while slipping them on.
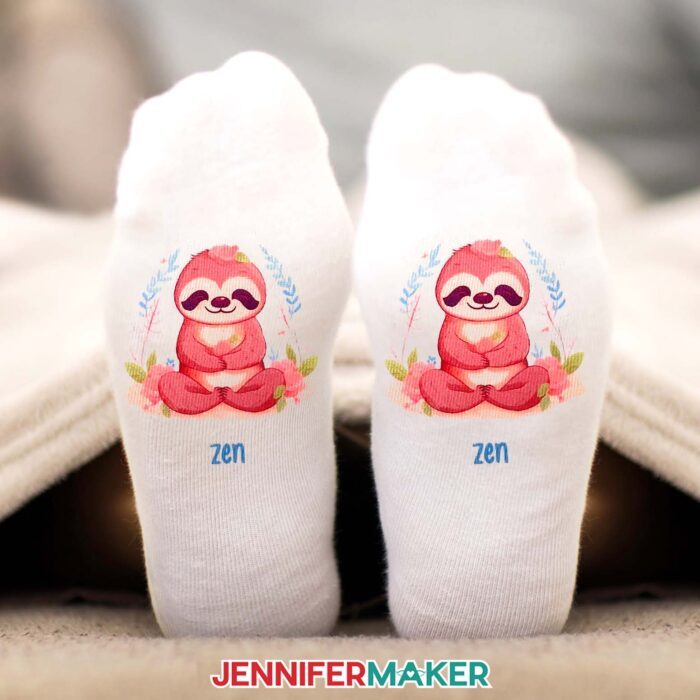
But if you make the sublimation socks that are best read together, make sure to put each sock on the correct foot!
Ready to make your own DIY funny socks with sayings? I’m excited to show you how! This post contains some affiliate links for your convenience (which means if you make a purchase after clicking a link I will earn a small commission but it won’t cost you a penny more)! Read my full disclosure policy.
Materials to Make DIY Funny Socks With Sayings
To make socks with sayings using iron-on vinyl or Infusible Ink Transfer Sheets:
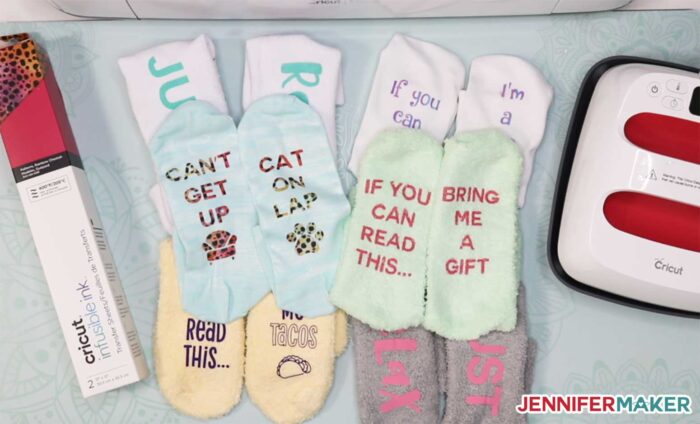
- Cozy fuzzy socks – I also used these white socks from Target
- Cricut Infusible Ink (for white or light colored mostly polyester socks) -OR- Cricut SportFlex Iron-On Vinyl (for mostly polyester socks) -OR- Cricut Everyday Iron-On Vinyl (for cotton socks)
- Lint Roller
- Parchment paper
- White card stock or paper
- Cricut Tools
- Cricut Easy Press
- Cricut Easy Press Mat
- Standard Grip Cutting mat (the 12″ x 12″ size)
- A way to cut your stencil (I used the amazing Cricut cutting machine!)
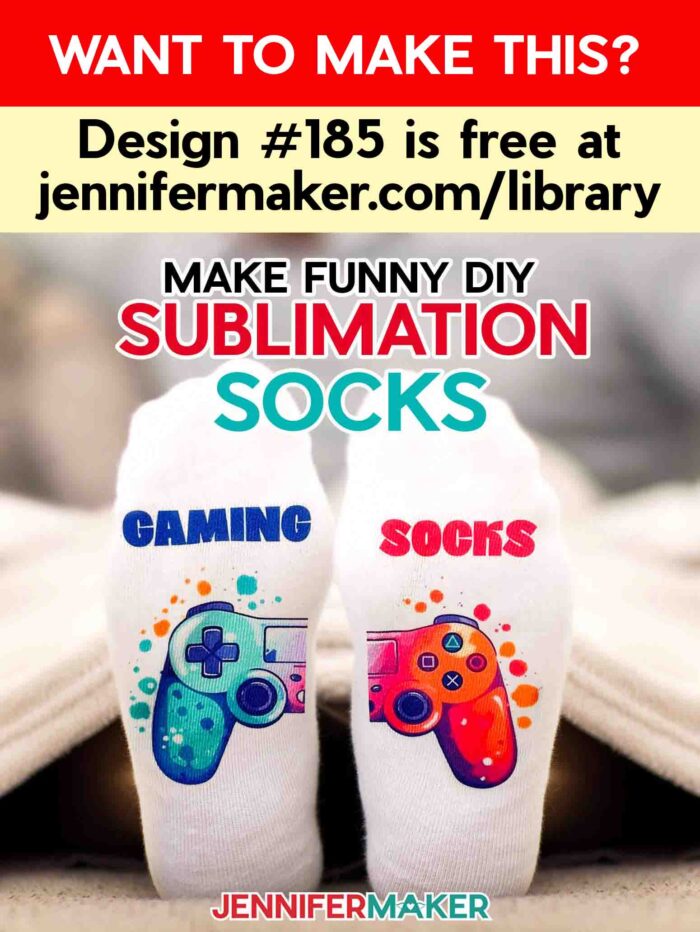
- Design #185 – My free SVG design files and template (available in my free resource library—get the password by filling out the form at the bottom of this page)
To sublimate sayings on socks, you will need:
- White 100% Polyester Socks
- Sock Jigs
- Sublimation Printer – I used a converted Epson EcoTank Inkjet Printer
- Sublimation Paper – I used this awesome sublimation paper
- Sublimation Ink – I used this excellent sublimation Ink
- Heat Press – I used the Cricut EasyPress 2 9″ x 9″
- Heat Press Mat – I used my 12″ x 12″ EasyPress Mat
- Heat resistant gloves
- Free Google account
- Heat Resistant Tape
- White Cardstock 12″ x 12″
- White Butcher Paper
- Lint Roller
- Ruler
- Scissors or paper trimmer
- Fan
- Design #185 – My free PNG sublimation design files and template (available in my free resource library—get the password by filling out the form at the bottom of this page)
How to Make Funny Socks with Sayings
Step 1: Get my free DIY funny socks with sayings designs
You can use your own design, or one of my free sock sayings designs. My SVG cut file contains 10 different designs to make your own slipper socks. Get my sock designs (Design #185) from my free resource library (get the password to the library in the form at the bottom of this post).
Here’s what the SVG cut file will look like when you upload it to Cricut Design Space:
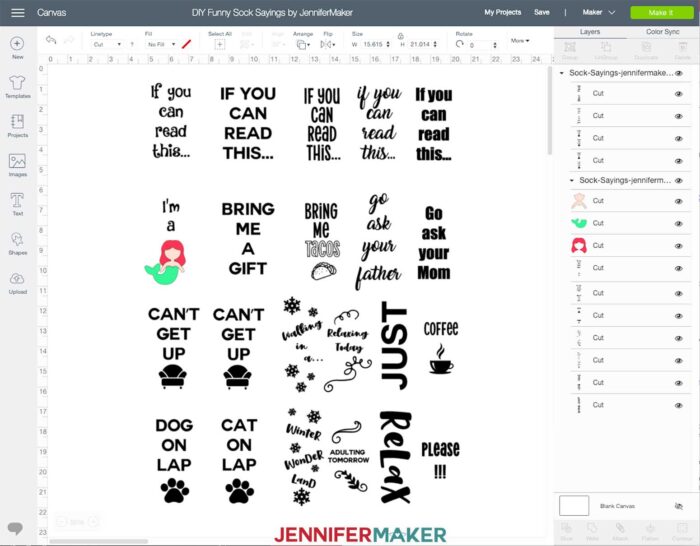
Tip: If you’re not sure how to upload an SVG cut file to Cricut Design Space, watch this helpful video training series I made. If you’re on an iPhone or iPad, here’s how to download and upload SVG files to the Cricut Design Space app.
Step 2: Prepare your Sock and Design File for Cutting
Measure your socks so you know where your sayings can go and what size you should make them. To do this, take a piece of white cardstock, fold it in three lengthwise, and insert it into the sock all the way to the toe. Make sure your sock’s bottom is centered, then measure the space on the bottom of the sock with a ruler. Keep this paper in your sock for later.
Now pick which design you want to put on your pair of socks based on the available space, or design your own!
You’ll also want to decide if you want to make your personalized socks from iron-on vinyl (HTV) or from Infusible Ink. I think Infusible Ink lasts longer and looks nicer, but you do have to use white or pastel socks that are all or mostly polyester for it to work. If you don’t have Infusible Ink, or want to use a dark-colored sock, you can just use iron-on vinyl instead.
Don’t forget to mirror your image! You need to mirror regardless of whether you cut with iron-on vinyl or Infusible Ink.
Step 3: Cut Out Your Sock Design
Using a green standard grip mat, place your chosen material on the cutting mat, select the proper cutting material, load your fine-point blade into your Cricut machine, and press the flashing button to begin the cut.
Note: I had to send my Infusible Ink transfer sheets back through for a second cut in order to weed them easier. To do this, press the “C” button after your first cut finishes and BEFORE you unload the mat.
Step 4: Weed Your Cut Design
Make sure to carefully weed your design by removing the excess material around it.
If you’re weeding iron-on vinyl, it’s helpful to use a weeding tool.
If you’re weeding Infusible Ink, it’s recommended that you employ the “cracking” method. To do this, peel the cutting mat away from your cut design (which is what I always recommend anyway), then slightly bend and roll the cut paper until you hear a little cracking sound (which happens as the cuts separate). Don’t worry if your design lifts off the liner a bit. After you “crack” your cut design, just take away the excess paper and you’ll be left with just your design on the liner.
Step 5: Position Your Sock on the Pressing Mat
With the folded cardstock still in your sock, position the sock with the sock bottom up and the heel closest to you so that your design is readable when you can see a person’s feet up. Smooth out the bumps as best you can. See my video for the exact placement of the sock.
Step 6: Place Your Sock Design and Press
Cover with parchment paper and pre-heat the sock for 15 seconds.
Run a lint roller over the sock to remove stray fuzz.
Now, place your sock saying design in the center of each of your socks, cover again with parchment paper, and press again. If you’re using Infusible Ink, press for 40 seconds at 385°F. If you’re using iron-on vinyl, check the Cricut Heat Guide for the exact pressing time and temperature.
Step 7: Let Your Personalized Socks with Sayings Cool
Let your socks cool before trying to peel up the liner. Once cooled down from hot to warm, carefully pull up the liner and enjoy your cozy new socks!
Care Instructions: If you make the iron-on vinyl socks, you’ll want to mostly just lounge about in them, or I think the vinyl would eventually start to wear off with all of the abrasion from walking. Turn them inside out when you wash them to keep them looking good for as long as possible. If you make the Infusible Ink socks, you can do anything in those and they should stay looking good for a long time to come! These make a great gift, or are super fun to make for yourself!
Answers to Your Questions About Making DIY Crazy Socks
Q: Can Cricut print on socks?
A: No, a Cricut cutting machine doesn’t print designs. But, you can use the Print then Cut feature to control a printer to make your design.
Q: What kind of vinyl do you use for socks?
A: Iron-on vinyl is a great way to decorate cotton socks.
Q: Does Cricut vinyl stay on clothing?
A: Yes, if you use the correct heat and pressing settings from my tutorial, HTV will stick to clothing. The designs will last up to 50 washes if you treat them well, wash and dry them inside out and on gently settings.
Q: Can you sublimate on socks?
A: Yes! You can add designs to polyester sublimation sock blanks very easily. Sublimation is a great choice for socks, because the ink is heat activated, meaning it won’t run or fade due to moisture.
Q: What is the best way to sublimate socks?
A: After some testing, I found that using the right jigs was the key to easy sublimation socks.
Q: What material are sublimation socks?
A: Most sublimation socks are 100% polyester.
Q: Can you sublimate on cotton socks?
A: You can, but the designs will not transfer well because sublimation inks are designed to work with polyester.
Q: Can I heat press on socks?
A: Yes, you can use iron-on vinyl, Infusible Ink products, and sublimation inks to make custom socks.
Q. Do I have to use a Cricut machine for sublimation designs?
A: No! The sublimation socks don’t require a Cricut at all!
Q: Can you use a Cricut for sublimation?
A: While a Cricut cutting machine doesn’t have the capability to create a physical sublimation design, you can use the Print then Cut feature to create the file in Cricut Design Space and control a sublimation printer for sublimation printing!
Q: Where can I find high quality images to create sublimation designs in Cricut Design Space?
A: In addition to my free resource library (a great option!), check out Cricut Design Space, Adobe Photoshop, Design Bundles, Silhouette Studio software, Creative Fabrica, Creative Market, Font Bundles, and other online marketplaces for photos.
Q: What kind of paper do I use for sublimation?
A: While some people will use just regular laser paper, I really recommend you use special sublimation paper for vibrant color, good results and ink transfer. I used A-SUB paper during my tests.
Q: What kind of ink do I use for sublimation?
A: You must use special ink to do sublimation projects.
Q: How do I test my sublimation prints for vibrancy and color?
A: Use my free subliflower design to see how your colors look on the special paper! It’s Design #385 in my resource library!
Q: How do I learn sublimation for beginners?
A: Join Sublimation Startup for a logical, step-by-step guide to getting setup for success with sublimation! You can ask questions and feel confident that you’ll get help! The Sublimation Startup mini-course is also great for those who enjoy learning from our easy-to-understand, calm, and clear method of teaching. This is a no-fluff, no-mess, no-distraction workshop … it’s like sitting down in my craft room to learn directly from me! We work in logical steps to build your understanding and confidence with sublimation, and then provide support to keep helping you as you continue on your journey! Register now!
Q: Can I use a sublimation printer for regular prints, too?
A: No, a high-quality sublimation printer (whether purpose-built or converted) only prints in sublimation ink. And you cannot really switch a converted printer back to being an inkjet printer without a LOT of effort and wasted ink. An Epson Ecotank printer is an inexpensive option to convert, but see my reviews to pick the best sublimation printer for your goals!
Get my free SVG files to make your own customized socks with sayings on them!
I’d love to see your fuzzy sock projects and all the other fun ideas you come up with to use vinyl and Infusible Ink! If you make one, please share a photo in our Facebook group, email it to me at [email protected], or tag me on social media with #jennifermaker.
Love,

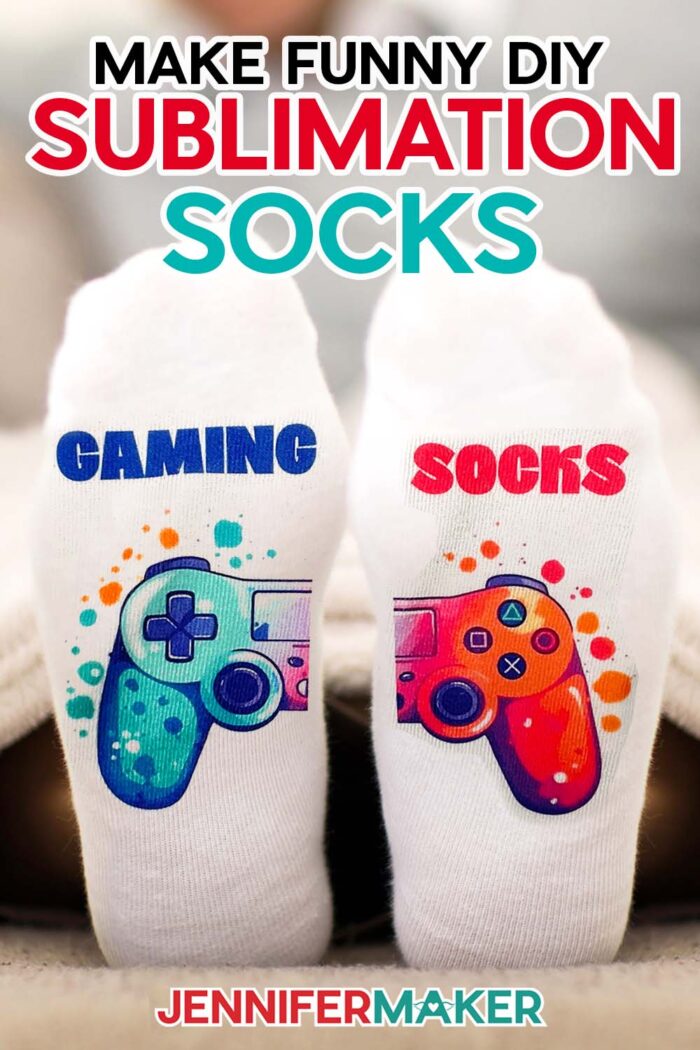
Want to remember this? Save the DIY Funny Socks with Sayings Tutorial to your favorite Pinterest Board

Hi Jennifer
I came across your tutorials as i was searching utube on how to make things with my cricut machine and just love the things you make. it really inspires me to watch your videos as you go into detail on how to download svg files and more. Your videos have given me a lot of ideas and how too’s with my machine,
Love love your inspiration