
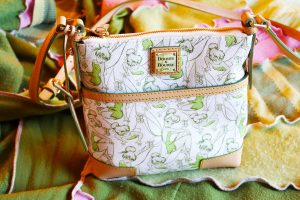
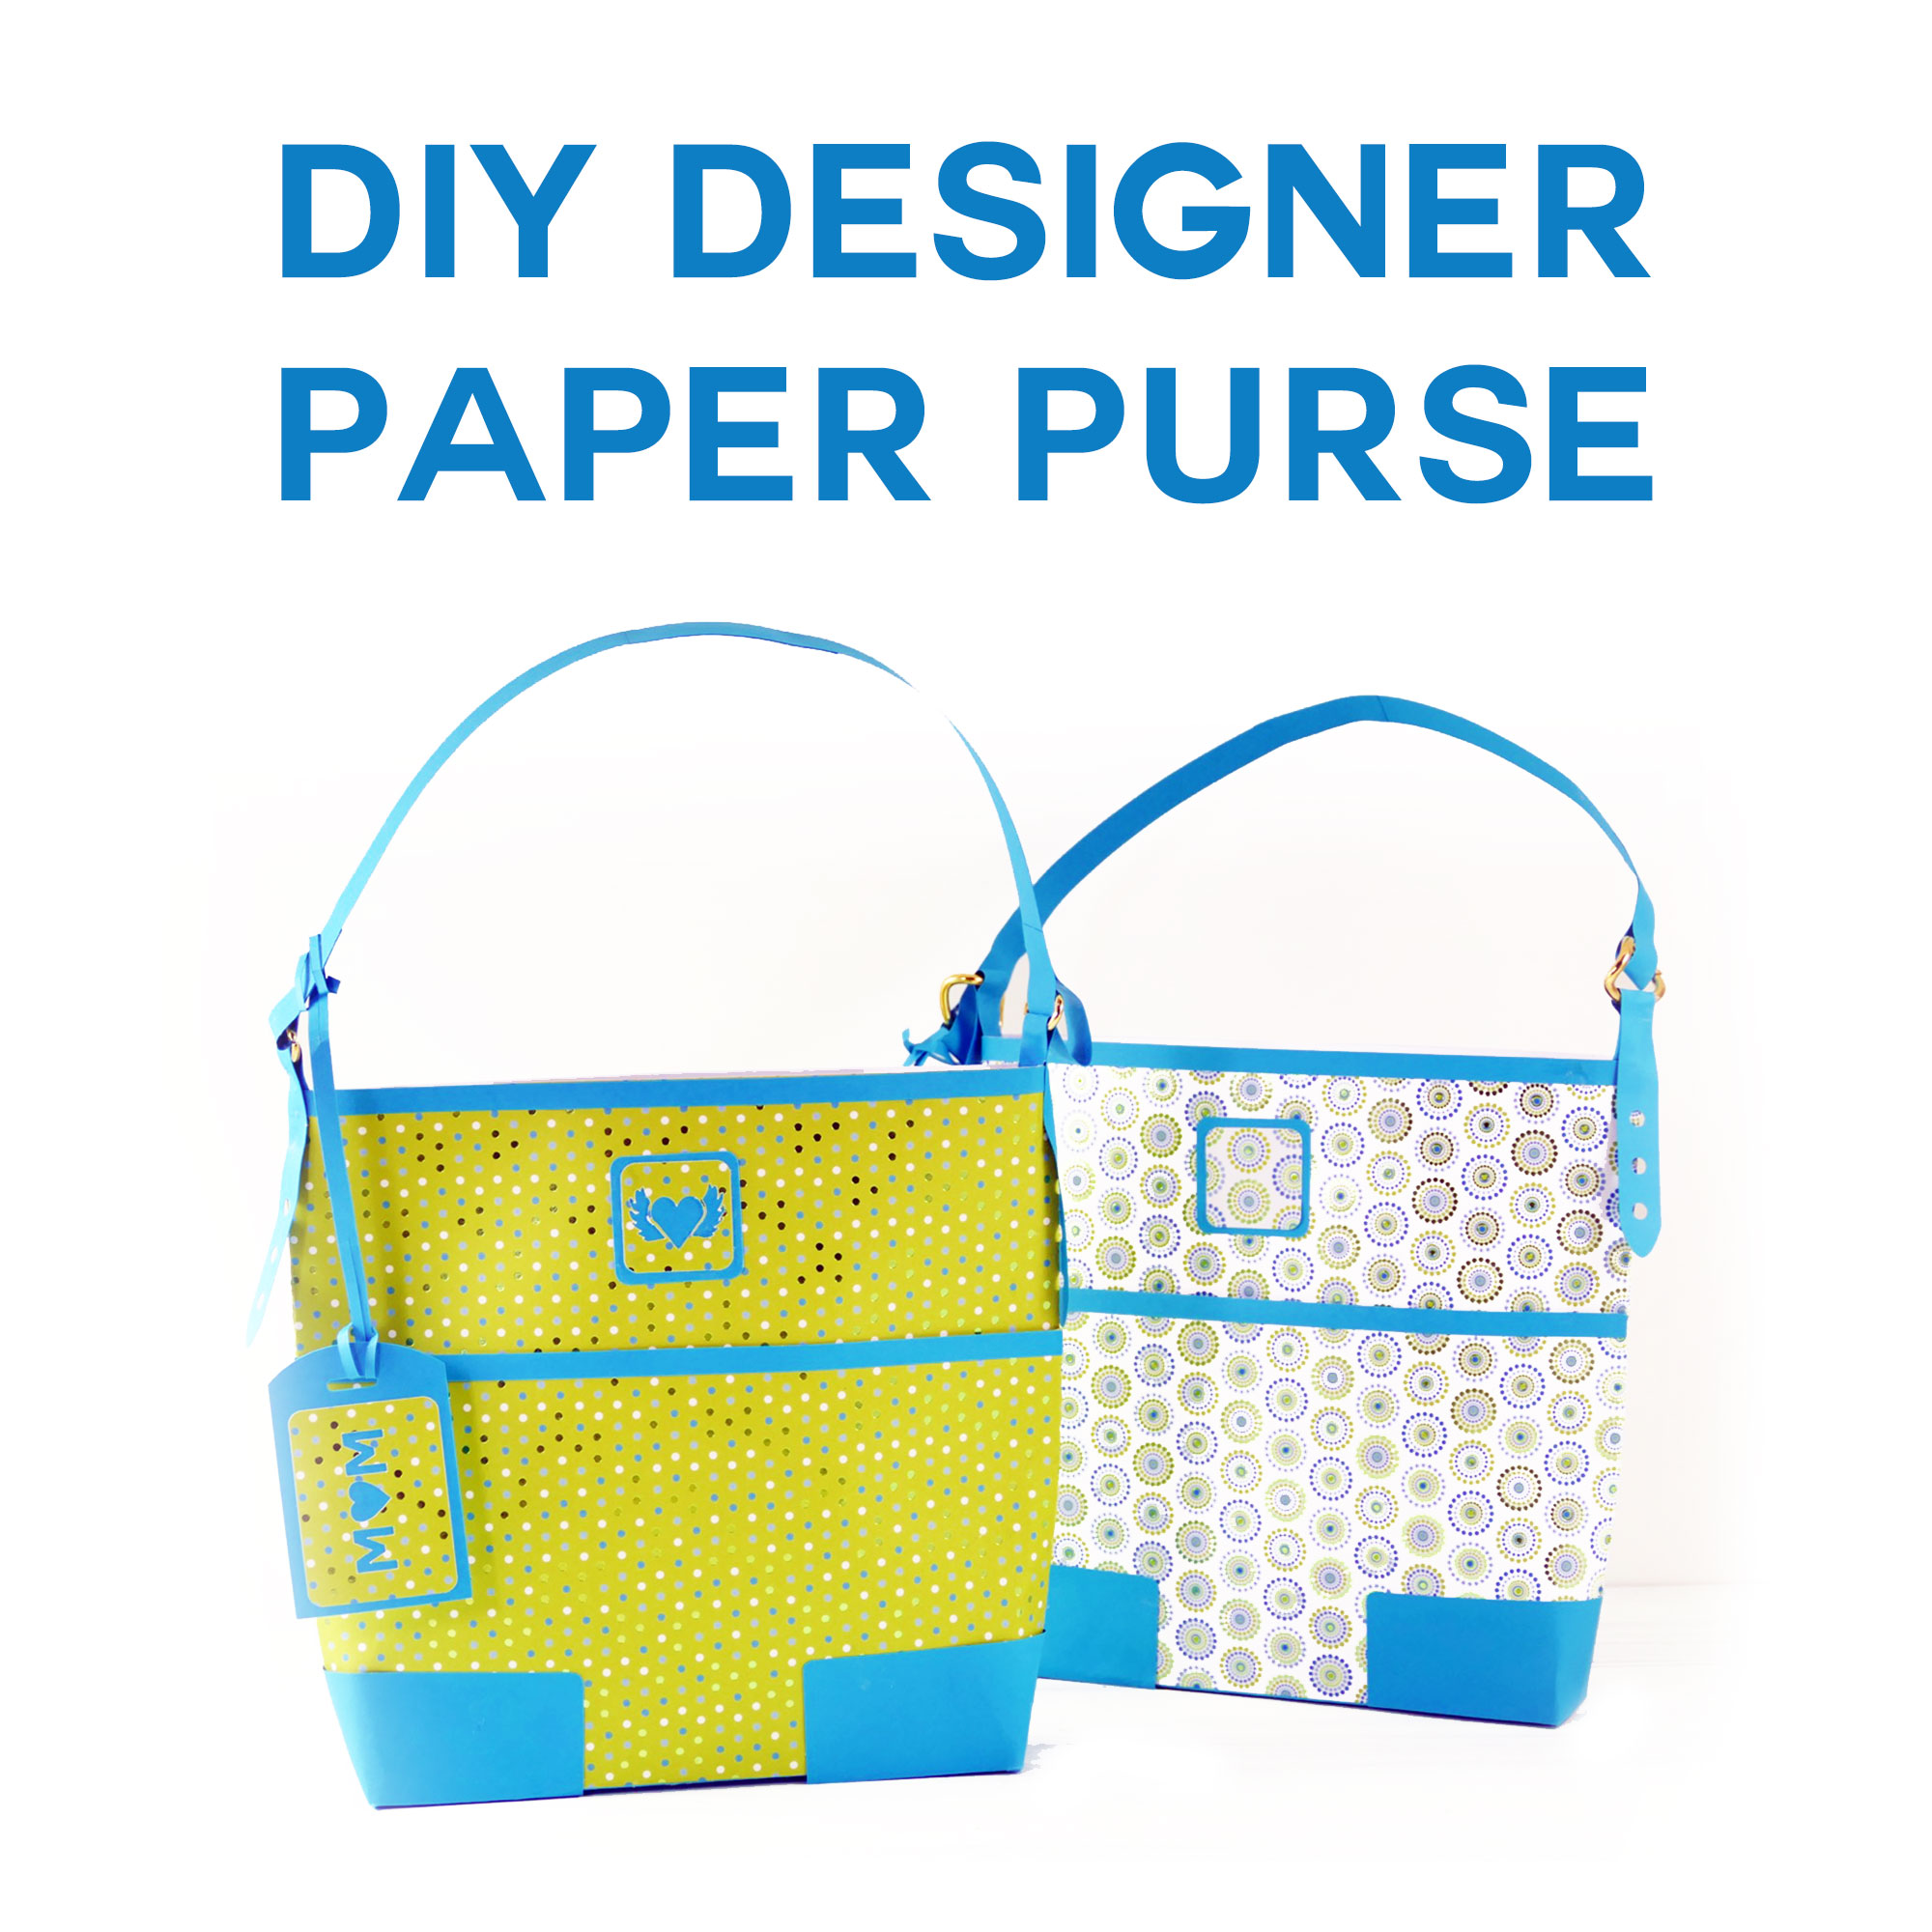
Two years ago I indulged in a little luxury: a Dooney & Bourke purse with a Tinker Bell pattern on the leather. I got it to go with my Tinker Bell-themed sweater coat, but I fell in love with it and I carry it everywhere I go now. So I used this bag as inspiration to design a paper version that doubles as a super classy gift bag. It turned out to be a really fun project and I was amazed at the results I got using just cardstock. It looks like a real purse! I am SO excited to share my designer paper purse with you, along with a complete tutorial and a full-length project video, so you can make your own.

Designer Paper Purse Materials

This post contains some affiliate links for your convenience (which means if you make a purchase after clicking a link I will earn a small commission which helps keep my blog up and running but it won’t cost you a penny more)! Read my full disclosure policy.
- One sheet of 8.5″ x 11″ of 65# cardstock, double-sided. I used Core’dinations Solid Core Dyed Cardstock.
- Two sheets of 12″ x 12″ of 80# or 100# cardstock. I used DCWV White Ginger Stack. I recommend you use pretty heavy cardstock for a sturdy finished project.
- Two metal rings, about 3/4″ to 1″ in diameter
- Glue (I used Aleene’s Original “Tacky” Glue)
- Ruler (I used a Dritz Super Seamer Ruler)
- A way to cut your cardstock (I use a Cricut Explore Air 2)
- Design #26 – Cut files (available free from my resource library—get the password to the library by subscribing (free) with the form at the bottom of this post).
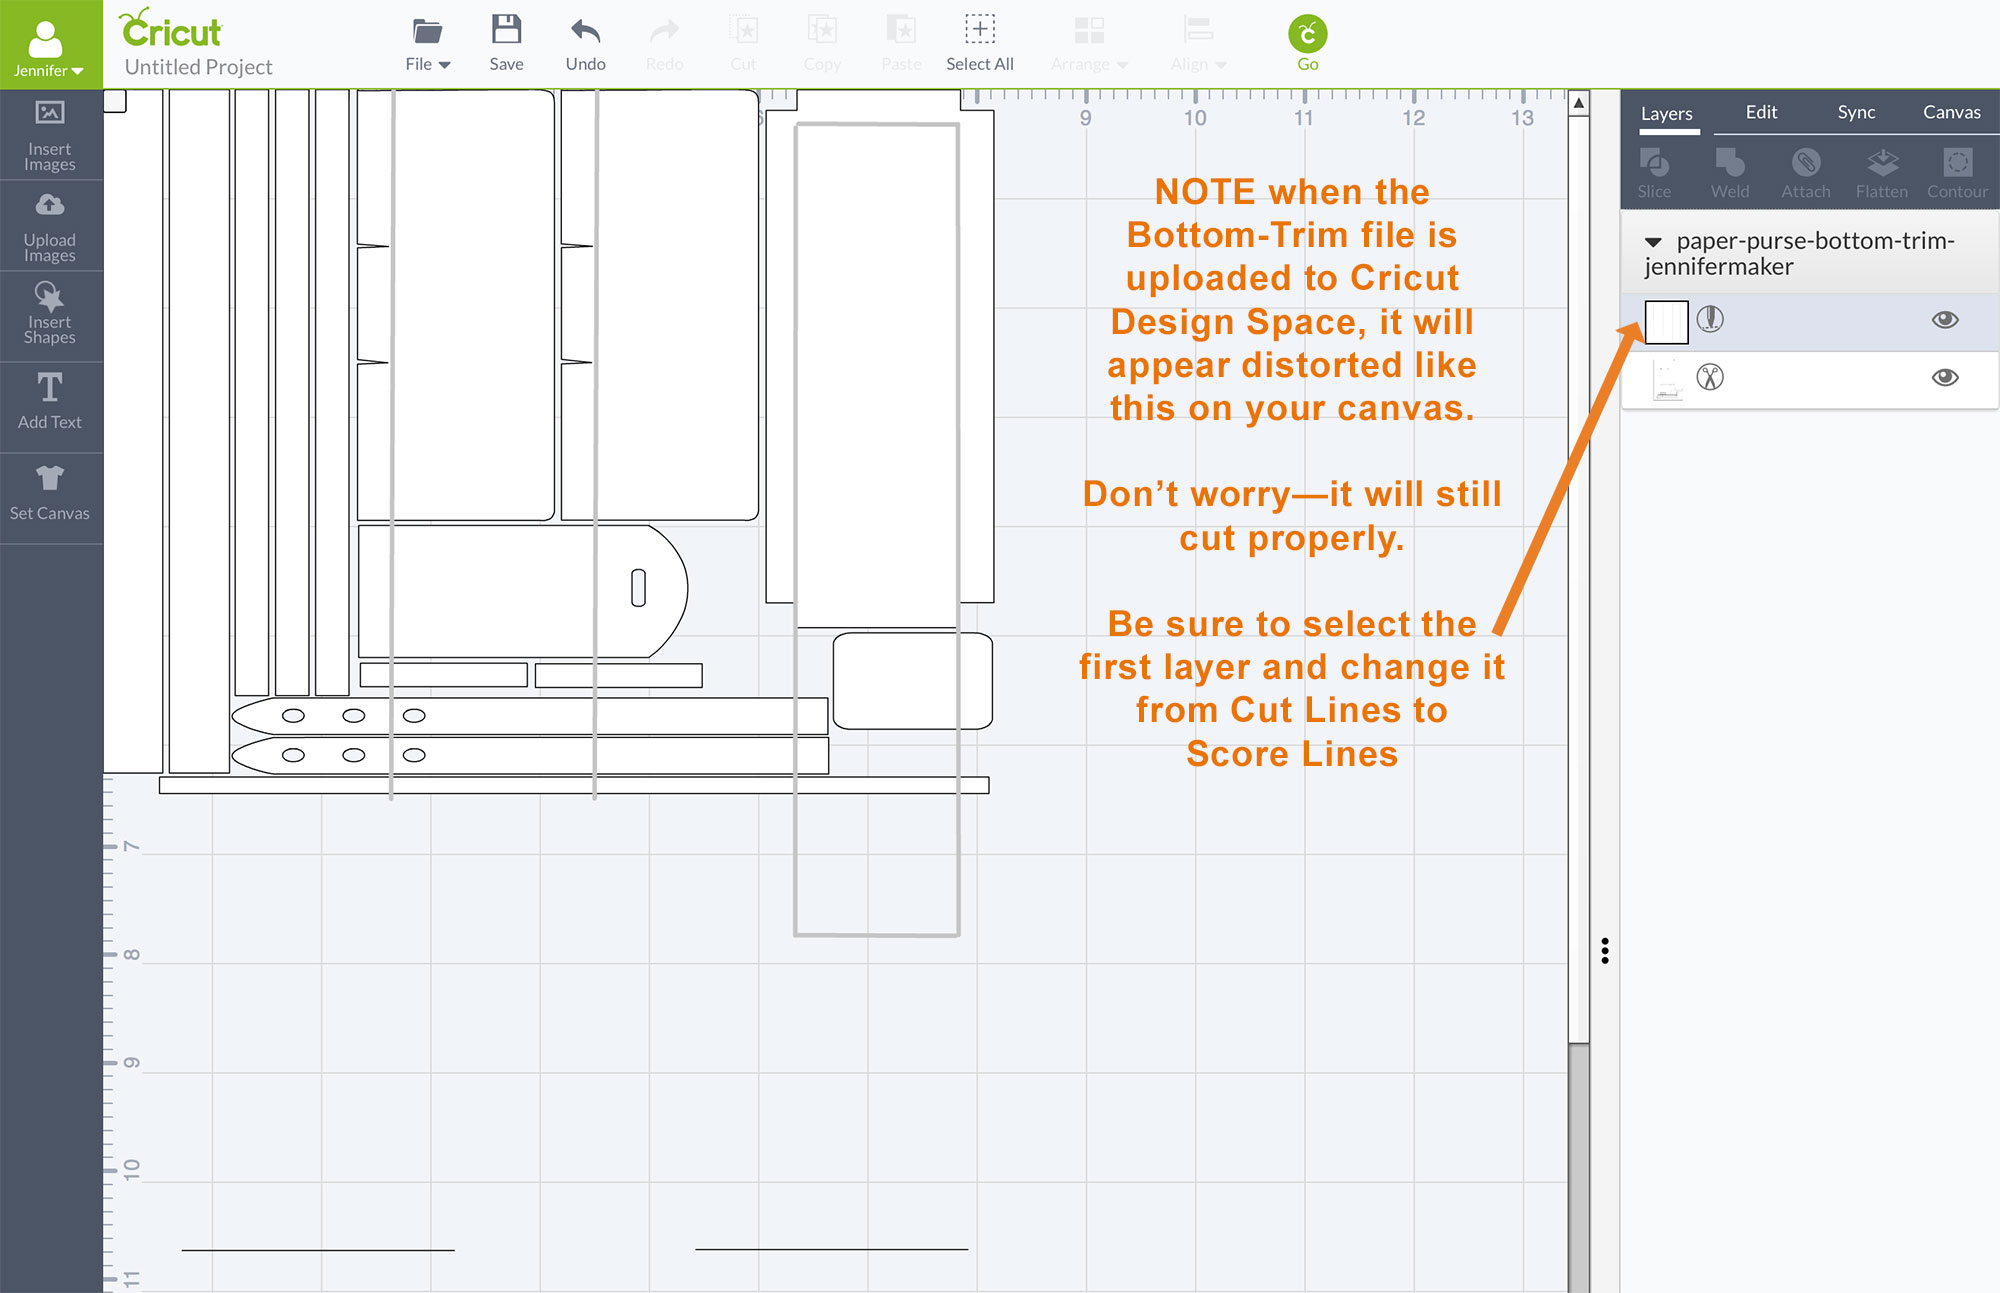
Note About the Cut Files: I designed the cut files with score lines for easier folding, but when you upload the files into Cricut Design Space, the score lines will appear as cut lines and you’ll need to select them and change them to score lines. If you don’t have a scoring stylus, or can’t figure out which lines to change into score lines, you can download the “No Scores” version of the cut file and use that instead. If you are prepared to score, get the normal version of my cut files — you can watch my video to see exactly how to change the cut lines back into score lines before you cut them out.
Paper Purse Project Video
Here is a full-length video of how to upload the designer paper purse files to Cricut Design Space and how to assemble the paper purse.
Basic Paper Purse Step-by-Step Tutorial
First, you want to get Design #26 which are the cut files from my library and download them to your computer. There are three files as follows:
- purse-bottom-trim-jennifermaker.svg — cut this file onto your 8.5″ x 11″ sheet of cardstock
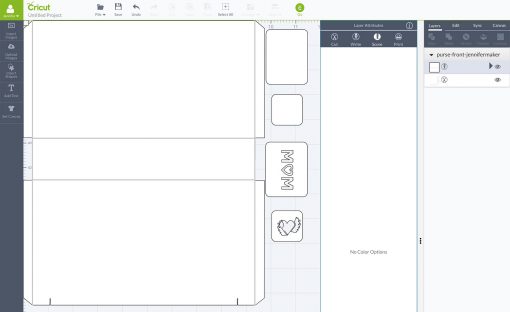
- purse-front-jennifermaker.svg – cut this file onto one 12″ x 12″ sheet of cardstock
- purse-side-jennifermaker.svg — cut this file onto your other 12″ x 12″ sheet of cardstock
Either get the regular set of files (the first ones you’ll see listed in my library) or the “No Scores” version (if you don’t or are unable to score your cardstock as you cut it).
Step 1: Upload the designer paper purse SVG files to Cricut Design Space. (Note: The purse-bottom-trim-jennifermaker.svg file displays a bit oddly in Design Space—see below—but it still cuts properly.) Change the first set of grouped objects in each file from Cut to Score (see my video if you aren’t sure how to do this), then click Select All, click Attach, then click Go. Cut out each file on the appropriate sheet of paper.
Tip: No cutting machine? I saved all the files as PDFs also if you’d like to print them out and cut them by hand. It is doable! The PDFs are also in my library.
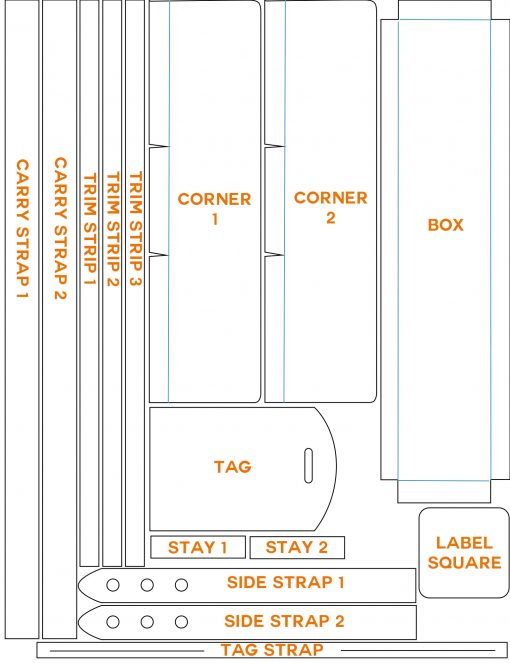
Here is a diagram showing the names of each cut in the bottom-trim file, as there are rather a lot of them.
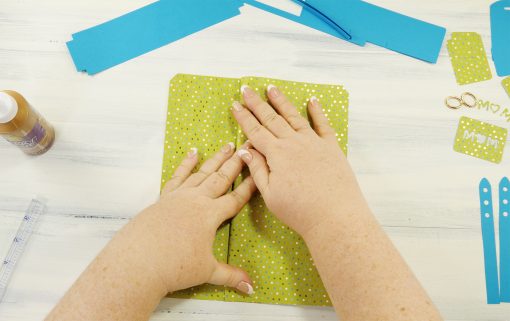
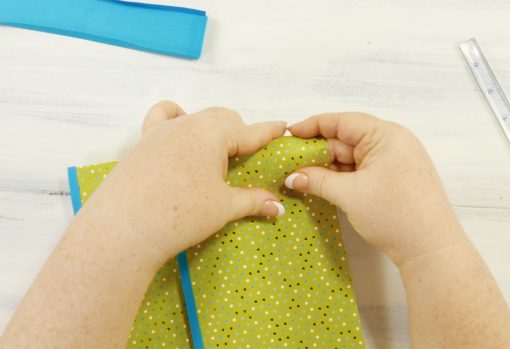
Step 2: Place the front side of the purse (the purse-front-jennifermaker file) onto your work surface in front of you, right side up (you can tell which is the top and the bottom by the two small notches at the very bottom of the cardstock). Fold into a Z-shape at the score lines. This creates a very shallow “pocket” that mimics the pocket on the real purse. If you did not score your paper, you can see where to cut it by the larger notches on the sides of the cardstock.
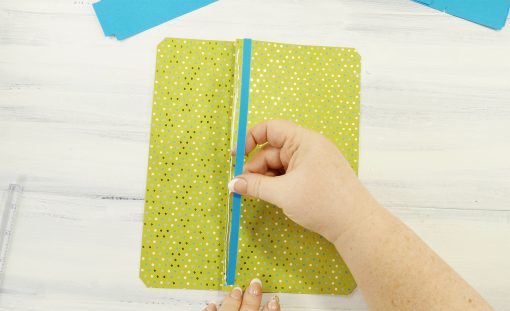
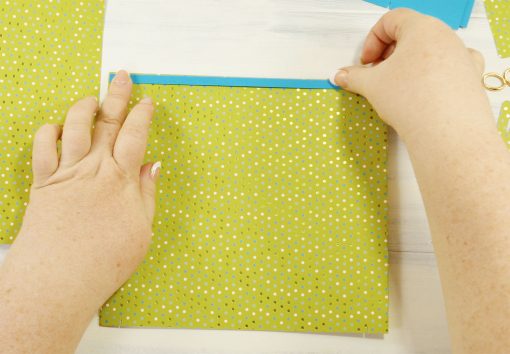
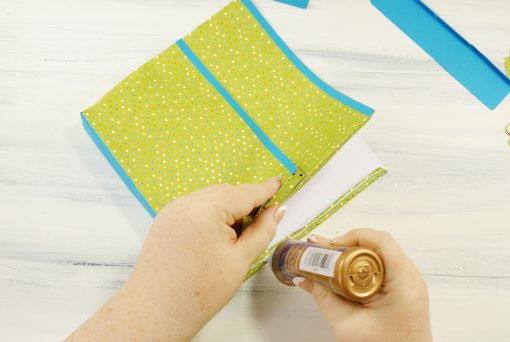
Step 3: Glue one of the three narrow trim pieces to the top edge of the pocket you created in step 2. Center it on the purse—do not worry if it does not fit all the way across. Glue another piece of trim to the top edge of the purse. Set aside to dry.
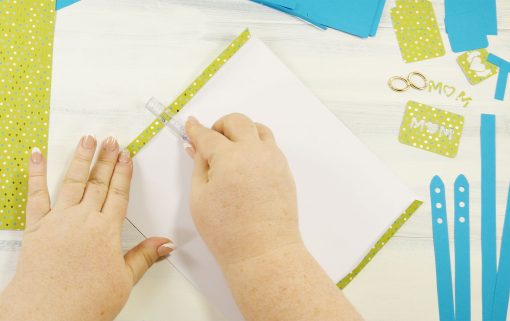
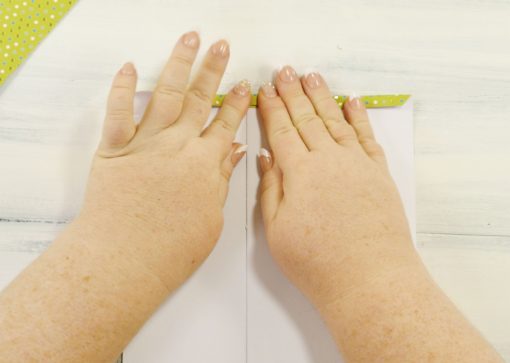
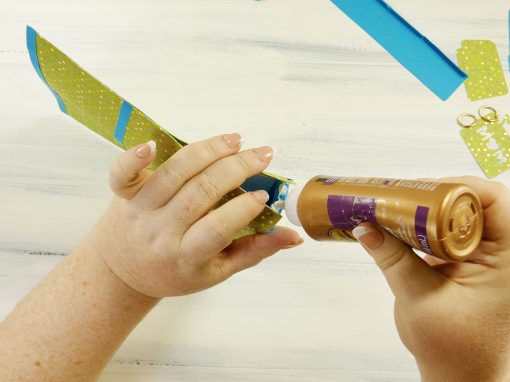
Step 4: Place the back side of the purse (the purse-side-jennifermaker file) onto your work surface in front of you, again with the notches at the bottom. Now fold each side at the score lines. If you don’t have score lines, you can tell where to fold it by the angled cuts at the side of the paper.
Step 5: Glue a narrow trim piece to the top of the back side of the purse. Set aside to dry.
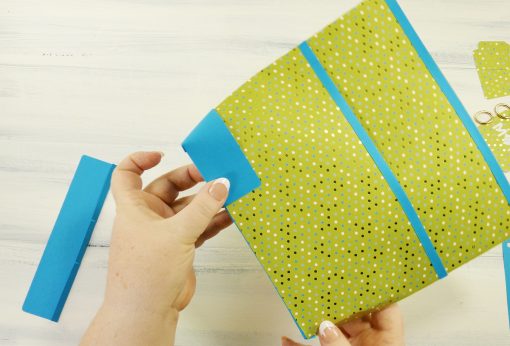
Step 6: Fold the edges of the front side of the purse like you did on the back side.
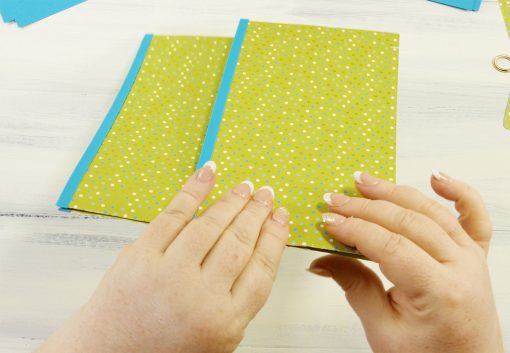
Step 7: Glue one side of the front and back of the purse together, being careful that you put the wrong sides together and that you keep everything lined up and straight. Set aside to dry.
Step 8: Fold up the sides of the purse bottom—this is the rectangle with four flaps on each side.
Step 9: Gently bend the bottom of the purse sides at each of the four notches—do not crease, just bend a bit. This will help you attach the purse sides to the bottom in the next step.
Step 10: Attach the bottom of the purse to the sides of the purse by gluing the outside flaps of the box and pressing against the purse sides. Do one side at a time until you have the two long sides and one short side glued. This is the trickiest part of the project—I recommend you watch my video to see how I did it.

Step 11: Glue the other two sides of the purse together, going as far down the side of the purse as you can. You won’t be able to go quite all the way down because it will distort the bottom box too much, but you can get most of the way down. Don’t let this worry you, as you’ll be reinforcing this bottom corner anyway. Allow to dry.
Step 12: Glue the fourth flap of the box down to the purse corner and secure the bottom edge of your purse to the box. Allow to dry.
Step 13: Glue each reinforced corner to each edge of your purse. Be sure to put the glue on uniformly so it sticks well to your purse. The flaps on the corner go under the bag (and are also glued down).
Embellishing Your Purse
Once the base purse is created, you can embellish it with a strap and tags, just like a real purse. I’ve included the embellishments in the purse-bottom-trim-jennifermaker cut file.
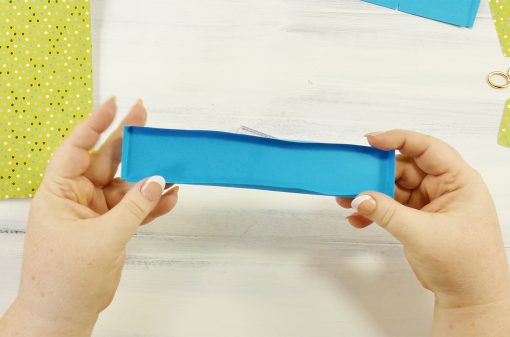
To attach the side straps, start with the two small side straps with the holes. Put a ring on each strap, fold over the tip about 1.5″ inches, put glue on the side of these folded ends, and attach to the top corners of your purse. You want about 1/2″ of the folded strap peeking out at the top of the purse. The part of the strap that has the holes is on the outside corner. Now you can glue the two wider carry strap pieces together (overlap about 1.5″ inches to glue), then fold over each ring and glue to itself.
Note: The strap stays (small rectangles) are using to wrap around the top of each of side strap. I neglected to do this when I made my purses, simply because I forgot! But the parts are in the cut files if you’d like to use them.
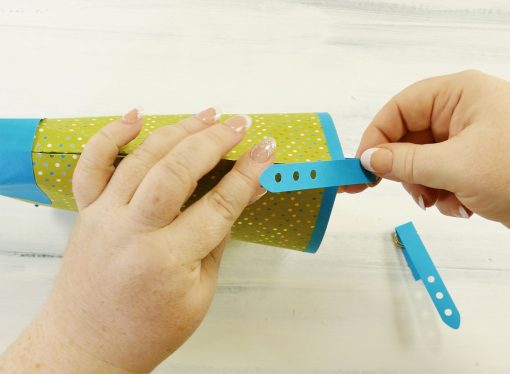
To attach the tag, use the long, thin tag strap with two long cuts in either end to attach the tag to the strap. I show how to do this in the video (it’s easier to show than explain).
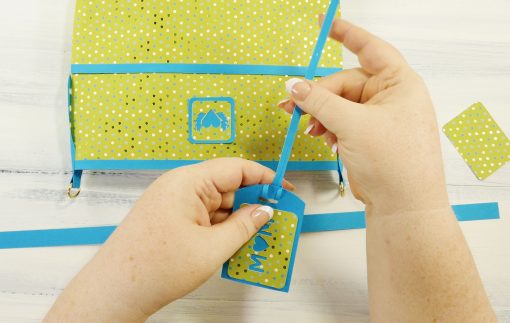
Finally, you can put the little label square on the front of the purse, if you wish. This is normally where the brand identification goes. I think this would be a great place for a monogram, personally, if you feel up to it!
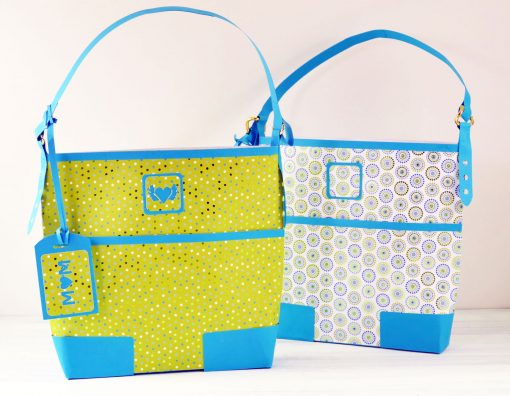
And there you have it—you’ve made a super cute paper purse gift bag for someone special … or just to keep for yourself.
Paper Purse Notes
I made the carry strap a lot shorter than a real purse simply because this is paper, and I didn’t feel a long strap was structurally sound. Feel free to adjust to your liking.
The front pocket is very shallow to minimize the amount of paper used. If you really want a full pocket, cut out three of the purse-side-jennifermaker cut files and trim one down several inches to form a pocket.
If you use the glue I used, you’ll find your designer paper purse is quite strong. I can’t speak for other adhesion methods—you mileage may vary. If you put something heavy in your purse, such as a book, you may want to use a stronger handle (you could probably just double or triple the strap to strengthen it).
I’d love to see your designer paper purses! Please email them to me at [email protected] —if you give me permission, I’ll even include them on this page for others to see. If you have any questions about the assembly and construction, please let me know—I’m always happy to help.
Free Cut Files for the Paper Purse
Get the password for the library with the free cut files here by filling out this form:
Get the free SVG cut files for the designer paper purse.

Subscribe (free!) to get access to my resource library with all my free cut files, printables, and patterns! Once subscribed, I will send you a newsletter with details about my new free files each week.
Love,

Like this tutorial? Please pin this tutorial to your favorite Pinterest craft board!


Such a cute paper purse and beautiful paper!
Thank you, Bonnie!
Jennifer this is just amazing!
Thank you so much, Susan!! 🙂
i love the purse! I hope try it soon.
Thank you for the cut files for this paper purse. I’m thinking if it works for paper it just might work for thin leather too!
You’re welcome, Liz!
Omg, these are ADORABLE!!! I showed my nephews fiance and she wants me to make one for each of her bridesmaid to put their little gift in!! I can’t wait to try it!
Going to make one of these for a baby shower gift bag, love the idea