
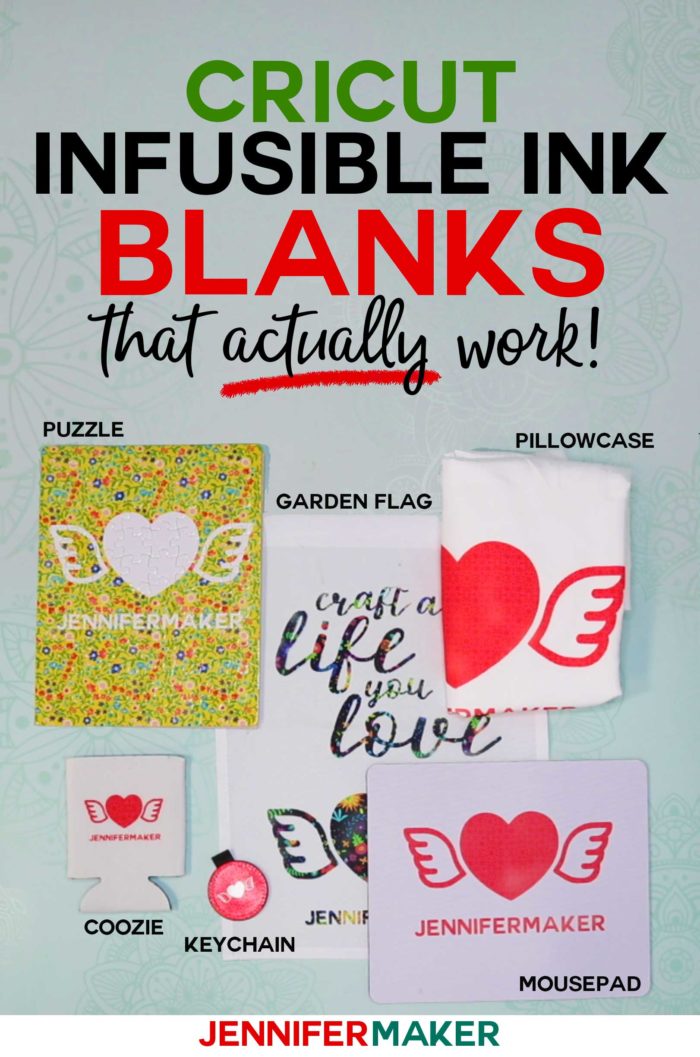
You can put Cricut Infusible Ink on so many things! Find out what you can put Infusible Ink transfer sheets and markers on, how to put it on, and how it looks!
I love to test things, so it’ll come as no surprise to learn that I’ve been testing Cricut Infusible Ink on a variety of surfaces beyond the official Cricut blanks. The two big keys to determining what you can and can’t put the Infusible Inks onto are MATERIAL CONTENT and COLOR. For Infusible Inks to transfer properly, they need to bind with polyester or polymer surfaces. And because the Infusible Inks are transparent rather than opaque, they need to be on white or light colored surfaces. A good Cricut Infusible Ink blank is one that has a hiqh polyester count or polymer coating and is white or pastel.
Watch the playtest video of 14 different materials one might use for Cricut Infusible Ink here:
Here’s a list of everything I’ve tried Cricut Infusible Inks on so far. This post contains some affiliate links for your convenience (which means if you make a purchase after clicking a link I will earn a small commission but it won’t cost you a penny more)! Read my full disclosure policy.
Hanes Women’s Cool DRI 100% Polyester T-Shirt Infusible Ink Blank
- Where I bought it: Amazon
- What temperature I used: 360°F
- How long I pressed it for: 120 seconds
- How it turned out: Great!
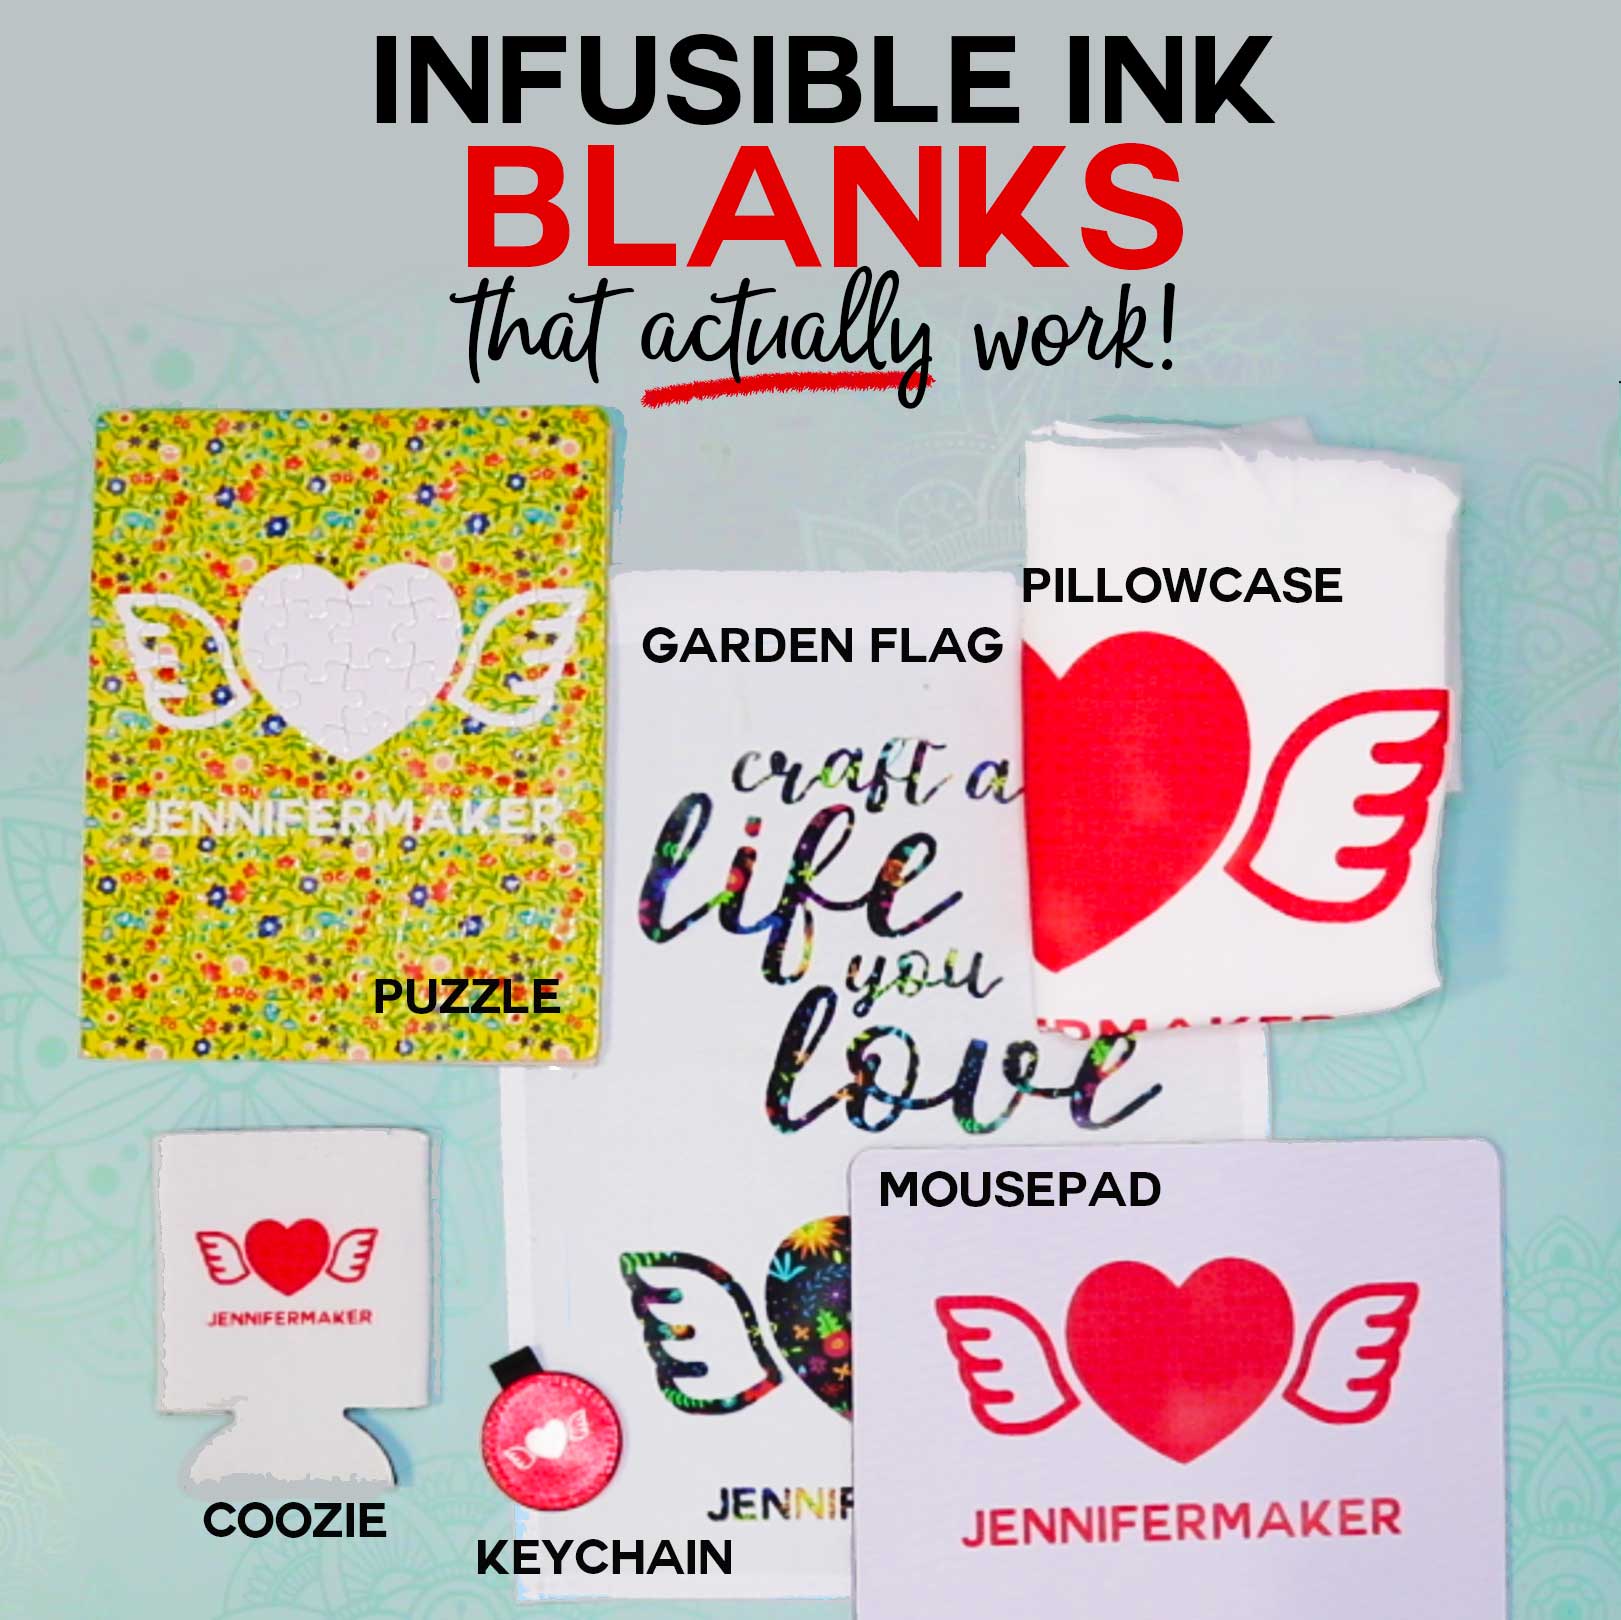
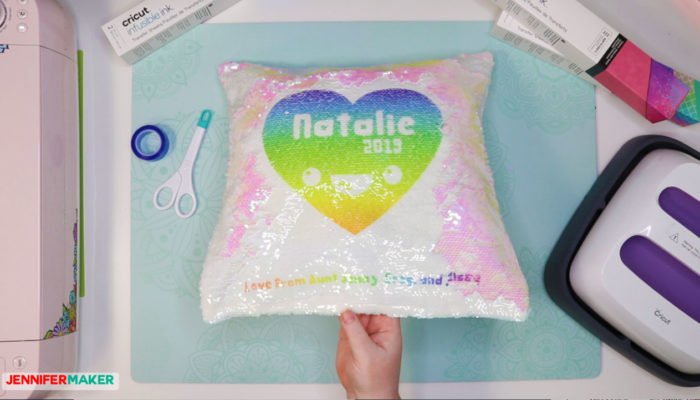
Mermaid Sequin (Reverse Sequin) Pillowcase Infusible Ink Blank
- Where I bought it: Amazon
- What temperature I used: 360°F
- How long I pressed it for: 120 seconds
- How it turned out: Great!
- Notes: If you plan to put Infusible Ink on both sides of the pillow, do the sequin side first. If you do the non-sequin side, put a piece of cardboard inside the pillow to get an even print.
Microfiber Pillowcase Infusible Ink Blank
- Where I bought it: Wal-Mart
- What temperature I used: 385°F
- How long I pressed it for: 40 seconds
- How it turned out: Good!
Leather Keychain Infusible Ink Blank
- Where I bought it: Amazon
- What temperature I used: 375°F
- How long I pressed it for: 65 seconds
- How it turned out: Great!
Mouse Pad Infusible Ink Blank
- Where I bought it: Amazon
- What temperature I used: 365°F
- How long I pressed it for: 70 seconds
- How it turned out: Good!
Garden Flag Infusible Ink Blank
- Where I bought it: Amazon
- What temperature I used: 385°F
- How long I pressed it for: 40 seconds
- How it turned out: Good!
Drink Coolies Infusible Ink Blank
- Where I bought it: Amazon
- What temperature I used: 385°F
- How long I pressed it for: 40 seconds
- How it turned out: Great!
Puzzle Infusible Ink Blank
- Where I bought it: Amazon
- What temperature I used: 360°F
- How long I pressed it for: 90 seconds
- How it turned out: Excellent!
Tubesocks
- Where I bought it: Amazon
- What temperature I used: 400°F
- How long I pressed it for: 90 seconds
- How it turned out: Great!
- Note: I don’t think these tubesocks are of very high quality and I wouldn’t actually WEAR these, so if you make them, they’re going to work best as a novelty gift rather than actual functional clothing.
Canvas Totebag
- Where I bought it: Amazon
- What temperature I used: 400°F
- How long I pressed it for: 90 seconds
- How it turned out: Great!
Makeup Bag
- Where I bought it: Amazon
- What temperature I used: 400°F
- How long I pressed it for: 90 seconds
- How it turned out: Great!
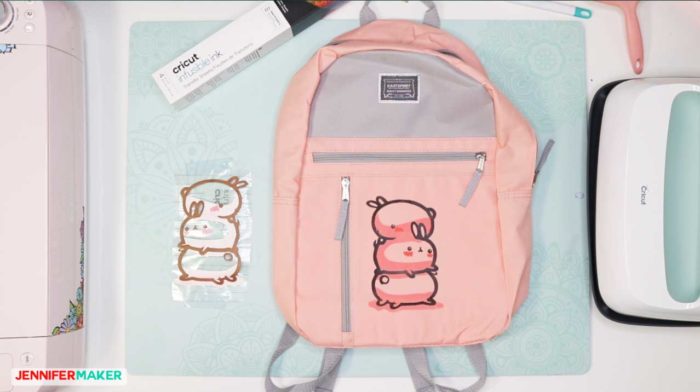
Pink Eastport Backpack
- Where I bought it: Wal-Mart
- What temperature I used: 385°F
- How long I pressed it for: 40 seconds
- How it turned out: Good!
Canvas Bag
- Where I bought it: Michaels
- What temperature I used: 400°F
- How long I pressed it for: 70 seconds
- How it turned out: Bad (the fabric seems to have melted or deformed when I pressed it, and only a small bit of the transfer worked properly)
- Notes: Material is 70% polyester, 30% cotton
Canvas Pouch
- Where I bought it: Michaels
- What temperature I used: 400°F
- How long I pressed it for: 70 seconds
- How it turned out: Bad (it scorched the canvas and the ink looks very faded)
- Notes: The material is 100% cotton, which I didn’t realize because I thought it was the same as the totebag.
Thin Wood Plaque
- Where I bought it: Michaels
- What temperature I used: 400°F
- How long I pressed it for: 90 seconds
- How it turned out: Bad (no ink transfer at all)
General Advice on Pressing Cricut Infusible Ink Blanks
When in doubt, always test first!
Trim your transfer sheet to make it easier to position on your blank.
Secure your transfer sheet to your blank with the Cricut heat-resistant tape so it doesn’t move around or slip.
When pressing is done, be careful not to let the paper shift across the surface of the blank or you may get ghosting.
Let the transfer sheet cool before removing it, as it will be very hot and moving it before it cools can cause ghosting.
Get my free SVG designs for your Infusible Ink Projects!
If you make an Infusible Ink project with your Cricut, please share a photo in my helpful Cricut Facebook group or tag me on social media with #jennifermaker.
Love,

Want to remember this? Save the Cricut Infusible Ink Blank Guide to your favorite Pinterest board!

Jennifer….I knew you’d be the first person to do this type of test. Glad I watched. Didn’t quite understand the technology but am glad that I now know about CII transparency and the need for polyester (I’m a cotton kind of girl!). So you saved me a HUGE amount of money. Although, I loved your mandala tote (absolutely GORGEOUS!) so I may dabble a bit with the pens if I do anything with CII line. Have a great day and THANK YOU for being so dedicated to your many subscribers and followers.
Thank you for doing the video. I was wondering if we could use infusiable ink on other materials. Can’t wait to get some and try it. I am looking forward to next week week, when you test other t shirts. Just love your videos. They are so informative, and I learn a lot from them.
OMGoodness! This is wonderful. At first I looked at the length and wondered what you could possibly do for that long. So glad I watched it and found myself wishing there were more things you were testing. I’d love to see you test some tile blanks. Tiles are so cheap at places like Home Depot. I have some and may just give them a try with some scrap pieces or with something done with markers. Thanks for this fabulous video, so much information and help.
Wow – the sequin pillowcase. Yes, please. Thank you so much for this extremely informative video, which I think I’ve seen twice from the beginning and finally finished it.
Oh, I forgot to say that when I first watched it and saw the pillowcases I ran to Walmart to get them, came home and used pens to draw names and images across the front. I used two different sizes of my Easy Press so I could cut the images and place them selectively and not worry about overlapping and burning. I also put down a Teflon sheet over what was already pressed. Everything worked out great. I think I posted the finished product in your FB group.
Wood transfer is a bit surprising. I did one on an ash bat to create the seal using their transfer paper and, other than working on a curved surface, was very happy with the results. With black transfer, almost gives a burned wood effect.
Have you tried infusible ink on Cricut’s Faux Leather or Faux Suede? If so, what temperature and for how long? Thank you in advance.