
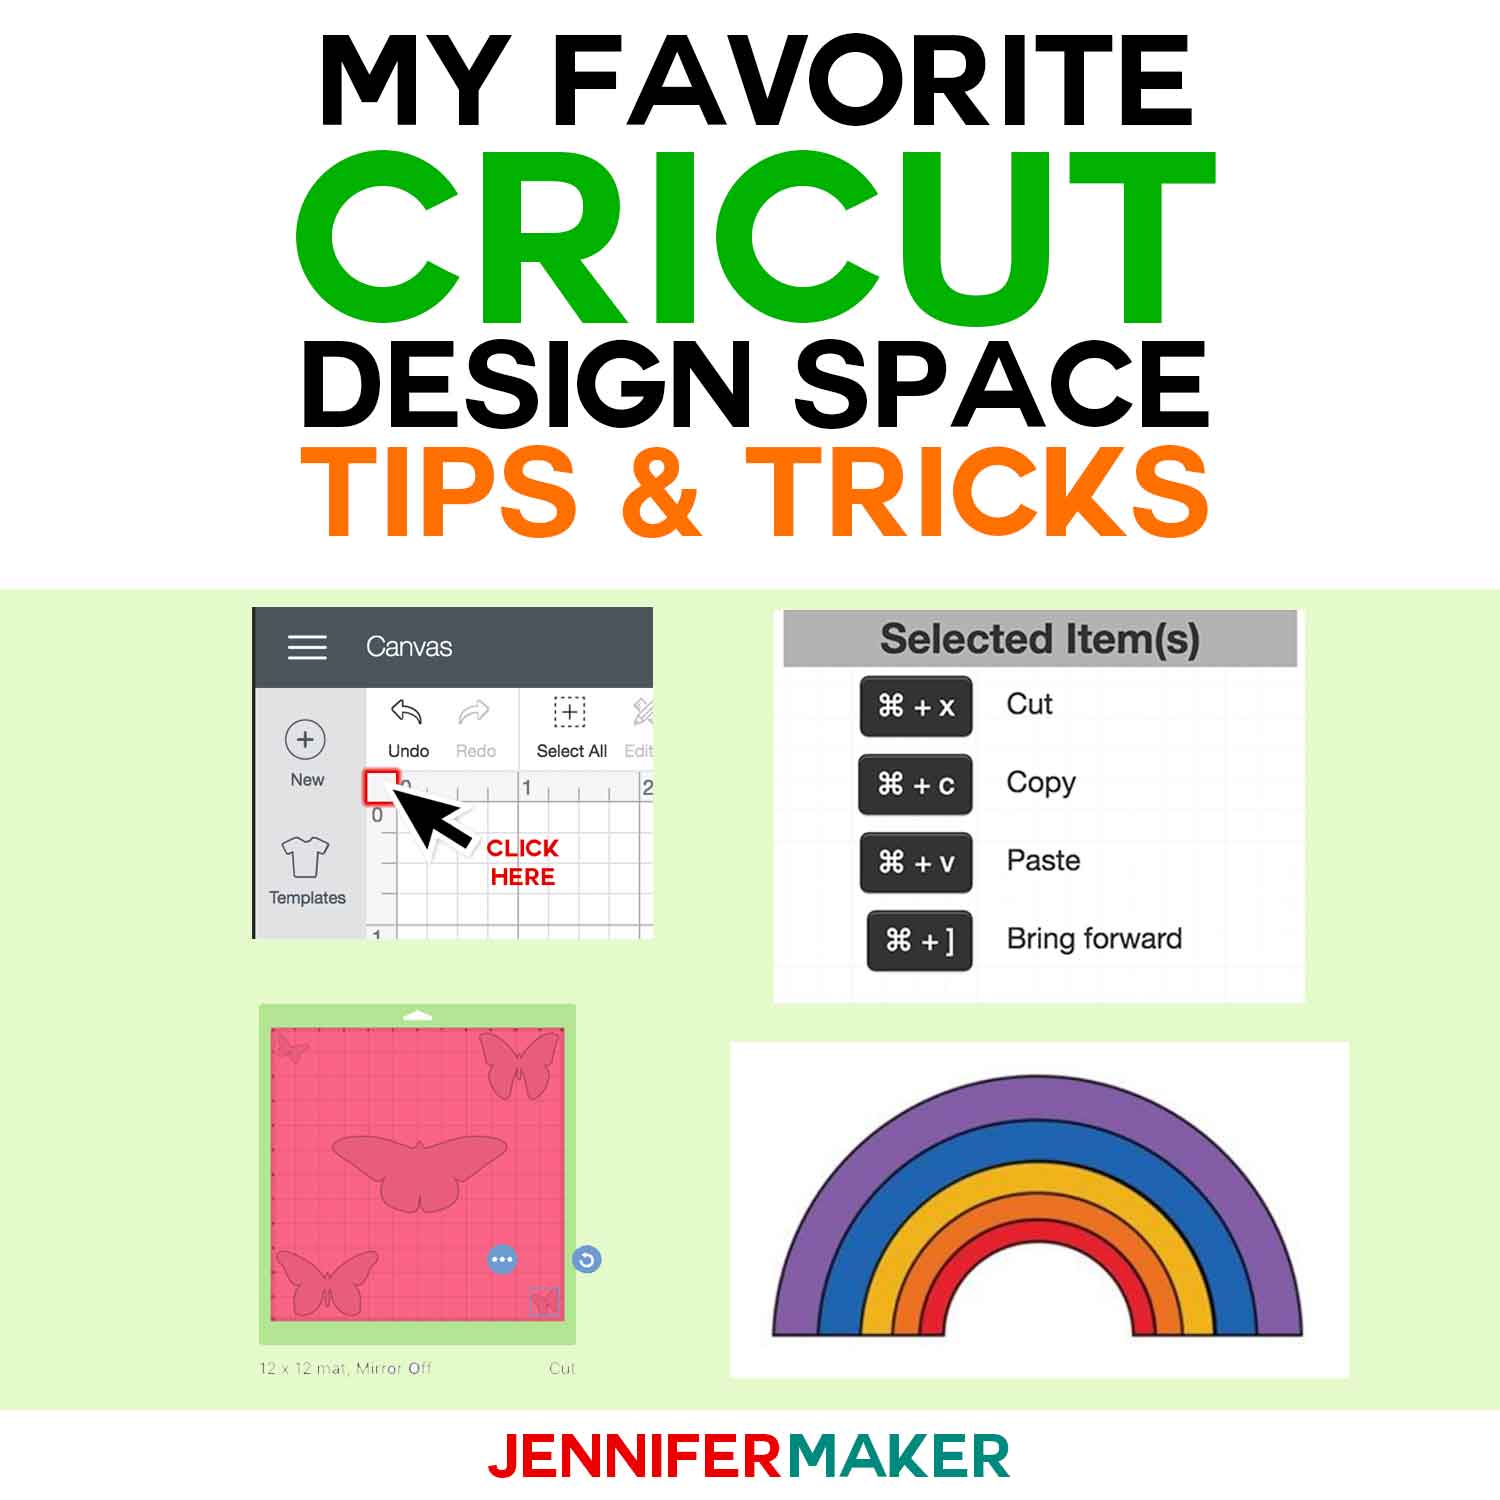
Want to make the most of your Cricut cutting machine? These Cricut Design Space tutorials, tips & tricks will help you make things faster, easier, and more fun!
The Cricut cutting machine is as amazing as it is because of Cricut Design Space, the free app that makes the magic happen. And while Cricut Design Space is pretty easy and user-friendly, mastering it doesn’t happen overnight. That’s why I’m here to share my favorite Cricut Design Space tutorials, tips, and tricks with you! These will change your Cricut life!
This post contains some affiliate links for your convenience (which means if you make a purchase after clicking a link I will earn a small commission but it won’t cost you a penny more)! Read my full disclosure policy.
Cricut Design Space Tip #1: Get the App!
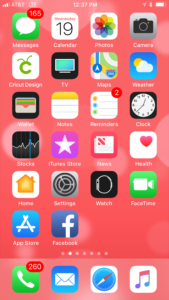
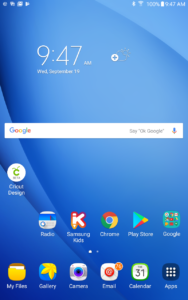
Let’s start at the very beginning and make sure you actually know WHERE to get Cricut Design Space. (Remember, it’s FREE!) If you’re on a desktop or laptop, just go to https://design.cricut.com. If you’re on an iOS device like an iPhone or iPad, go to the App store and search on “Cricut Design Space.” If you’re on an Android device, go to the Play Store and search on “Cricut Design Space.”
Tip: You’ll need a Cricut ID to sign in — you can get one free (even if you don’t have a Cricut) by following the prompts.
Cricut Design Space Tip #2: Control the Grid
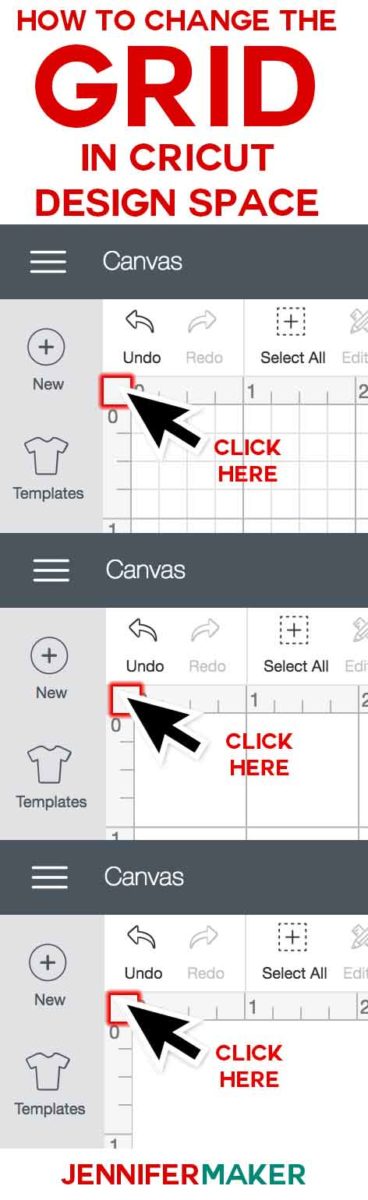
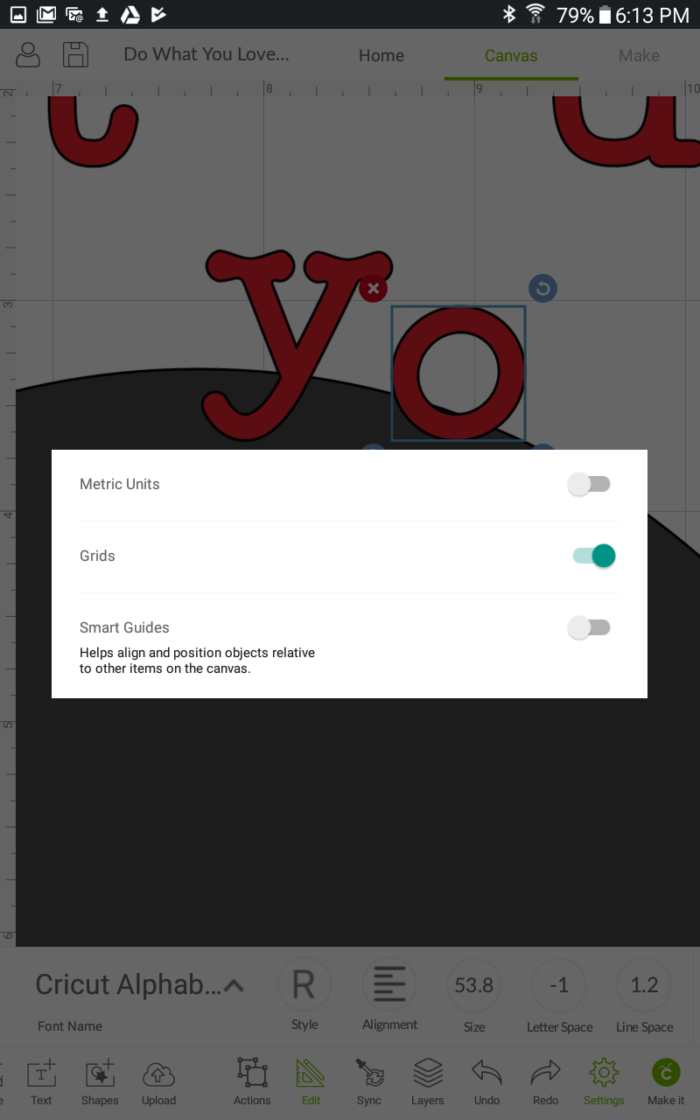
The Canvas (the big space your designs appear in) has a full grid by default. But you can choose the appearance and measurements of the grid. First, if you’d like to change to a partial grid or even no grid (so no background at all) on the desktop version, click the blank space between the zeros in the top left corner of your rulers. To remove the grid lines on the app version (iOS or Android), tap Settings in the bottom toolbar then toggle Grids. This is a great way to take a screen shot of something without a grid in the background, too.
To change the measurement of your grid on the desktop version, go to the hamburger (three lines) menu in the upper left corner, choose Settings, and then choose either inches or centimeters. To change it on the app version (iOS or Android), tap Settings in the bottom toolbar then toggle Metric Units on or off. Cool, huh?
Cricut Design Space Tip #3: Use (or Don’t Use) Smart Guides
If you’re having issues perfectly positioning something on your canvas in Cricut Design Space, it could be because Smart Guides are too smart. Smart Guides are a feature of the app version (iOS and Android) and are intended to help you position things in relation to others, but that may not be where you want things to go. To turn these off on the app version, tap Settings in the bottom toolbar and toggle SmartGuides off.
Cricut Design Space Tip #4: Use Keyboard Shortcuts
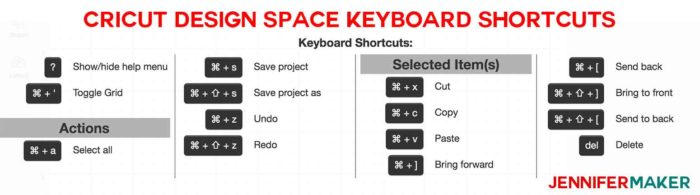
Did you know the desktop version of Cricut Design Space has some handy keyboard shortcuts? To see them at any time, just press the question mark key (so Shift + / ) on your keyboard. Useful shortcuts include show/hide help menu, toggle grid, select all, save project (and save project as), undo (I use this one ALL the time), redo, cut, copy, paste, bring forward, send back, bring to front, send to back, and delete. This is super useful if you like to use your keyboard more than your mouse.
Cricut Design Space Tip #5: Reposition Items on Your Mat
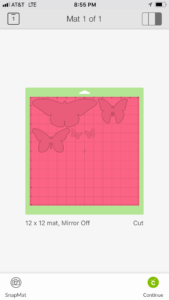
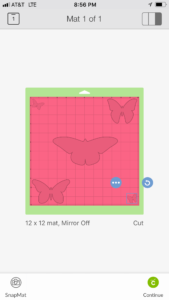
It took me several months of using Cricut Design Space everyday before I discovered this little nugget! You can actually move and rotate the items on your mat preview to exactly position your cuts or even pen writing. This is really useful when you want to use up scraps and just put them all over your mat, or when you want to do things like address envelopes (so the writing goes in the write spot on the envelope). To reposition, just click (or tap) and drag an item in your mat preview to a new location. In the desktop version of Cricut Design Space, you can also move objects to another mat and hide them altogether by clicking the three dots.
Cricut Design Space Tip #6: Sync Your Colors
Have you ever had a project or design with like five different shades of pink and they all want to cut out on different pieces of paper or vinyl? Ugh, frustrating, right? You can get all these colors to match one another by using the Color Sync feature in Cricut Design Space. In the desktop version, just click “Color Sync” at the top of the panel on the right side to see all colors being used by a project and manage them. In the app version, tap on the Sync icon in the lower toolbar.
Cricut Design Space Tip #7: Share Your Canvas With Others
Make something and want to share it with others? You can so long as the canvas contains no uploaded files (like SVG files) and you do not disable the “Public” option. Just save the project then go to your Saved Projects and click Share to get a link you can send others. You can share on the desktop version and the app version (iOS only). Easy peasy.
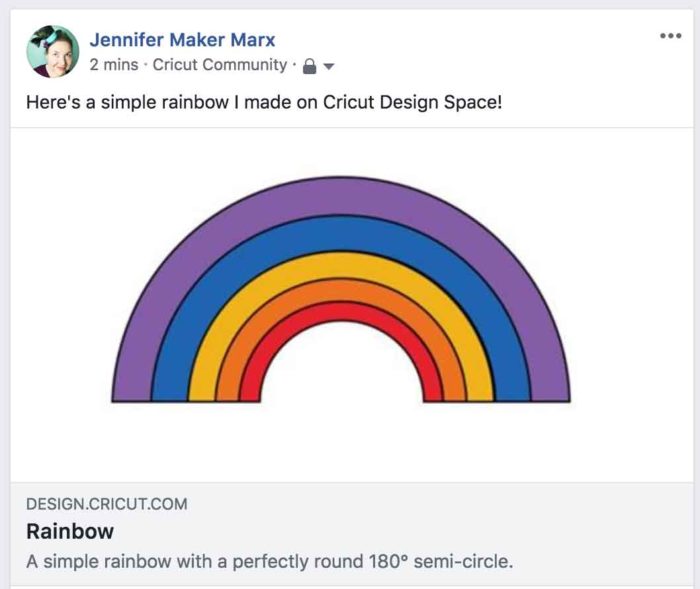
Here’s one of my canvases if you’d like a free rainbow: https://design.cricut.com/#/landing/user-project/109089295
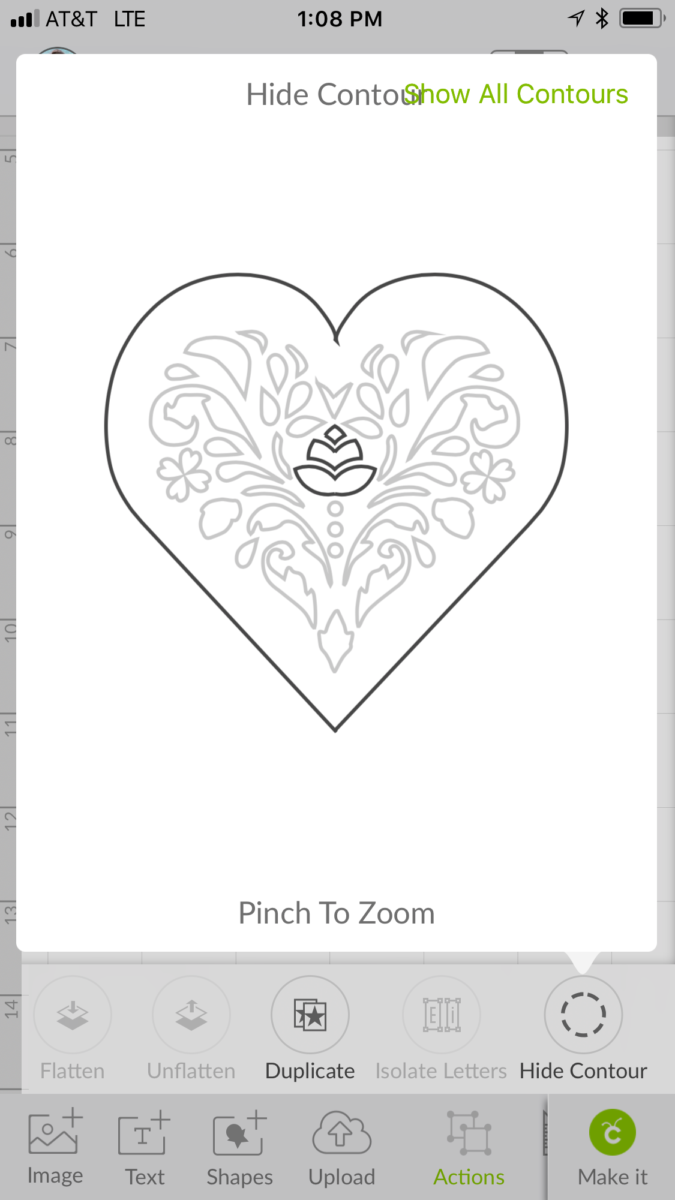
Cricut Design Space Tip #8: Remove Parts of a Design
I get this question often — “how do I remove this bit in a design I don’t want?” It turns out Cricut Design Space has a feature that lets us do that, and it’s called Contour. Just open the design in Cricut Design Space, select it, and click the Contour button in the lower right corner (desktop) or tap Actions > Hide Contour (app version). Now you simple click/tap on the bits you don’t want and Cricut Design Space will hide them. I find it works best on the desktop and iOS app versions, and not quite as well on the Android version, just so you know.
Cricut Design Space Tip #9: Upload Your Own Images
You can upload your own JPG, PNG, GIF, and BMP images to Cricut Design Space, and even remove the background easily. This is a great way to get nearly any shape for cutting you need! Just find an image online that works for you, upload it, and use the cleanup tools to remove the background. This tip works on the desktop and app versions (both iOS and Android).
Cricut Design Space Tip #10: Rearrange Your Layers
Have you ever been working on a project and had parts overlapping and covering up things you need to see? You can fix that! Just select the object and click Arrange > Move Backward (or Move Back) on desktop or tap Edit > Arrange > Move Backward (or Move Back) on the app version. Mischief managed!
Do you have favorite Cricut Design Space tutorial, tip or trick you’d like to share with everyone? Please share it here! I LOVE to hear from you! I will keep adding to this list, too. And if you want to get more Cricut tips and tricks, check out this list of 45+ Cricut tips and tricks!
Love,

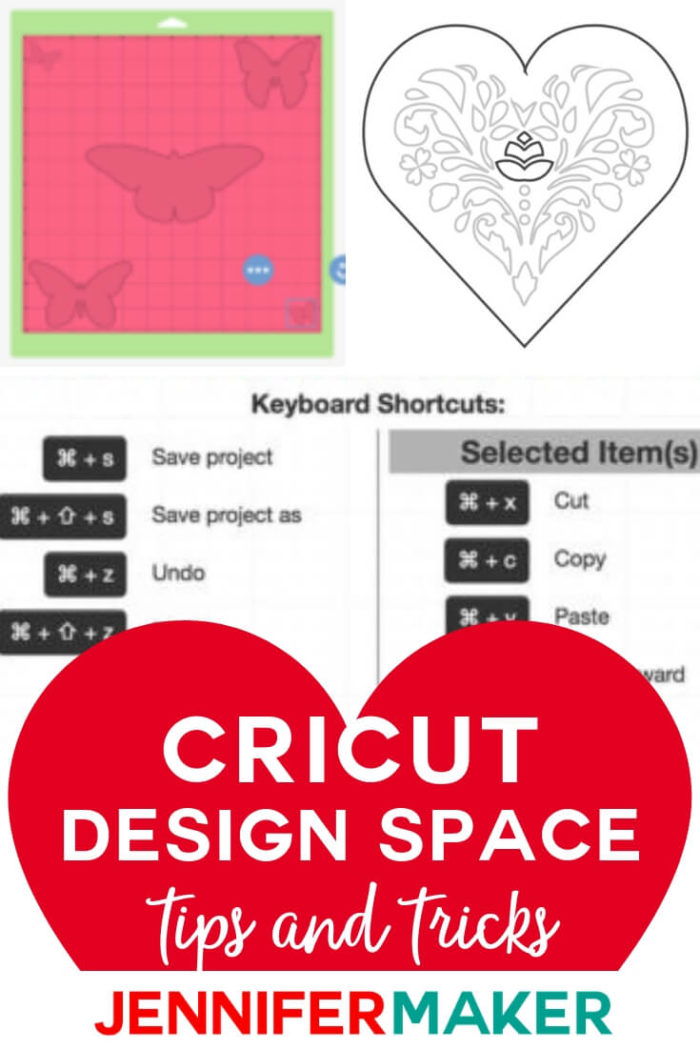
Want to remember this list of Cricut Design Space tips and tricks? Pin it to your favorite Pinterest board!

Jennifer thank you for these tips. Could you please explain how to use the fonts you download from other sites like “dafont” or so fontsy. This would really help me. I know how to upload but I would like to incorporate the whole font so that I can use it like the ones on cricut space. Thank you so much
Good Lord, I’ve had my cricut for several years and this is the best thing I’ve ever read. What a game changer.
Thank you, Libby!
Thank you ! I just learned so much in the 5 minutes it took to read this.
Please tell me how to make an overlay grid plastic sheet. I want one to lay on my stamp positioner to make sure my sentiments are straight and/or level. I can put my stamp on the grid, close the lid to pick up the stamp then remove the grid. I would know then the sentiment would stamp straight on my cardstock. I found a couple on design space but I think it cuts out the holes and I don’t want that. Thank you so much for any help you can give.
Hi Gloria! I don’t have a tutorial about that! Would you mind suggesting it for me here: https://jennifermaker.com/projectrequests/