
It’s spring cleaning time! Say goodbye to stuffy rooms and dust bunnies. When I went to gear up for spring cleaning at our house, I opened our cleaning closet next to my craft room and decided I had to clean and organize the closet FIRST! A well-stocked and organized cleaning closet is such a huge help when it comes to keeping your house clean!
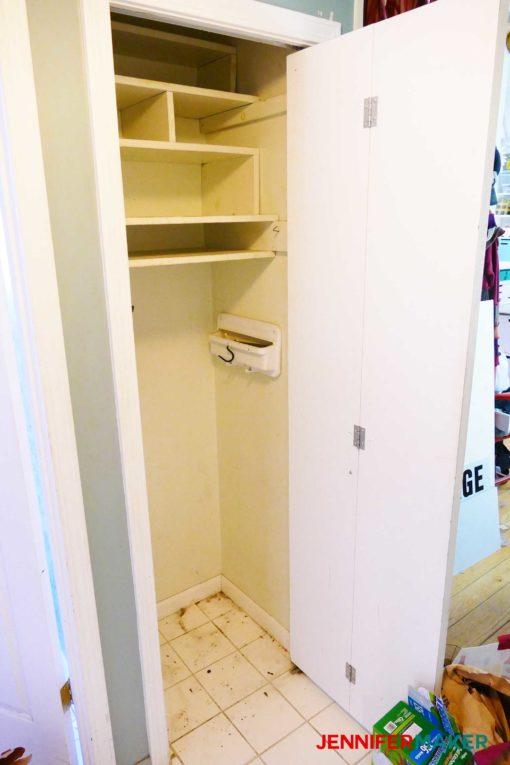
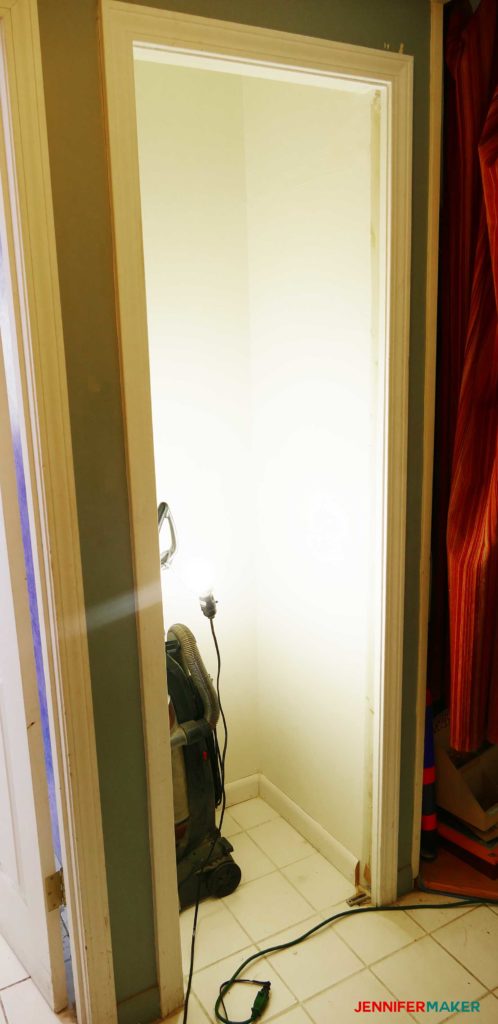
So let’s look at what we started with — our tiny 22″ x 19″ cleaning closet was dark, disorganized, and outfitted with shelves that didn’t fit our things. Even after we emptied the closet, you can see how it really was arranged ineffectively. There was no room for spray bottles except on the top-most shelf where you couldn’t even see them.
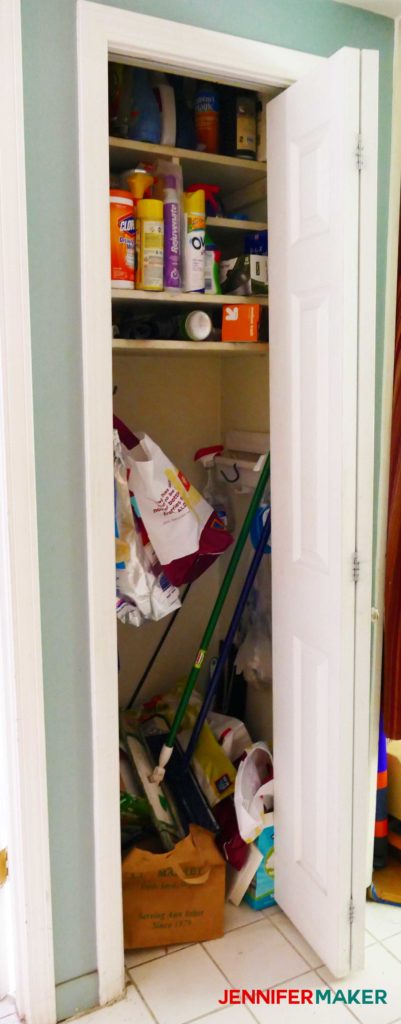
It was constantly a mess and we could never find anything. This had to change.
Let’s look at how we made this awesomely organized cleaning closet! This post contains some affiliate links for your convenience (which means if you make a purchase after clicking a link I will earn a small commission but it won’t cost you a penny more)! Read my full disclosure policy.
Cleaning Closet Organizers and Supply List
This is the hardware and organizers we used for our cleaning closet
- LED motion sensing light bar
- Wire storage baskets
- Over-the-door organizer
- Mop and broom holders
- Magnetic catch
- Door handle (dummy lever with scroll)
- Adjustable curtain rod brackets (4)
- Round tension rods, 8-11 inches (2)
- Wide mending plates (4)
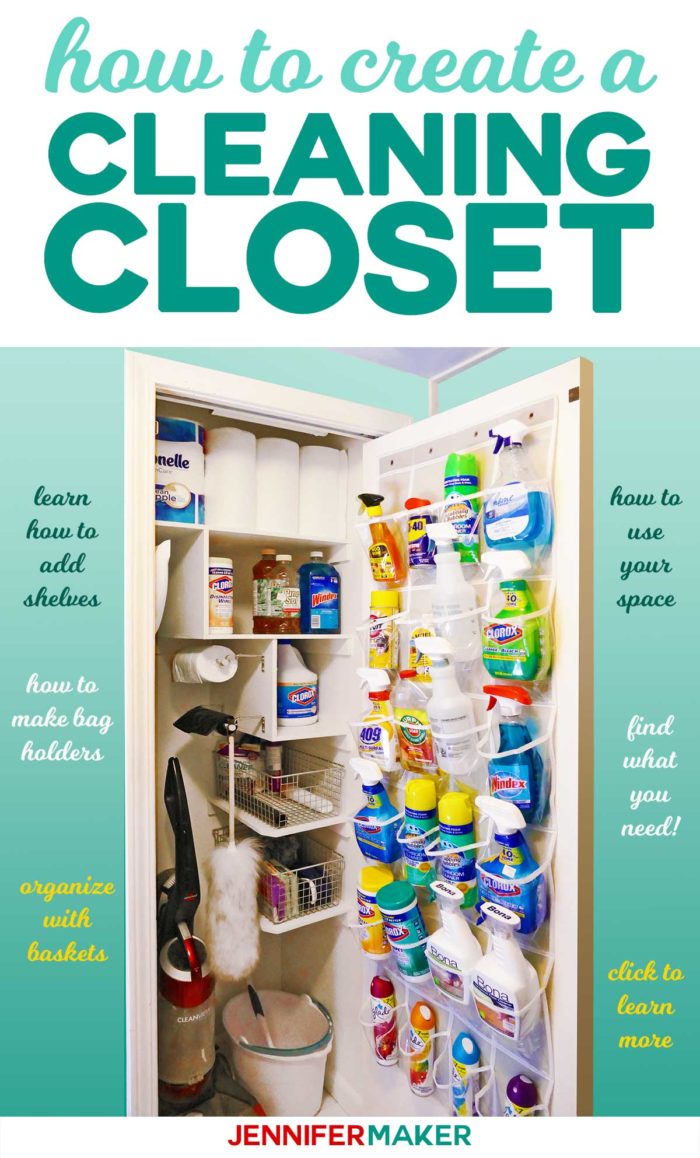
How We Organized Our Cleaning Closet
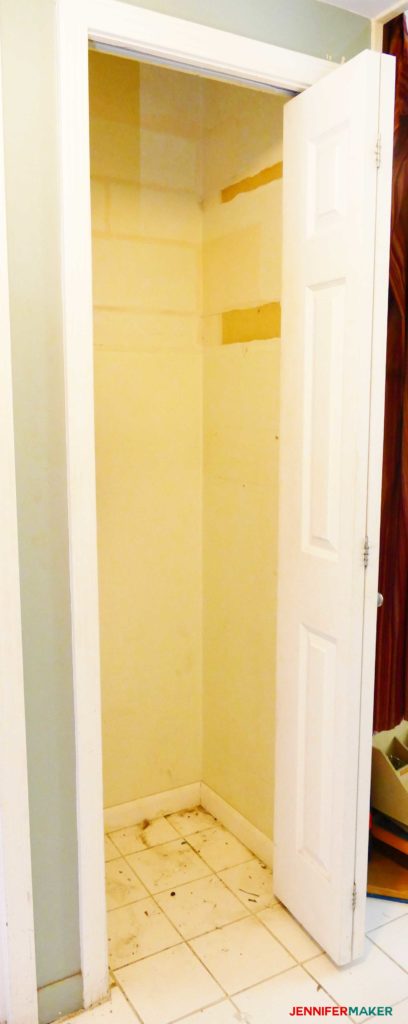
First, we removed everything and removed the ineffective shelves.
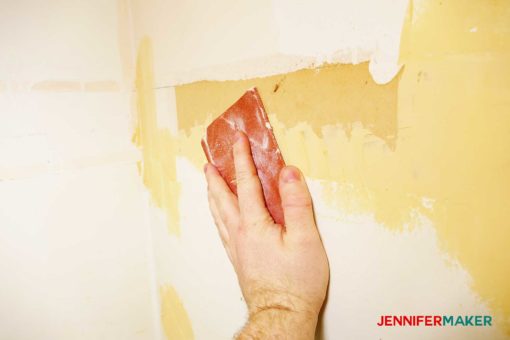
Then we patched and sanded all the holes. See our tips on how to patch nail and screw holes.
Next, we gave the closet a fresh coat of paint — we used paint with an eggshell finish so it would be easy to clean.
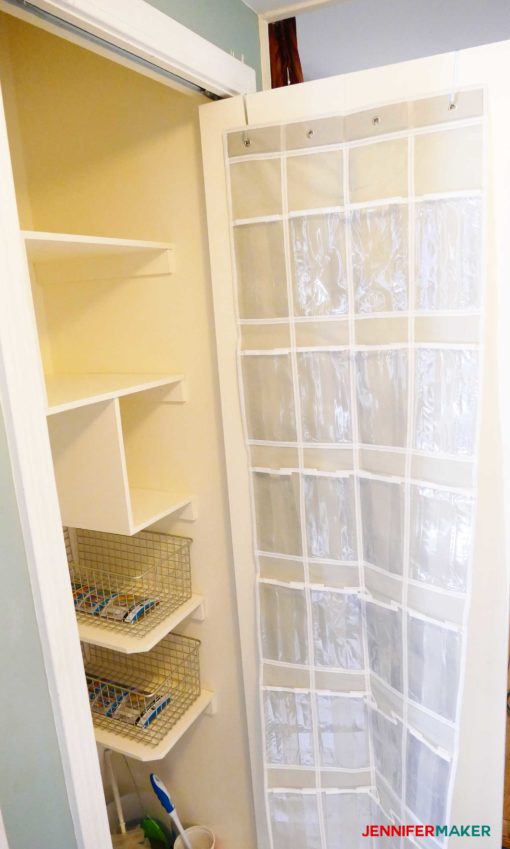
Now it was time to put in new shelves for our cleaning closet. To determine what we needed, we looked at the times we’d removed from the closet and measured them. We knew we had to fit in our vacuum and broom/mops, but we didn’t want the entire 2/3 to be dedicated to that. What a waste of space that is. So we decided to put in floating shelves on the right side of the closet, along with two larger shelves higher up for larger items.
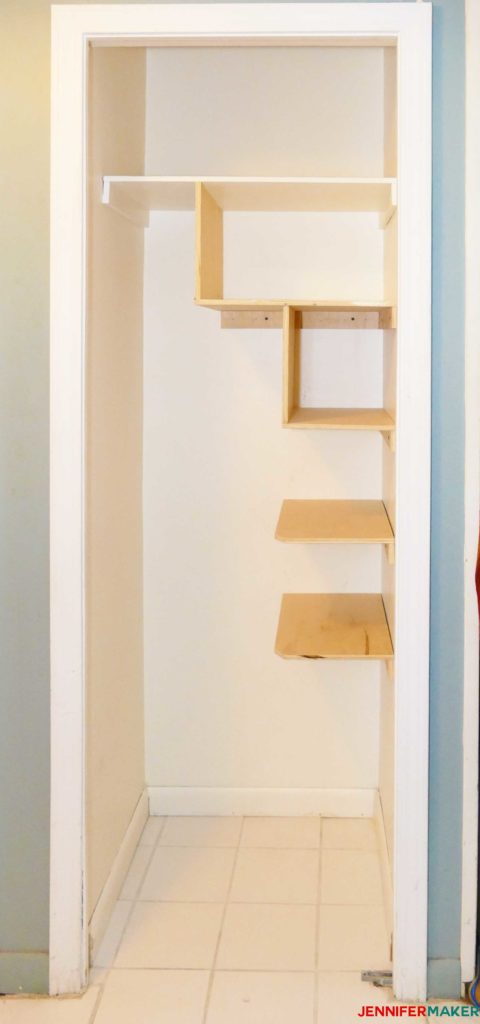
And then we painted the shelves in the cleaning closet the same eggshell white:
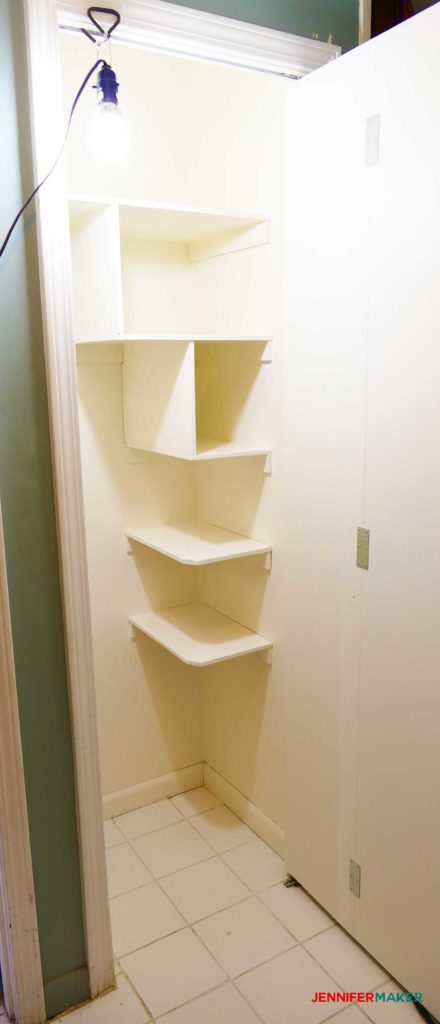
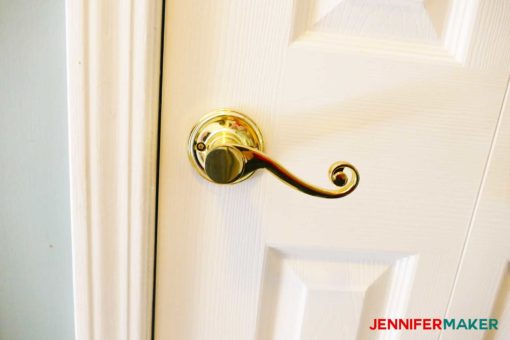
That already looks so much better! But we were going to stop there. The door on this closet was a bifold door, which was constantly coming off its track and getting in our way. So we converted it to a regular door using metal brace plates, a magnetic catch, and a dummy door handle lever (for the outside). It is SO much better now! We’ll have a separate tutorial on how to convert a bifold door into a regular door later.
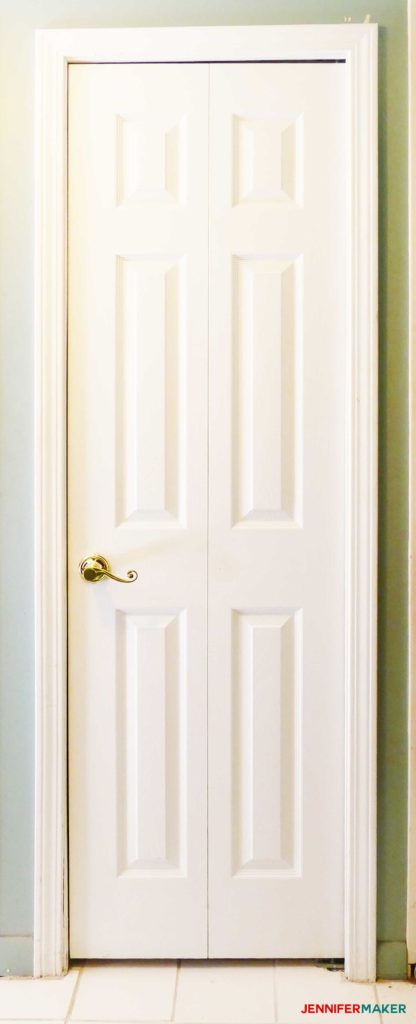
Isn’t this a pretty and classy handle?
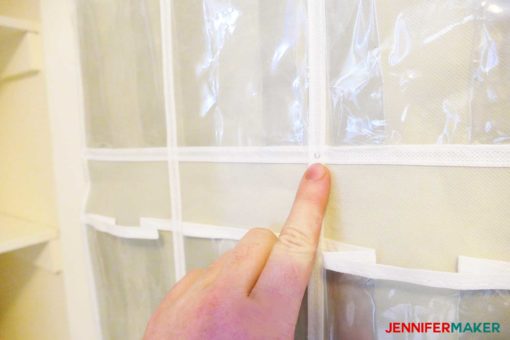
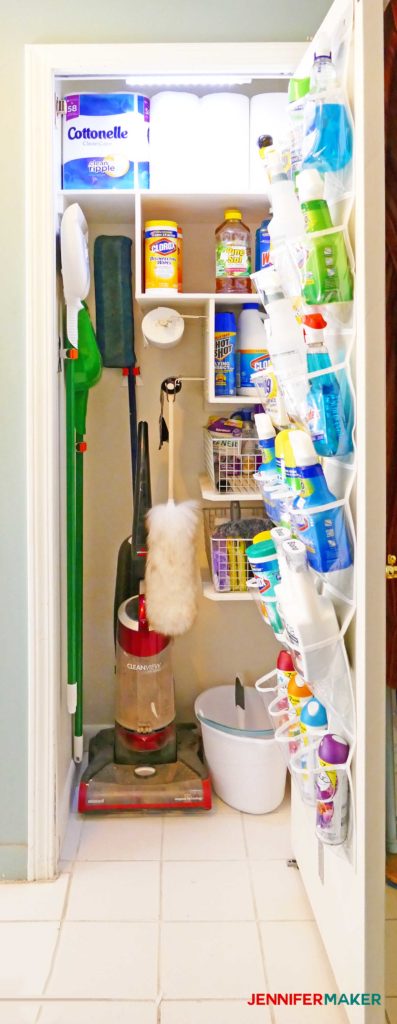
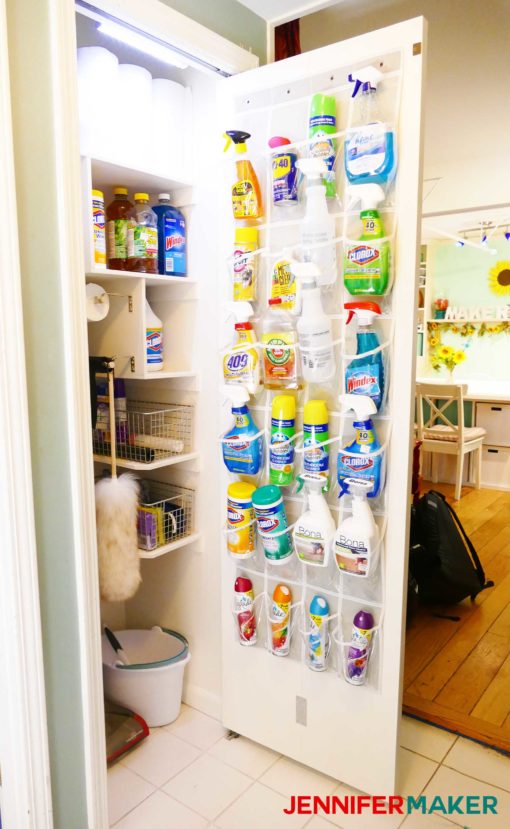
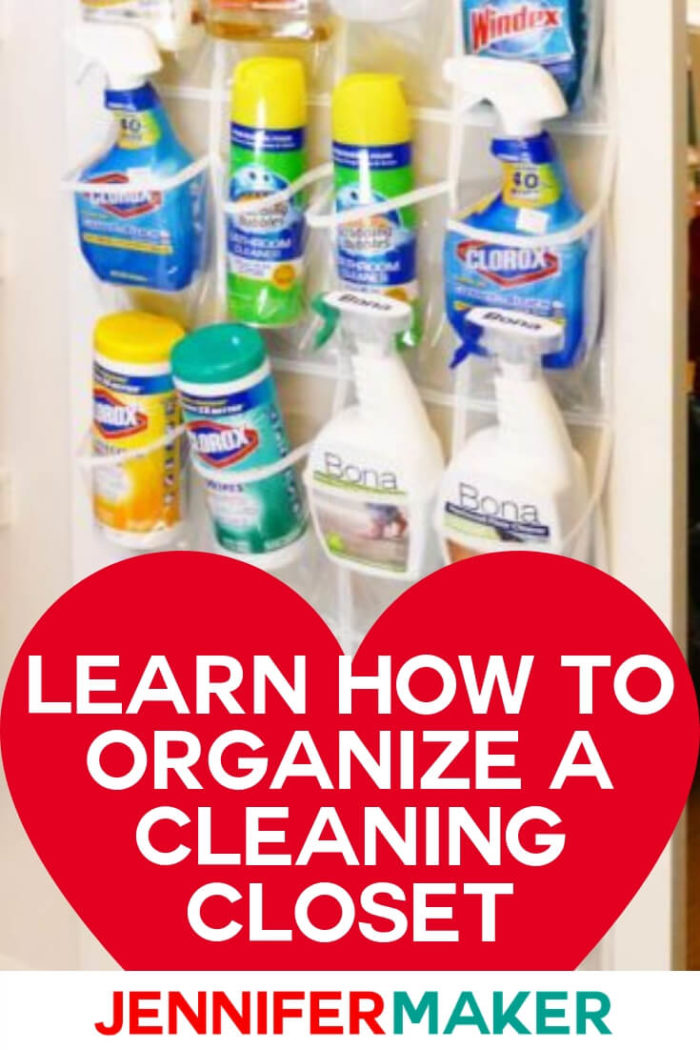
And now that our door was not a bifold, we could use the entire backside of it for cleaning closet organization! So we bought one of those over-the-door shoe holders to put on the back of the door. But instead of putting it over the door, we simply nailed it into place in several locations so it would be nice and secure.
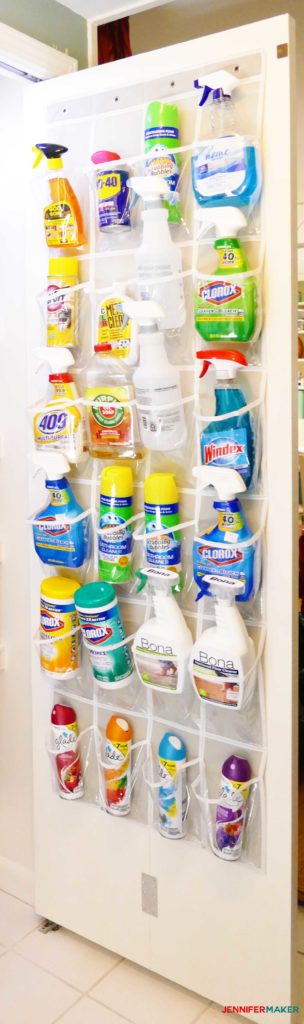
Once the shoe holder was secured, we filled it up with our various spray bottles and it’s AMAZING. So much easier to see what you have in your cleaning closet now.
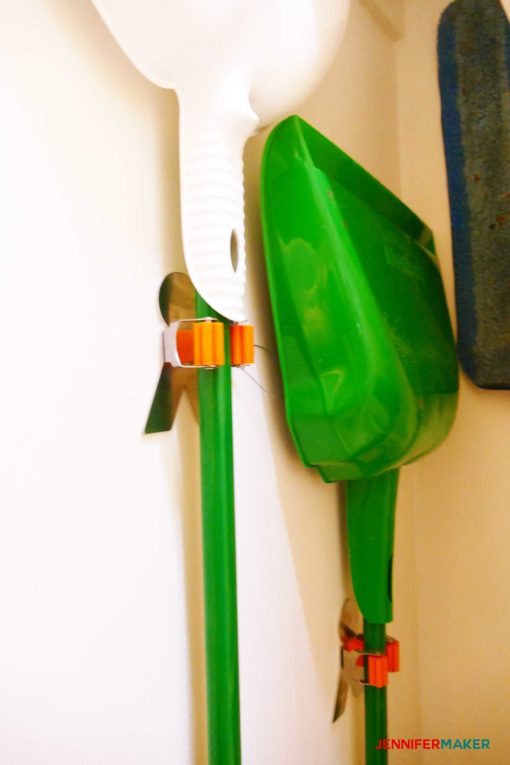
Now it was time to put things back into our cleaning closet, only this time in a more organized fashion. We bought broom and mop holders to hang everything up neatly:
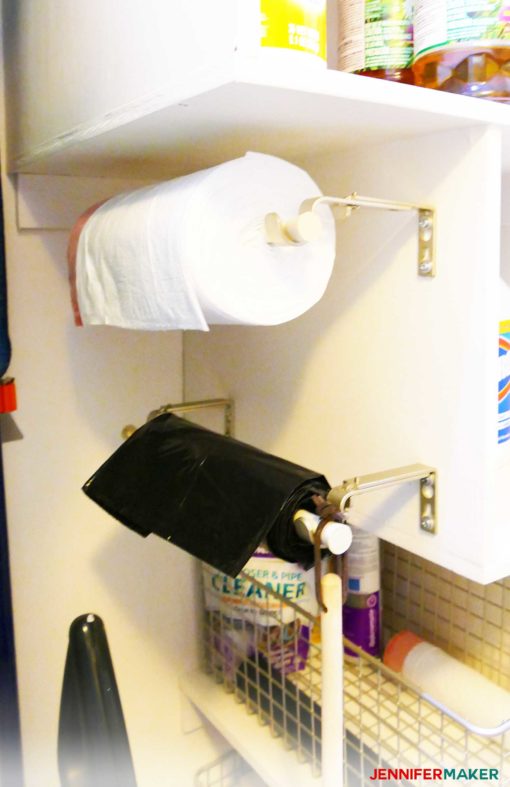
We also created bag holders out of curtain rod bracket and cafe rods. Now we can put our trash bags on the rods for easier dispensing. And this means we could get rid of the giant cardboard boxes, too!
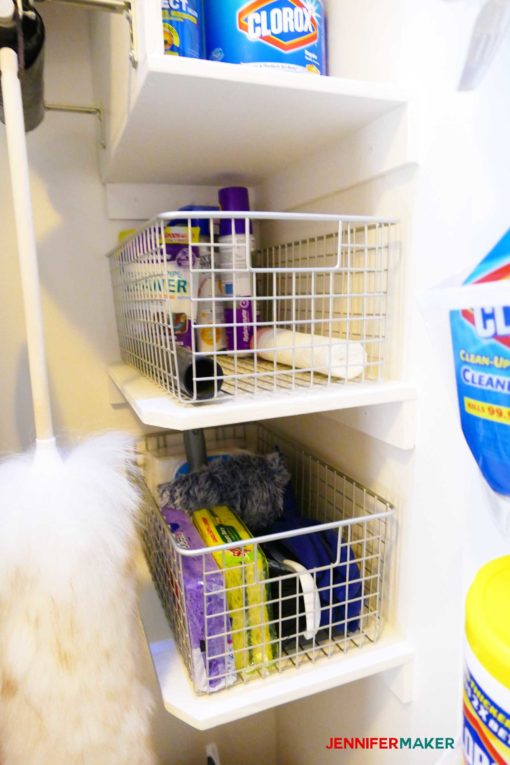
We also used baskets so we could store little things on those floating shelves and be able to pull them out to get at them.
Finally, we installed a motion sensitive LED light bar at the top of the closet. Now whenever opened the door, or was working in it, there would be light!
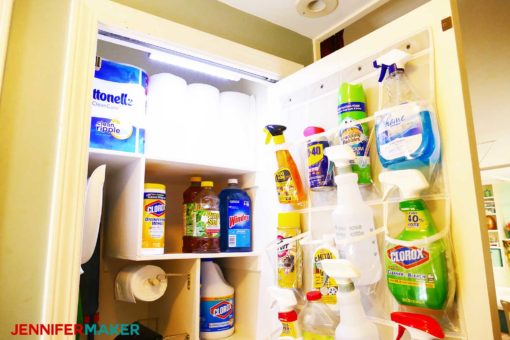
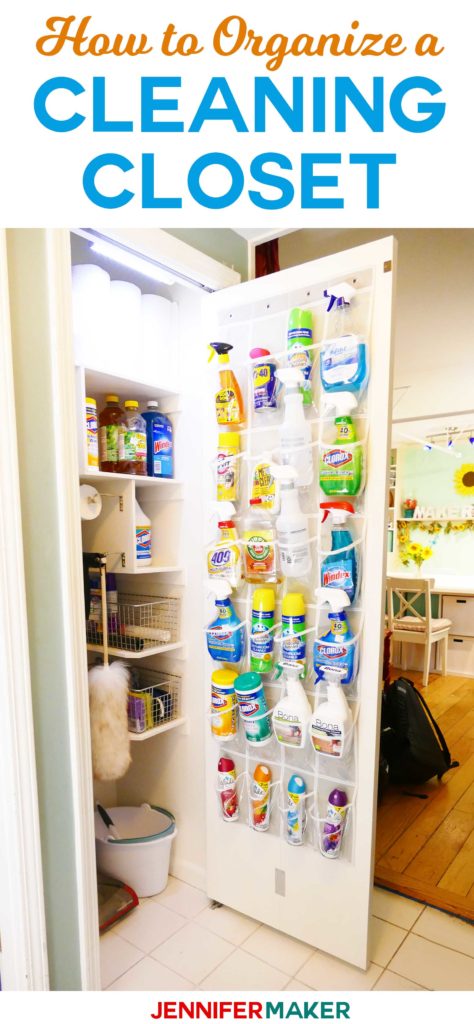
Here’s a look at the fully organized cleaning closet:
If you organize your cleaning closet, please share a photo of your project! You can send it to [email protected] or tag me on social media with #jennifermaker.
Love,

Want to remember this? Save this Cleaning Closet Organization Tutorial to your favorite Pinterest board!


So this is pretty amazing!!!! I am def. interested in that conversion from a bi-fold door to a swing door. I have 1 closet in my whole house for linens and “stuff” and that conversion alone would give me options for storage since I can hang one of those organizer things!!!! Thanks so much for this post…. my wheels are turning!!!!
Amazing! Thanks for sharing, I’m going to use your closet as a guide for mine. I’ve already done the shoe organizer but am working on shelving ideas. This was a big help and inspiration.