
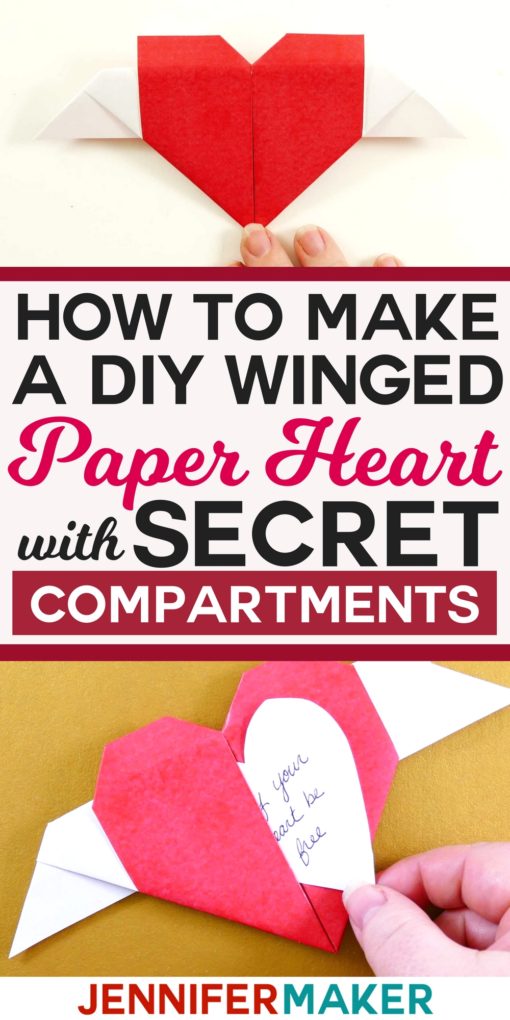
Do you ever get the blues? For the most part, I keep myself too busy to feel down. But today is one of those days. They happen, and the best thing to do is not feel bad about feeling bad (I’ll bet you know what I mean!) and just carry on as best you can. Today also happens to be the funeral of a friend, however. Today is a sad day. I just can’t work right now. I need to make something, and papercrafts are easy. Crafting always helps me. So I’m making an DIY paper winged heart. Come along and make one with me, will you?
DIY Paper Winged Heart Materials
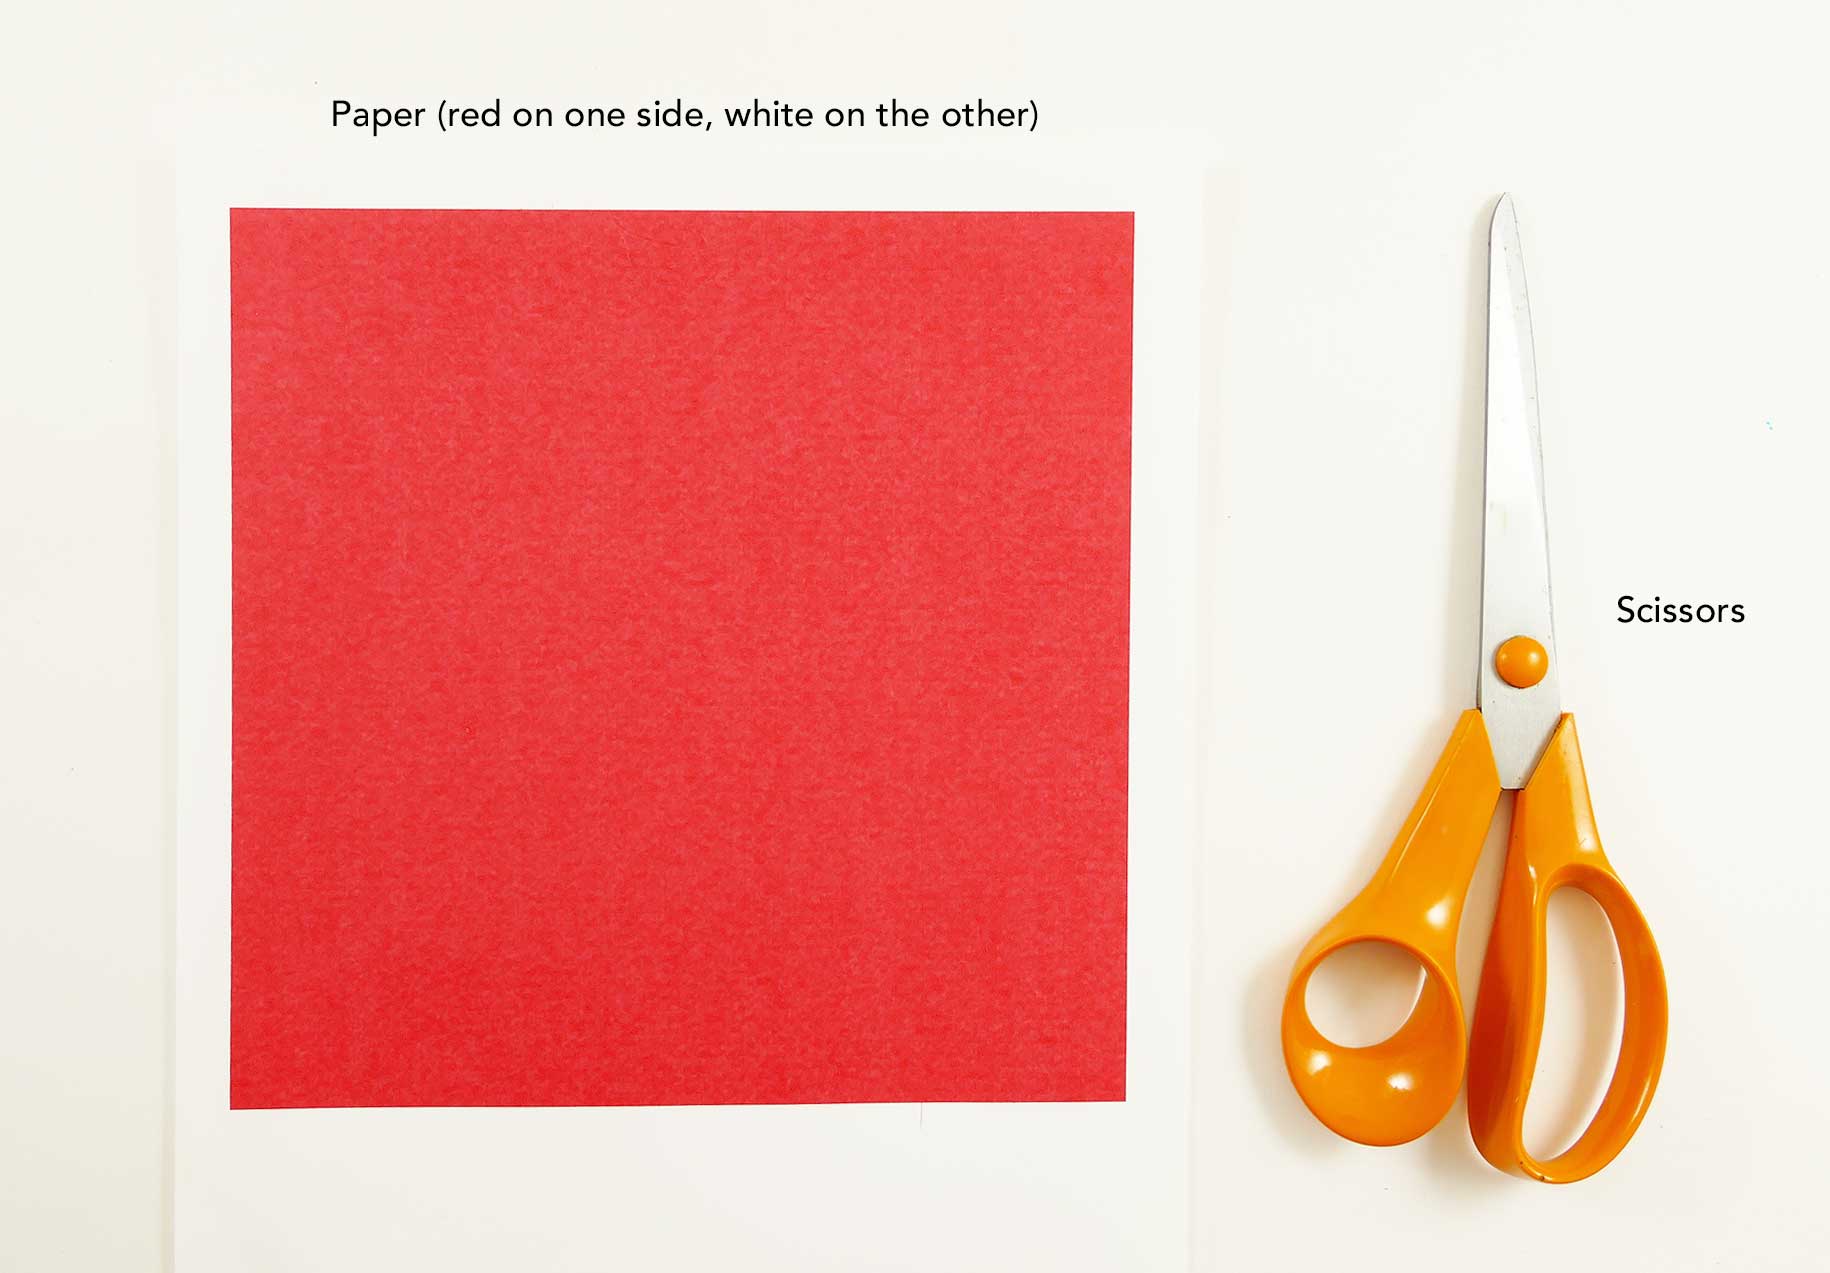
- One piece of square paper with red on one side and white on the other. Origami paper tends to come this way, but I had none on hand today. So I simply printed a red box on a piece of white paper. If you don’t have a printer, just get a white piece of paper and color one side red with crayon, pencil, or marker. (Also, you can use any color you wish, of course.)
- Scissors
Tip: I made a PDF of six colored paper squares (Design #12 – red, pink, light blue, green, gold, and orange) and placed it in my Resource Library to download for free. (You can get the password to it by filling out the form at the bottom of this page.)
DIY Paper Winged Heart Step-by-Step Tutorial
Step 1: If you printed out a square on a sheet of paper, as I did, cut it out now. You want a perfect square. Size isn’t that important.

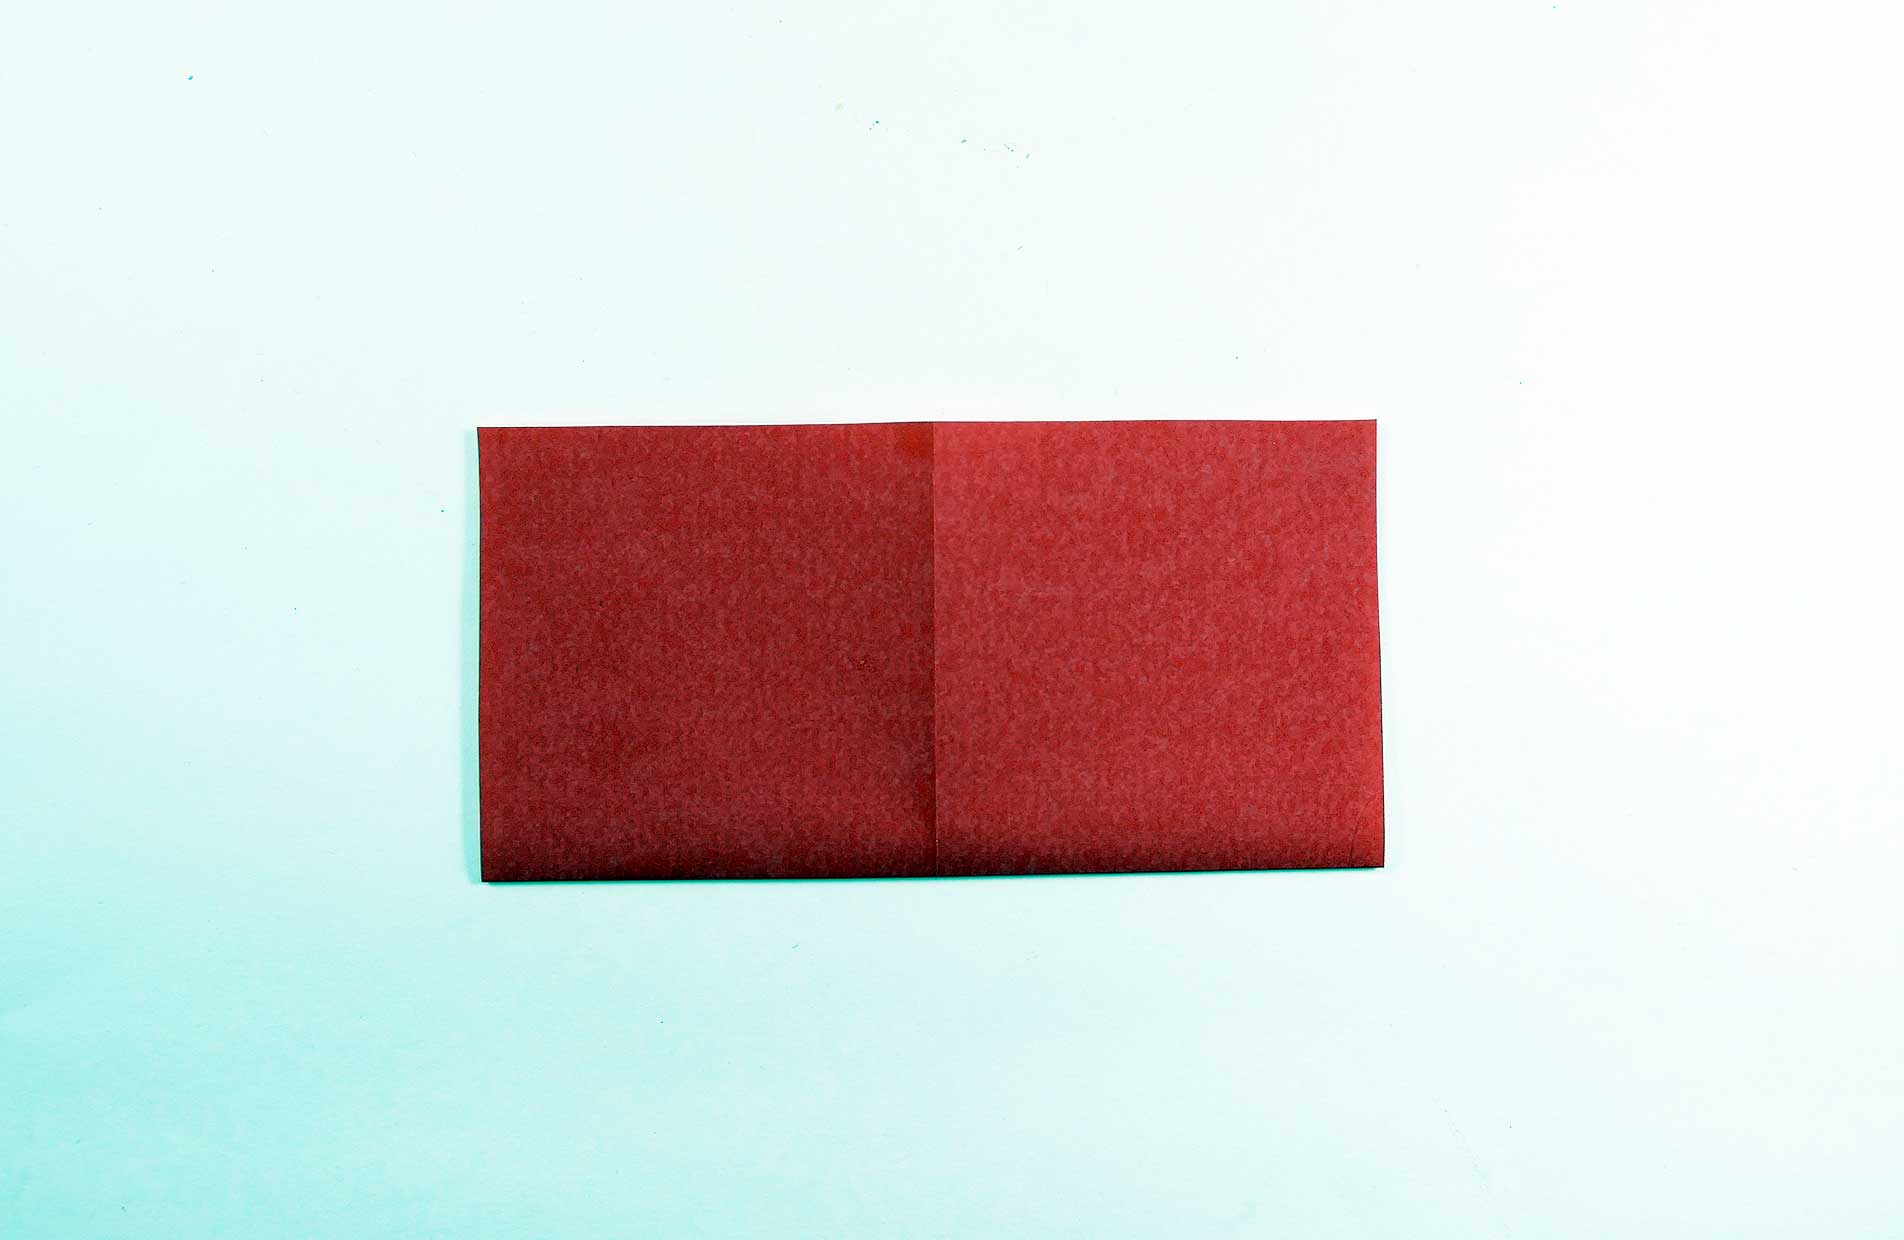
Step 2: Fold your paper in half, red side up.

Step 3: Unfold.

Step 4: Fold your paper in half the other way, red side up again.
Step 5: Unfold.

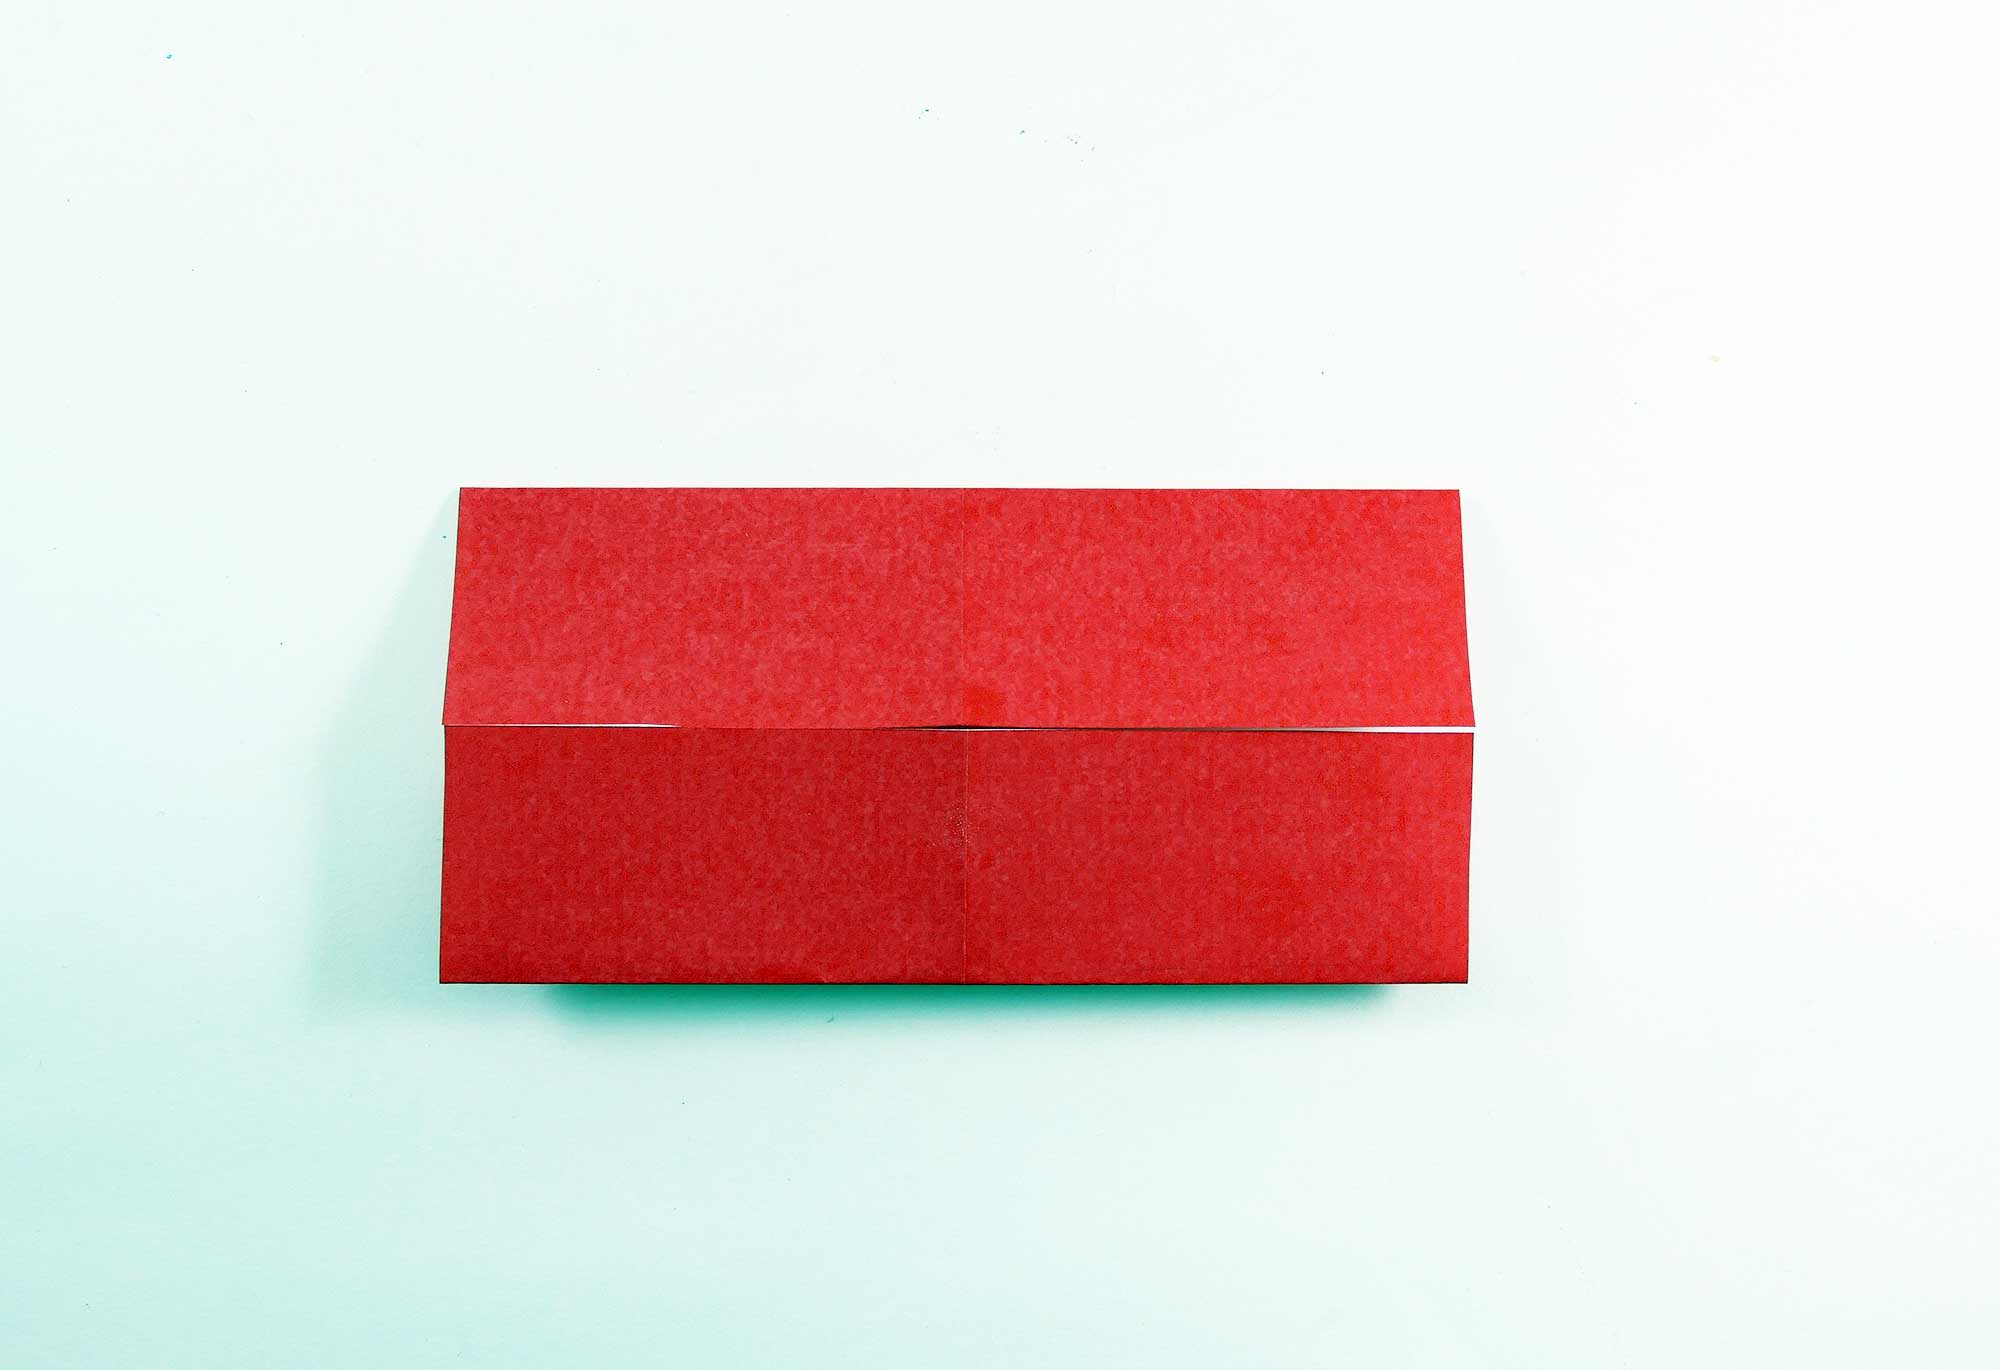
Step 6: Fold bottom half up, red side up.
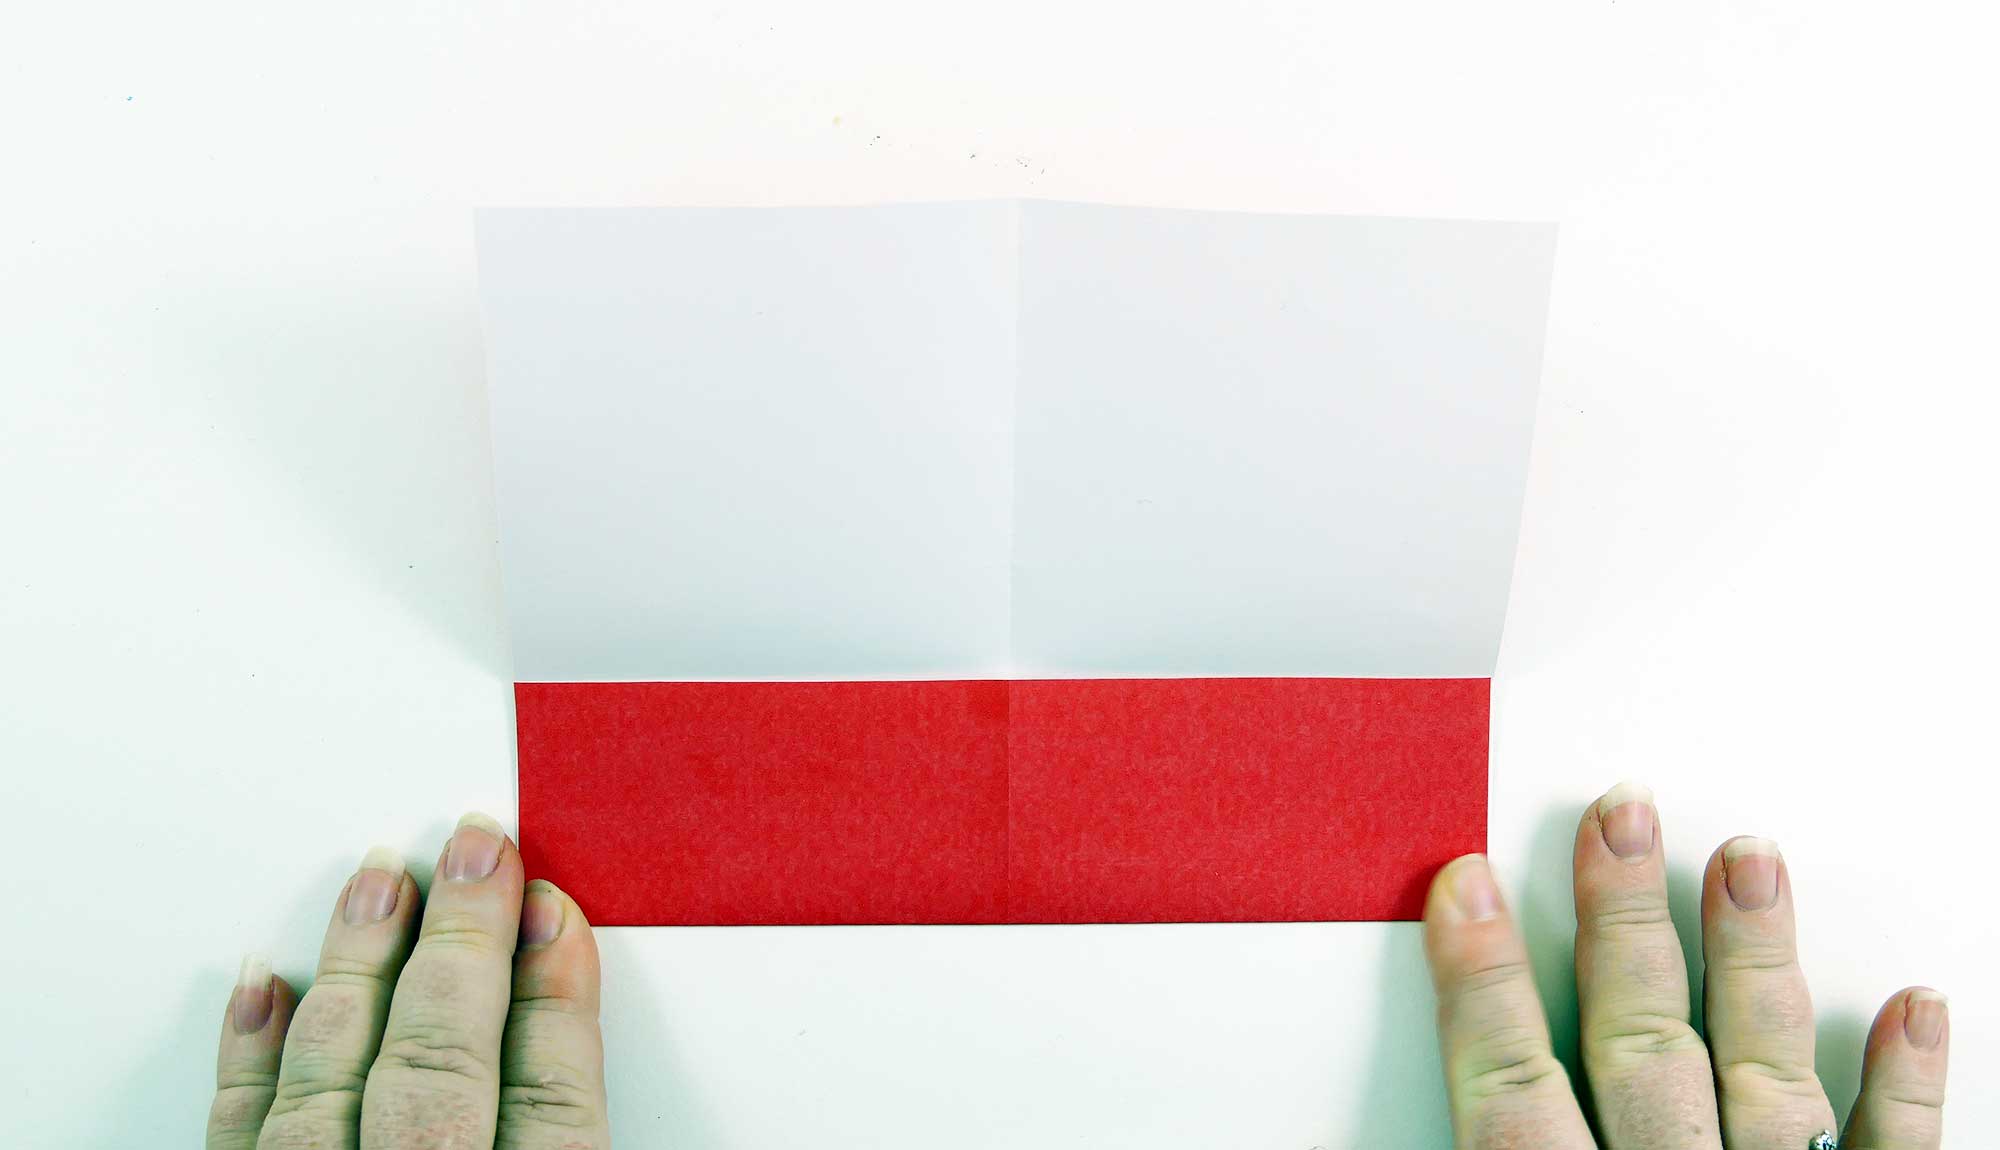
Step 7: Fold top half down, red side up.
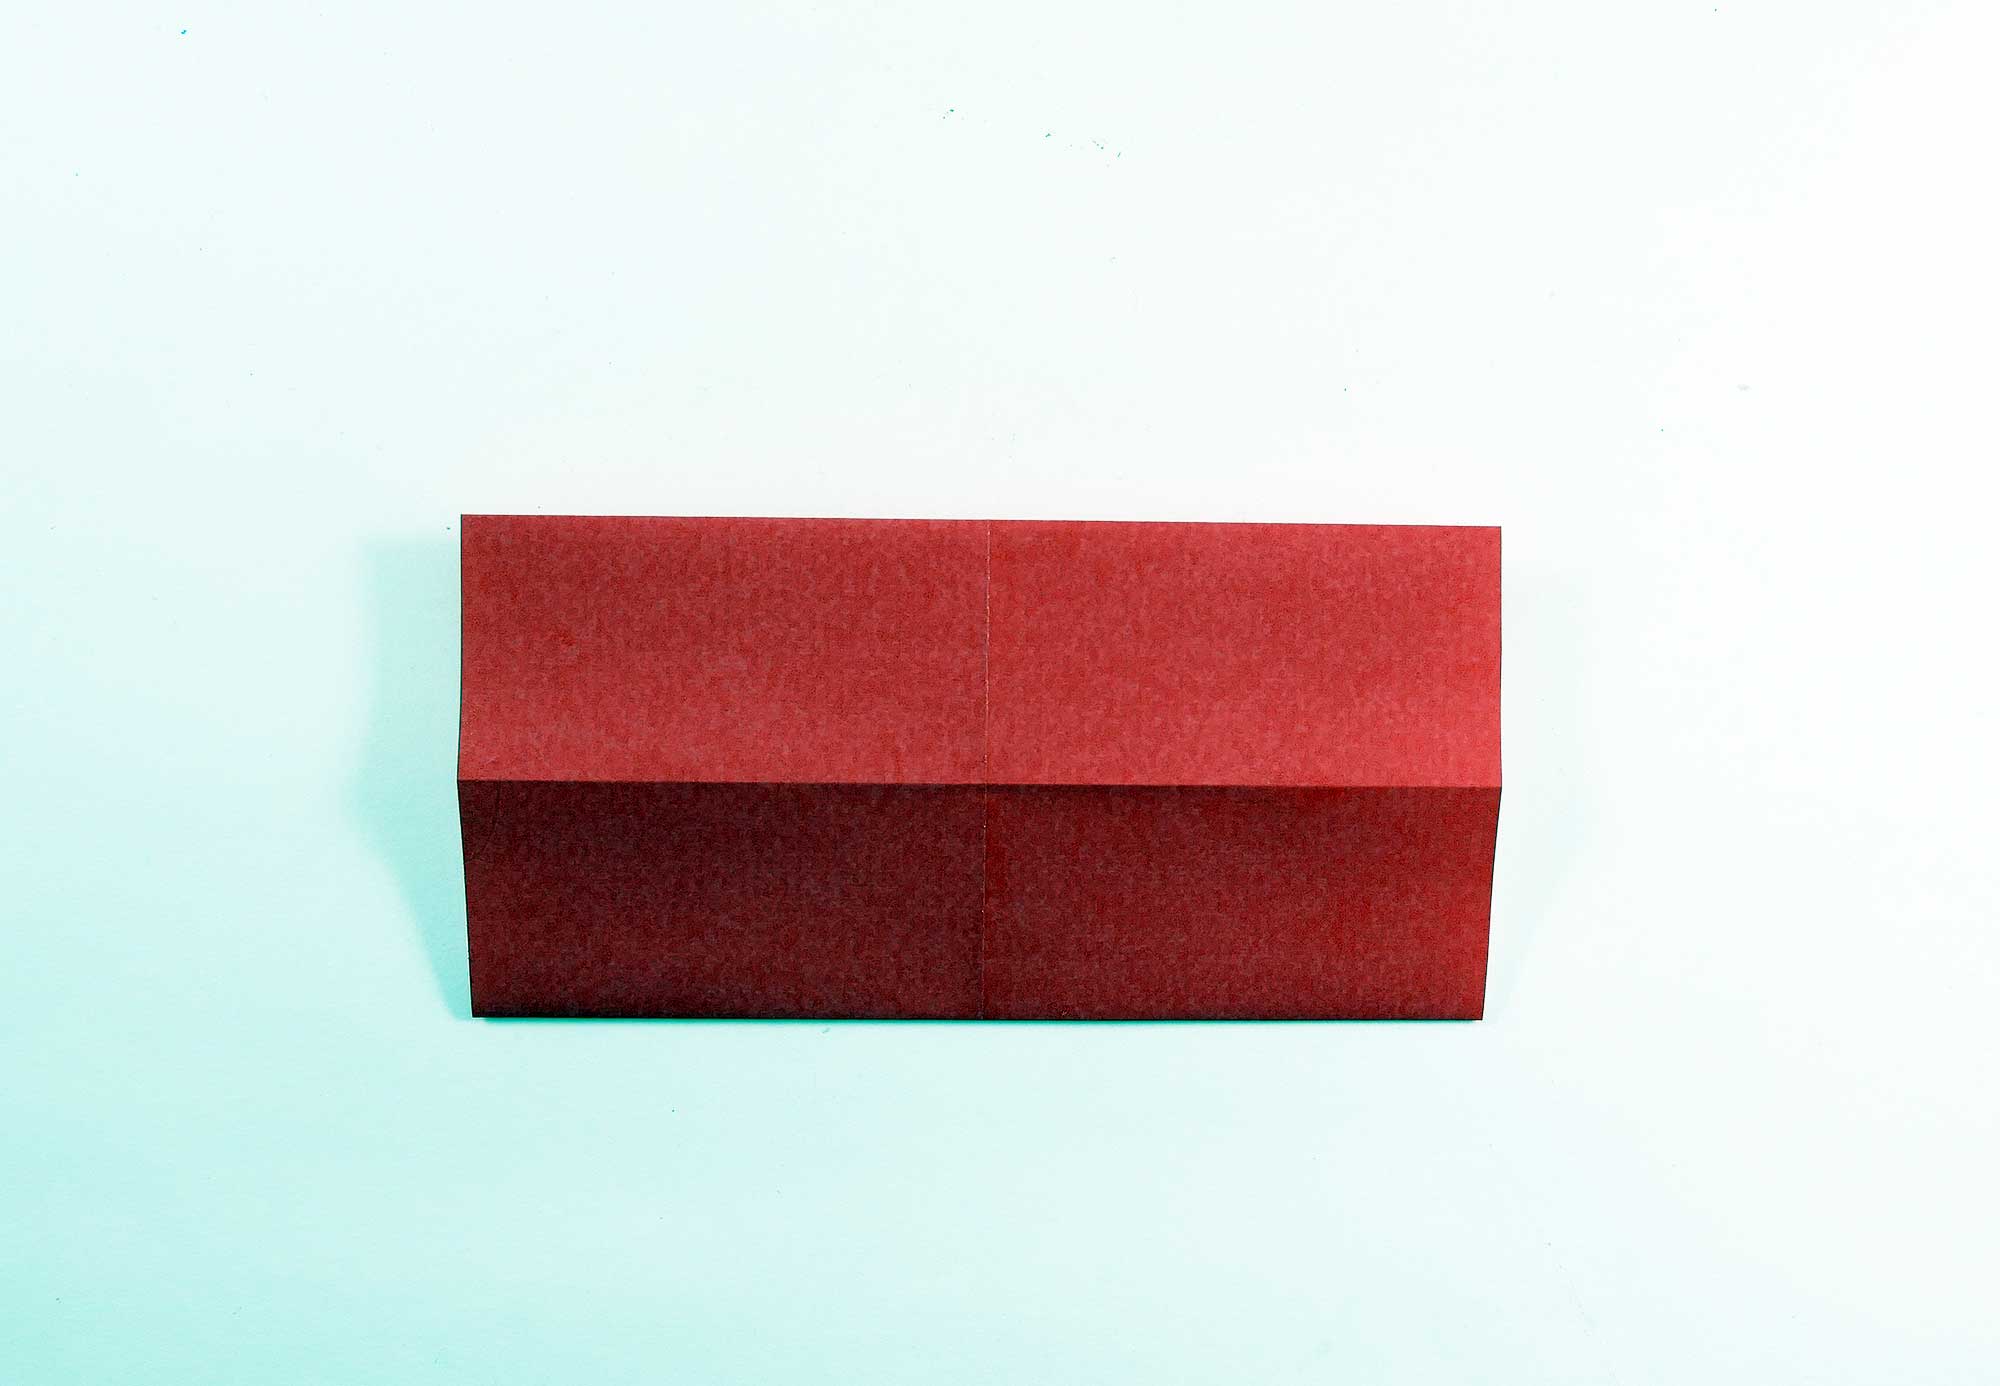
Step 8: Turn your folded paper over.
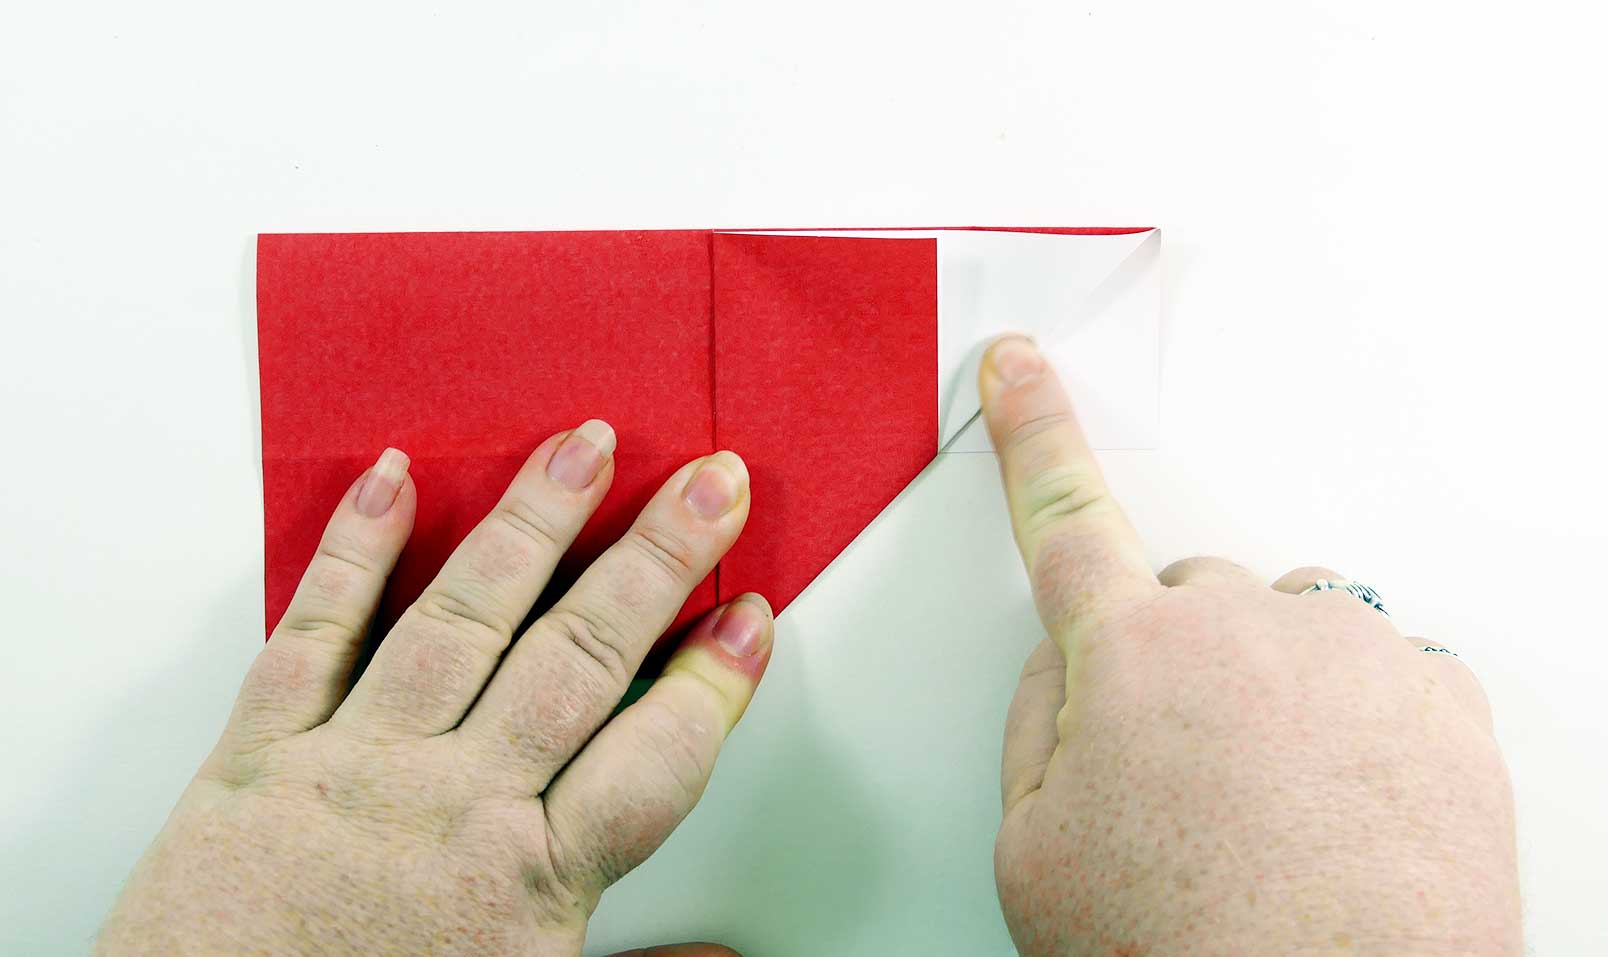
Step 9: Fold the bottom right corner up to the top middle, leaving the white flap underneath unfolded (as shown below).
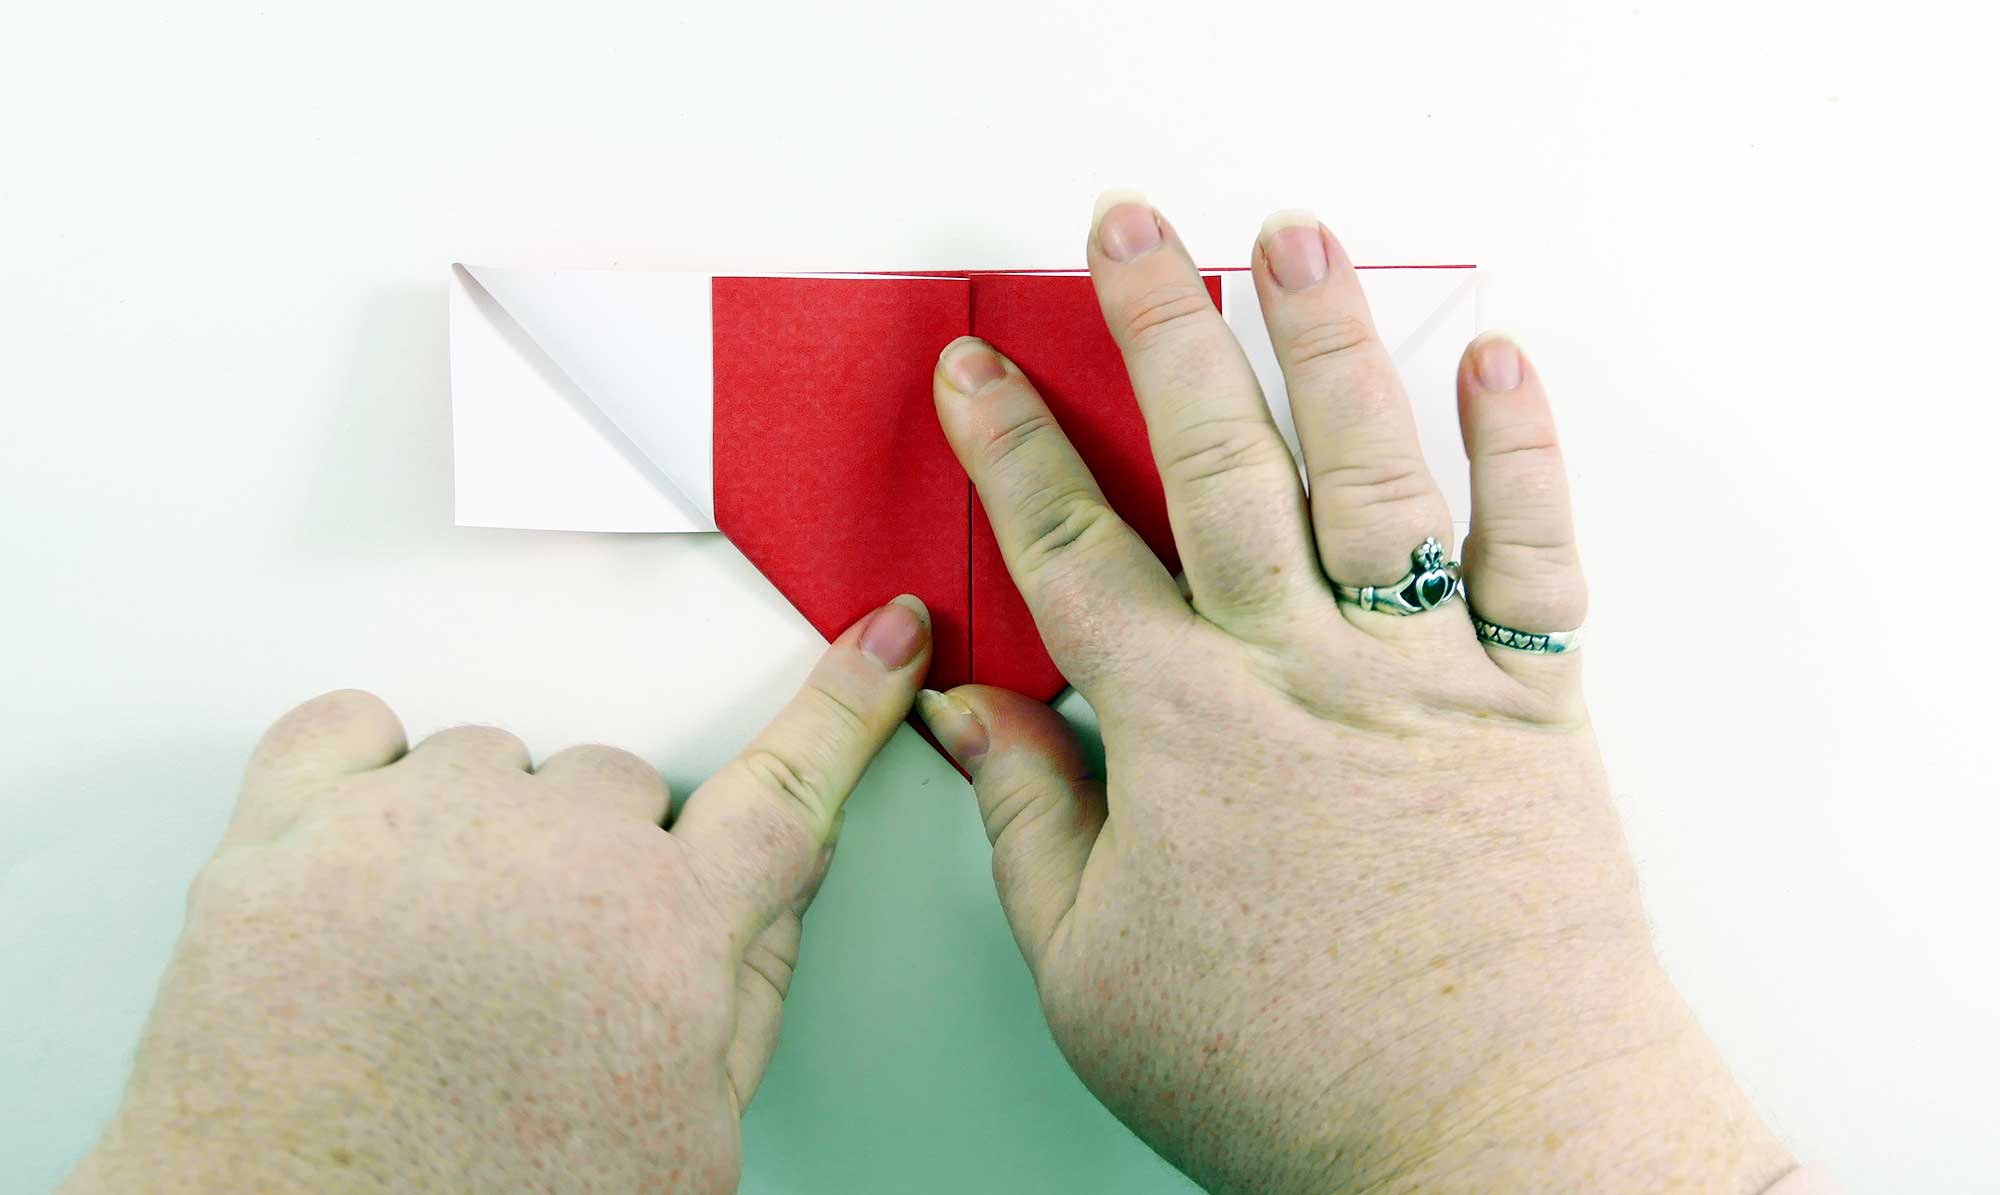
Step 10: Fold the bottom left corner up to the top middle, again leaving the white flap underneath unfolded.
Step 11: Turn your folded paper over.

Step 12: Fold down the top 1/3 of the top rectangle.
Step 13: Open up the right section you just folded down, flattening out the paper.
Step 14: Also open the left section, again flattening out the paper.

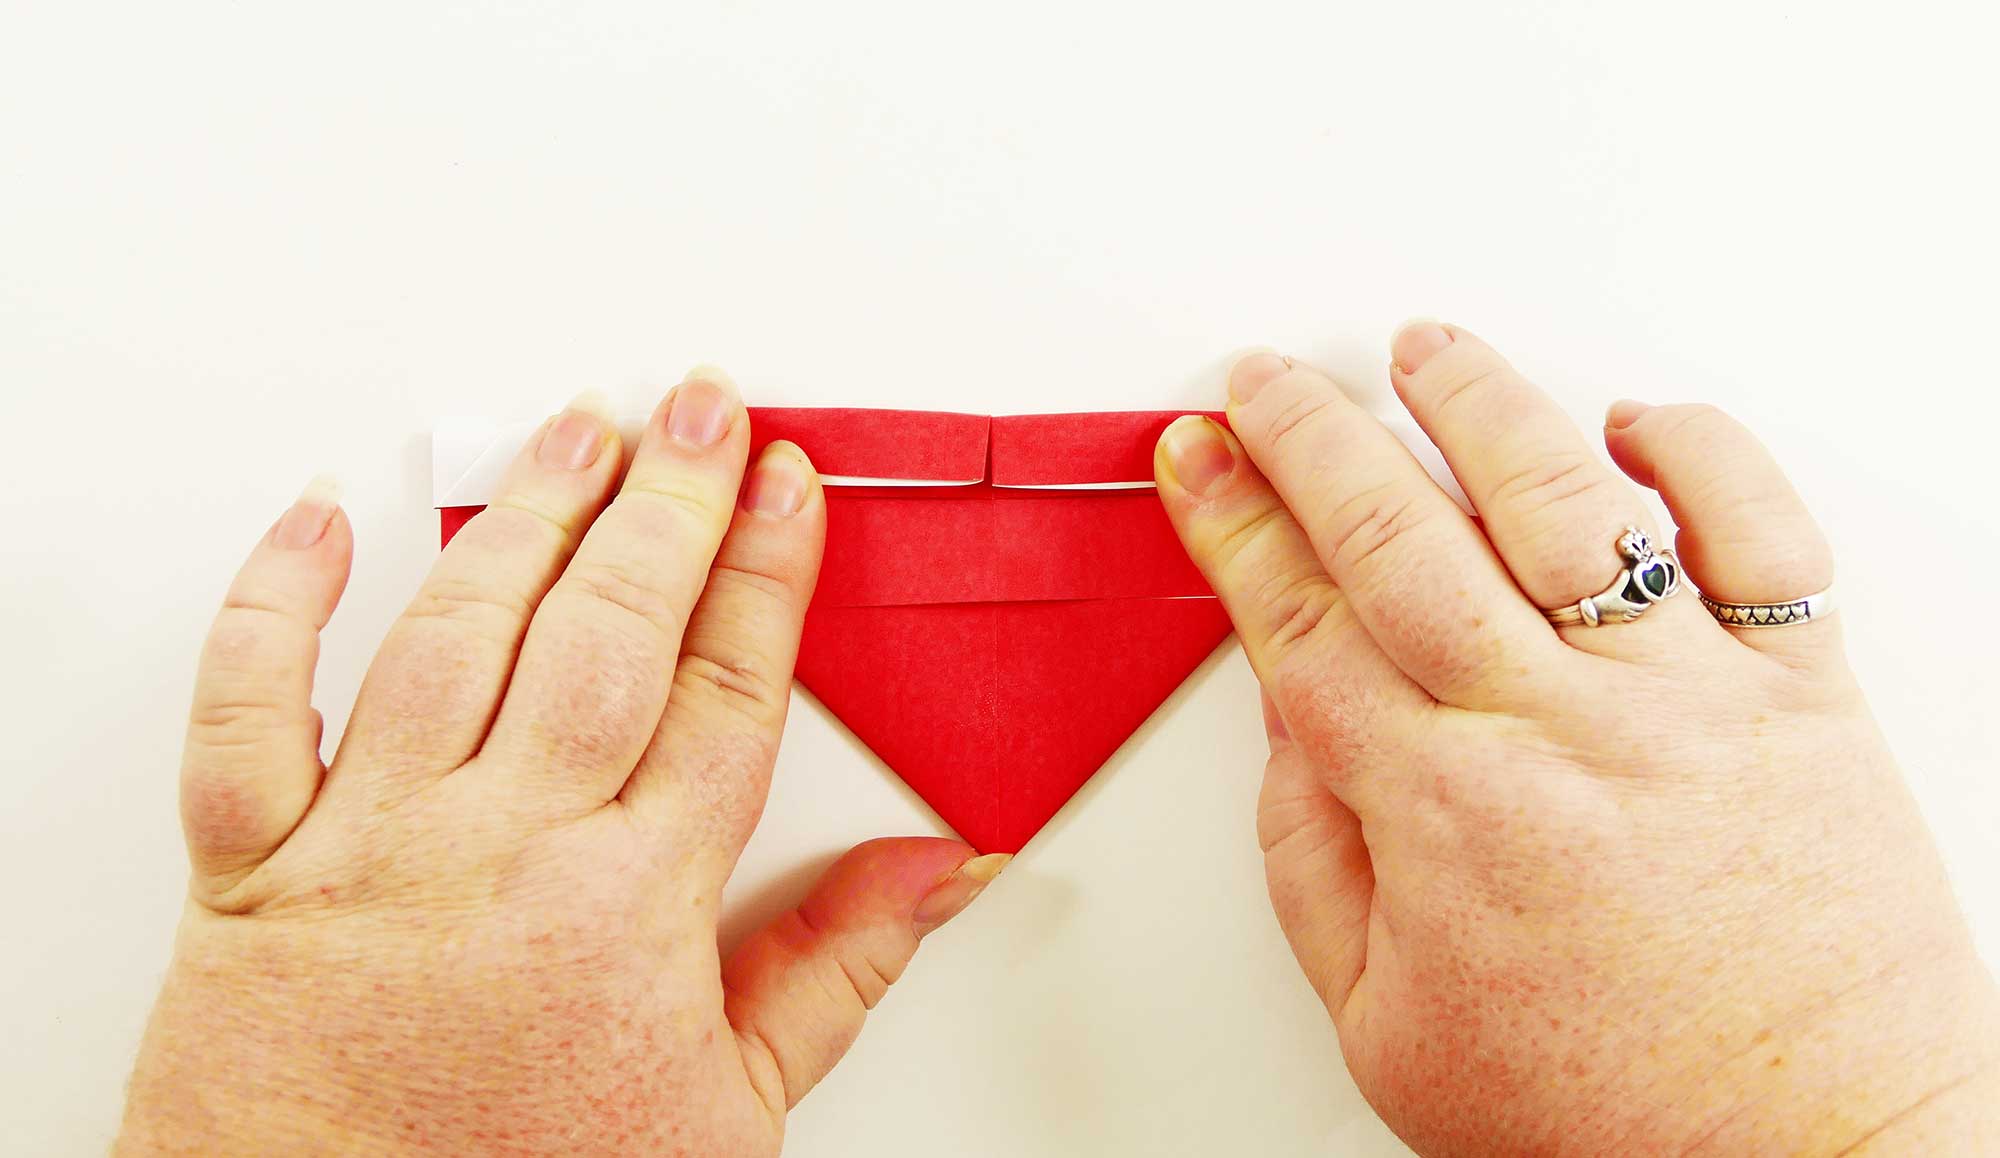
Step 15: Fold down the right corner at a 90 degree angle.

Step 16: Fold down the left corner at a 90 degree angle.
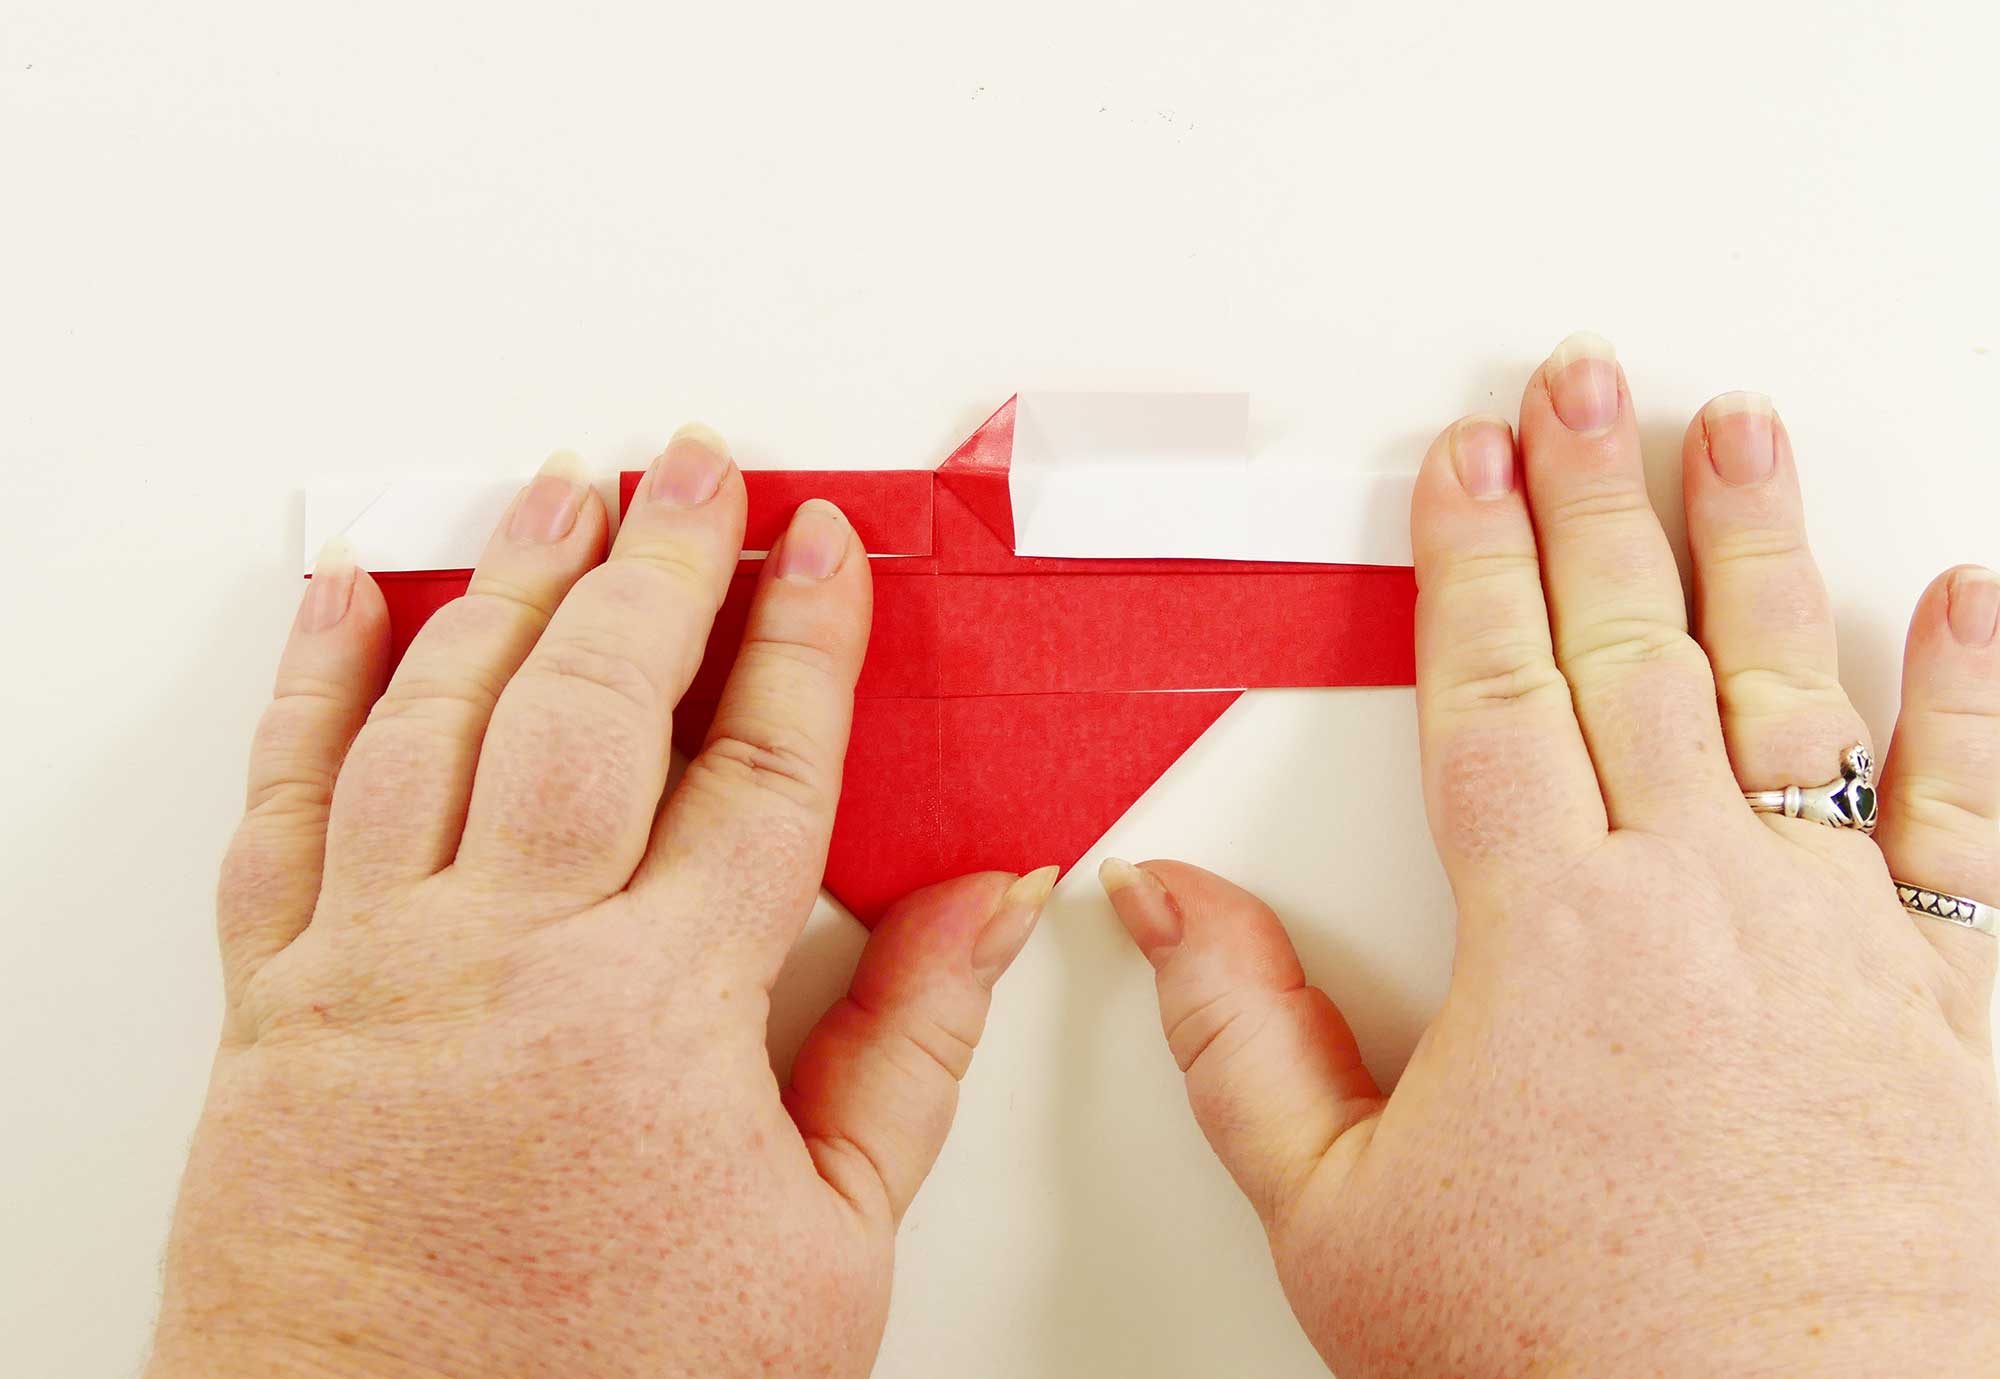
Step 17: Flip it over.
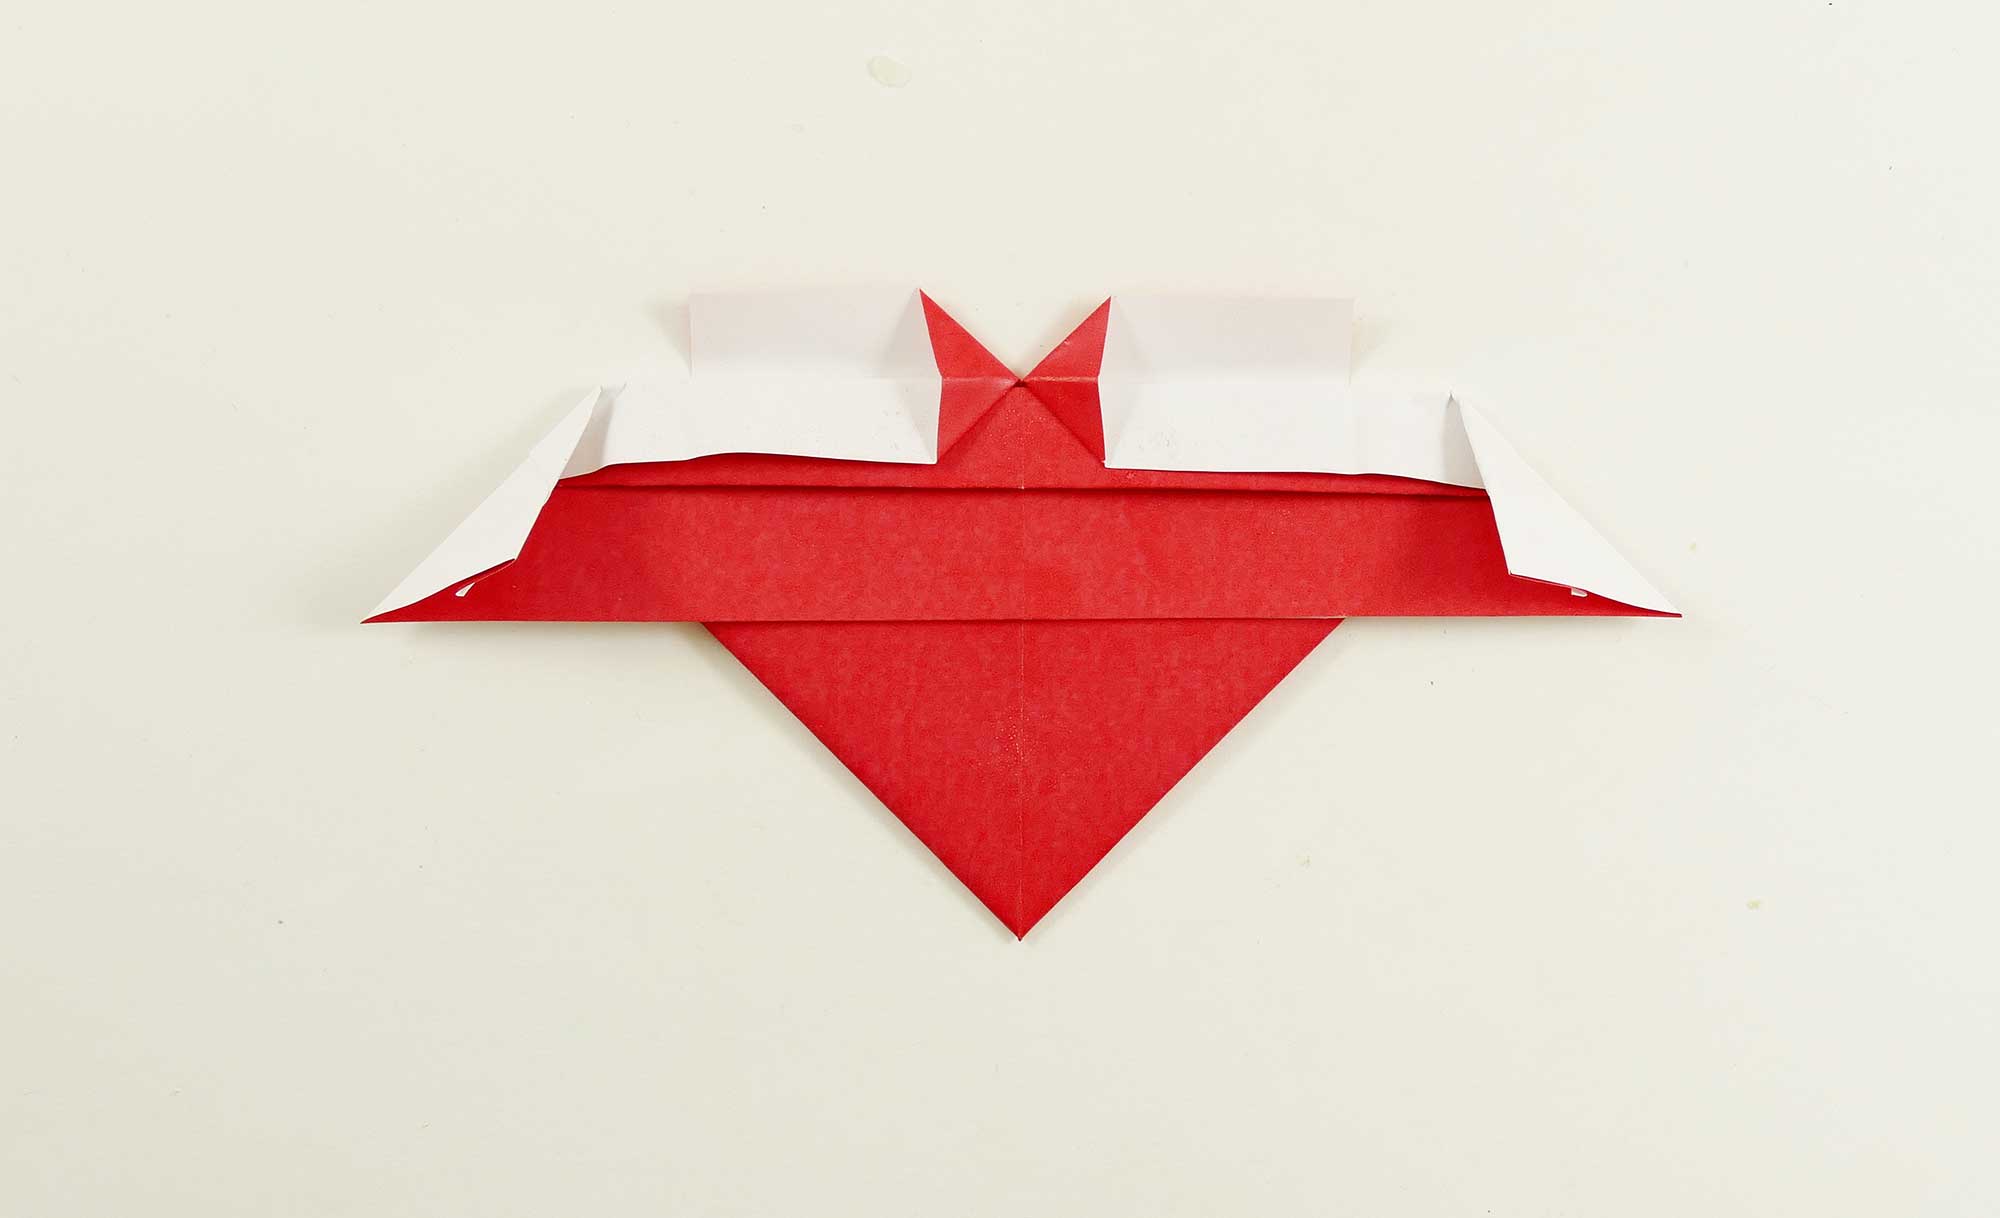
Step 18: Fold down the right corner to match the top middle folds.
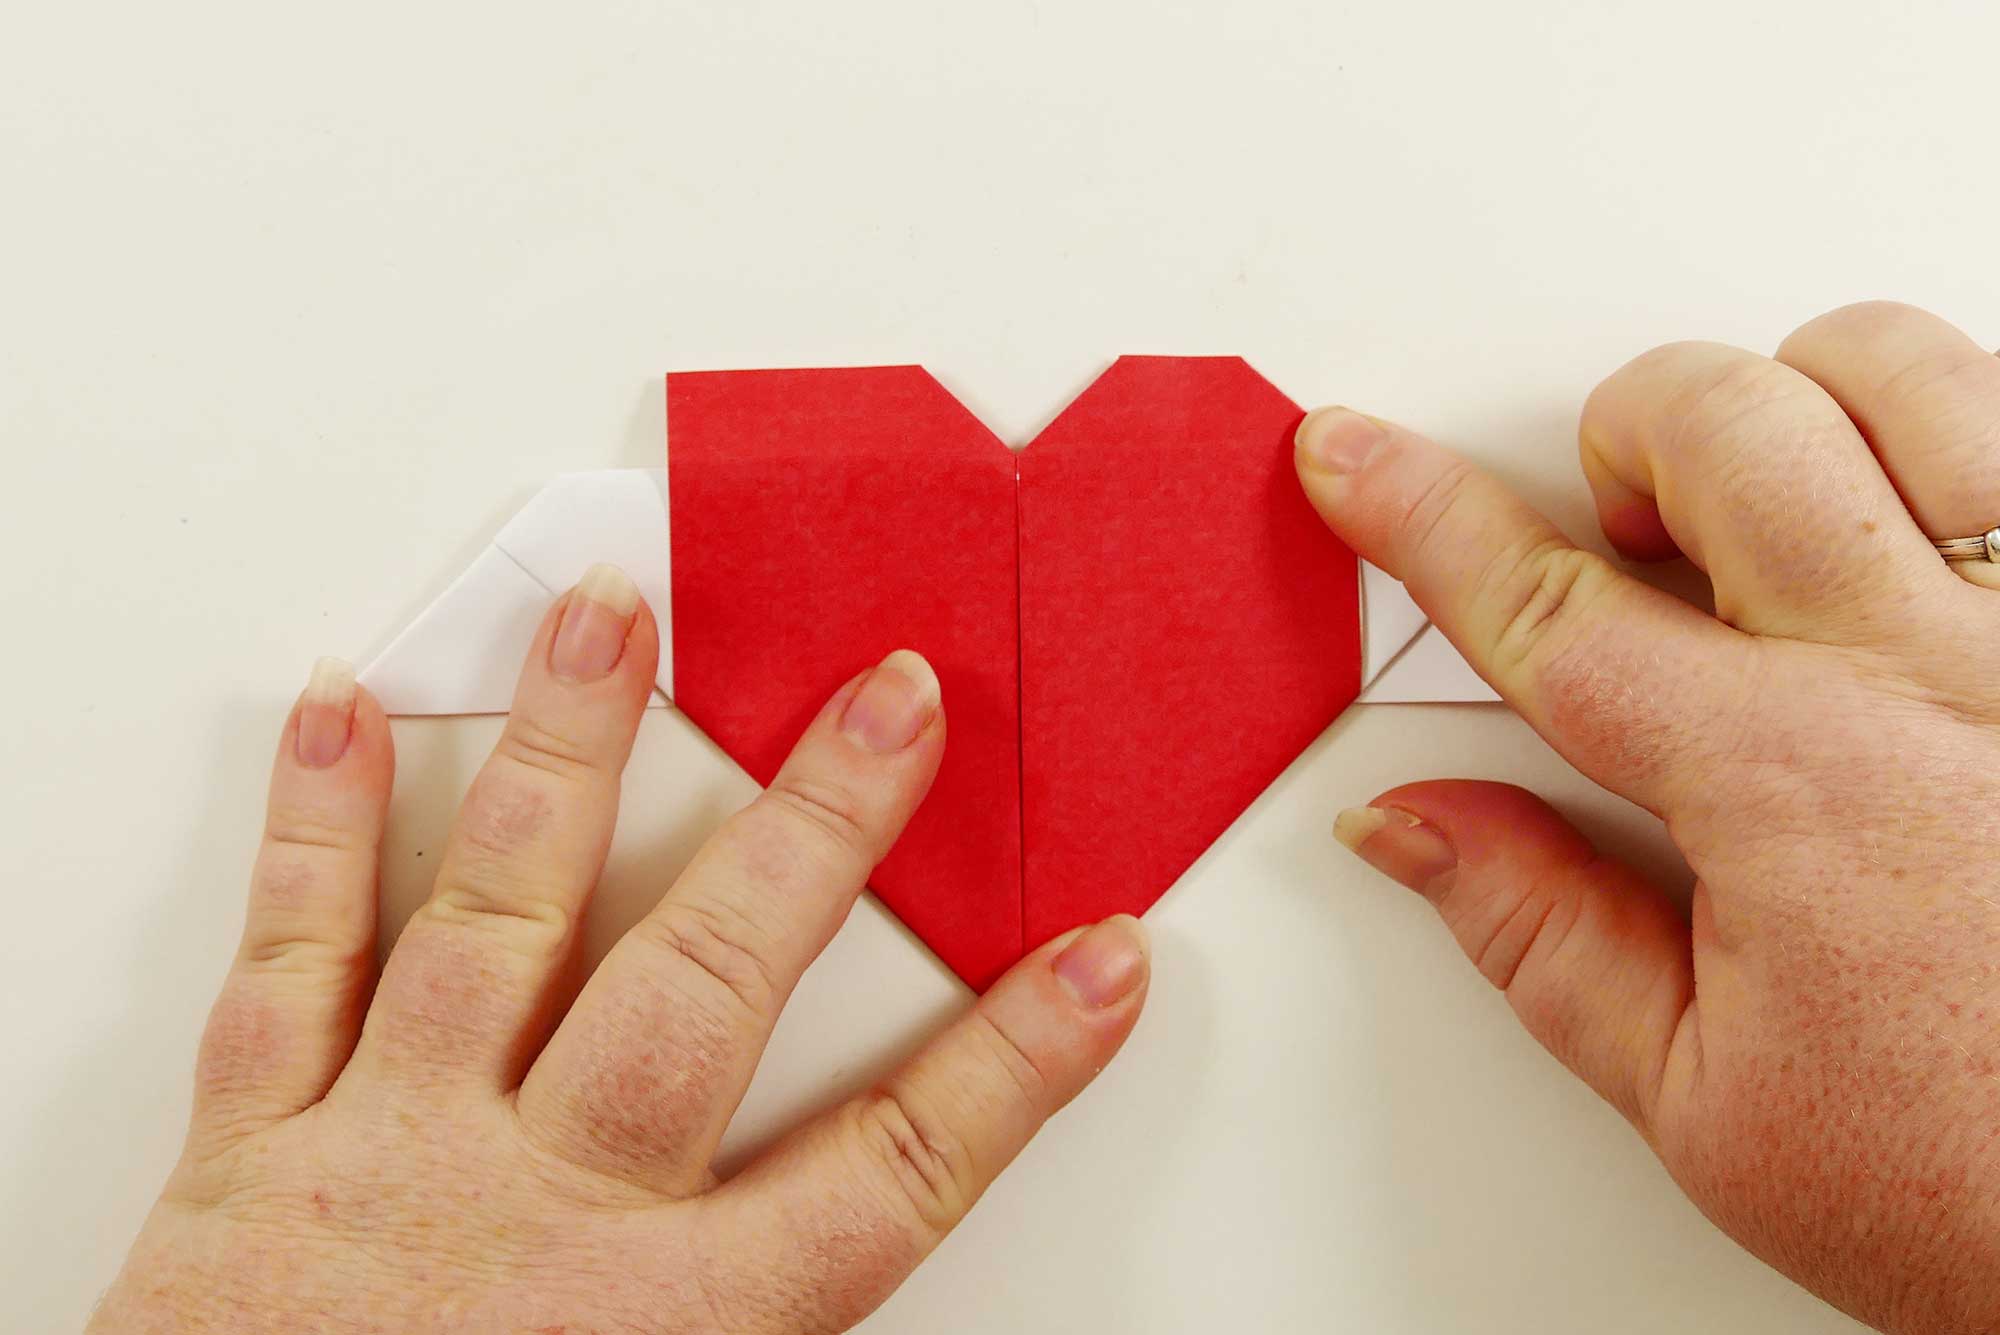
Step 19: Fold down the left corner to match the top middle folds.
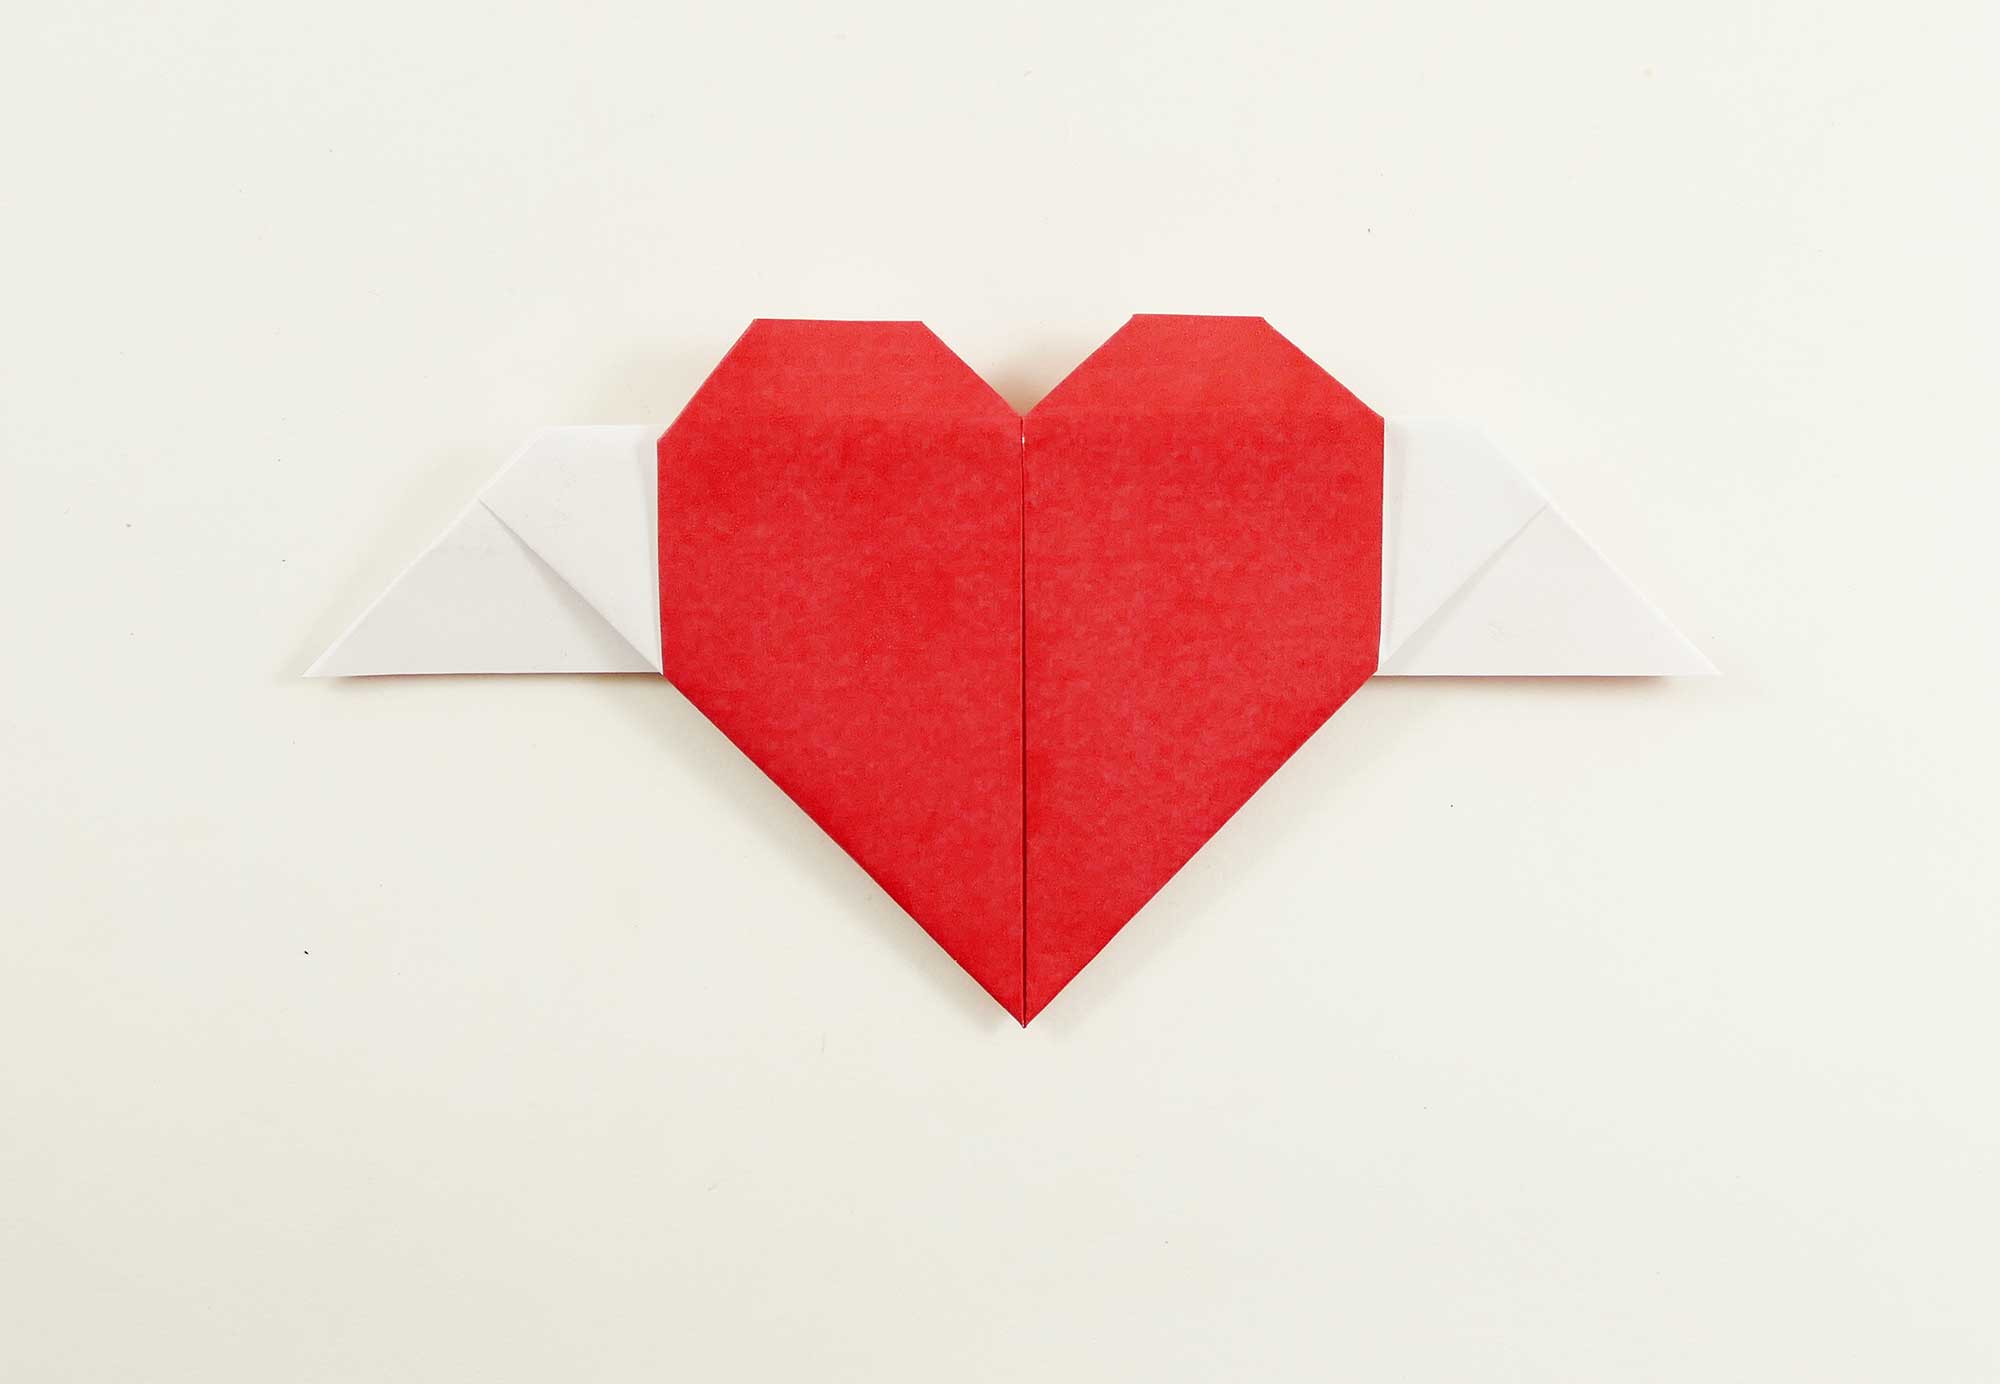
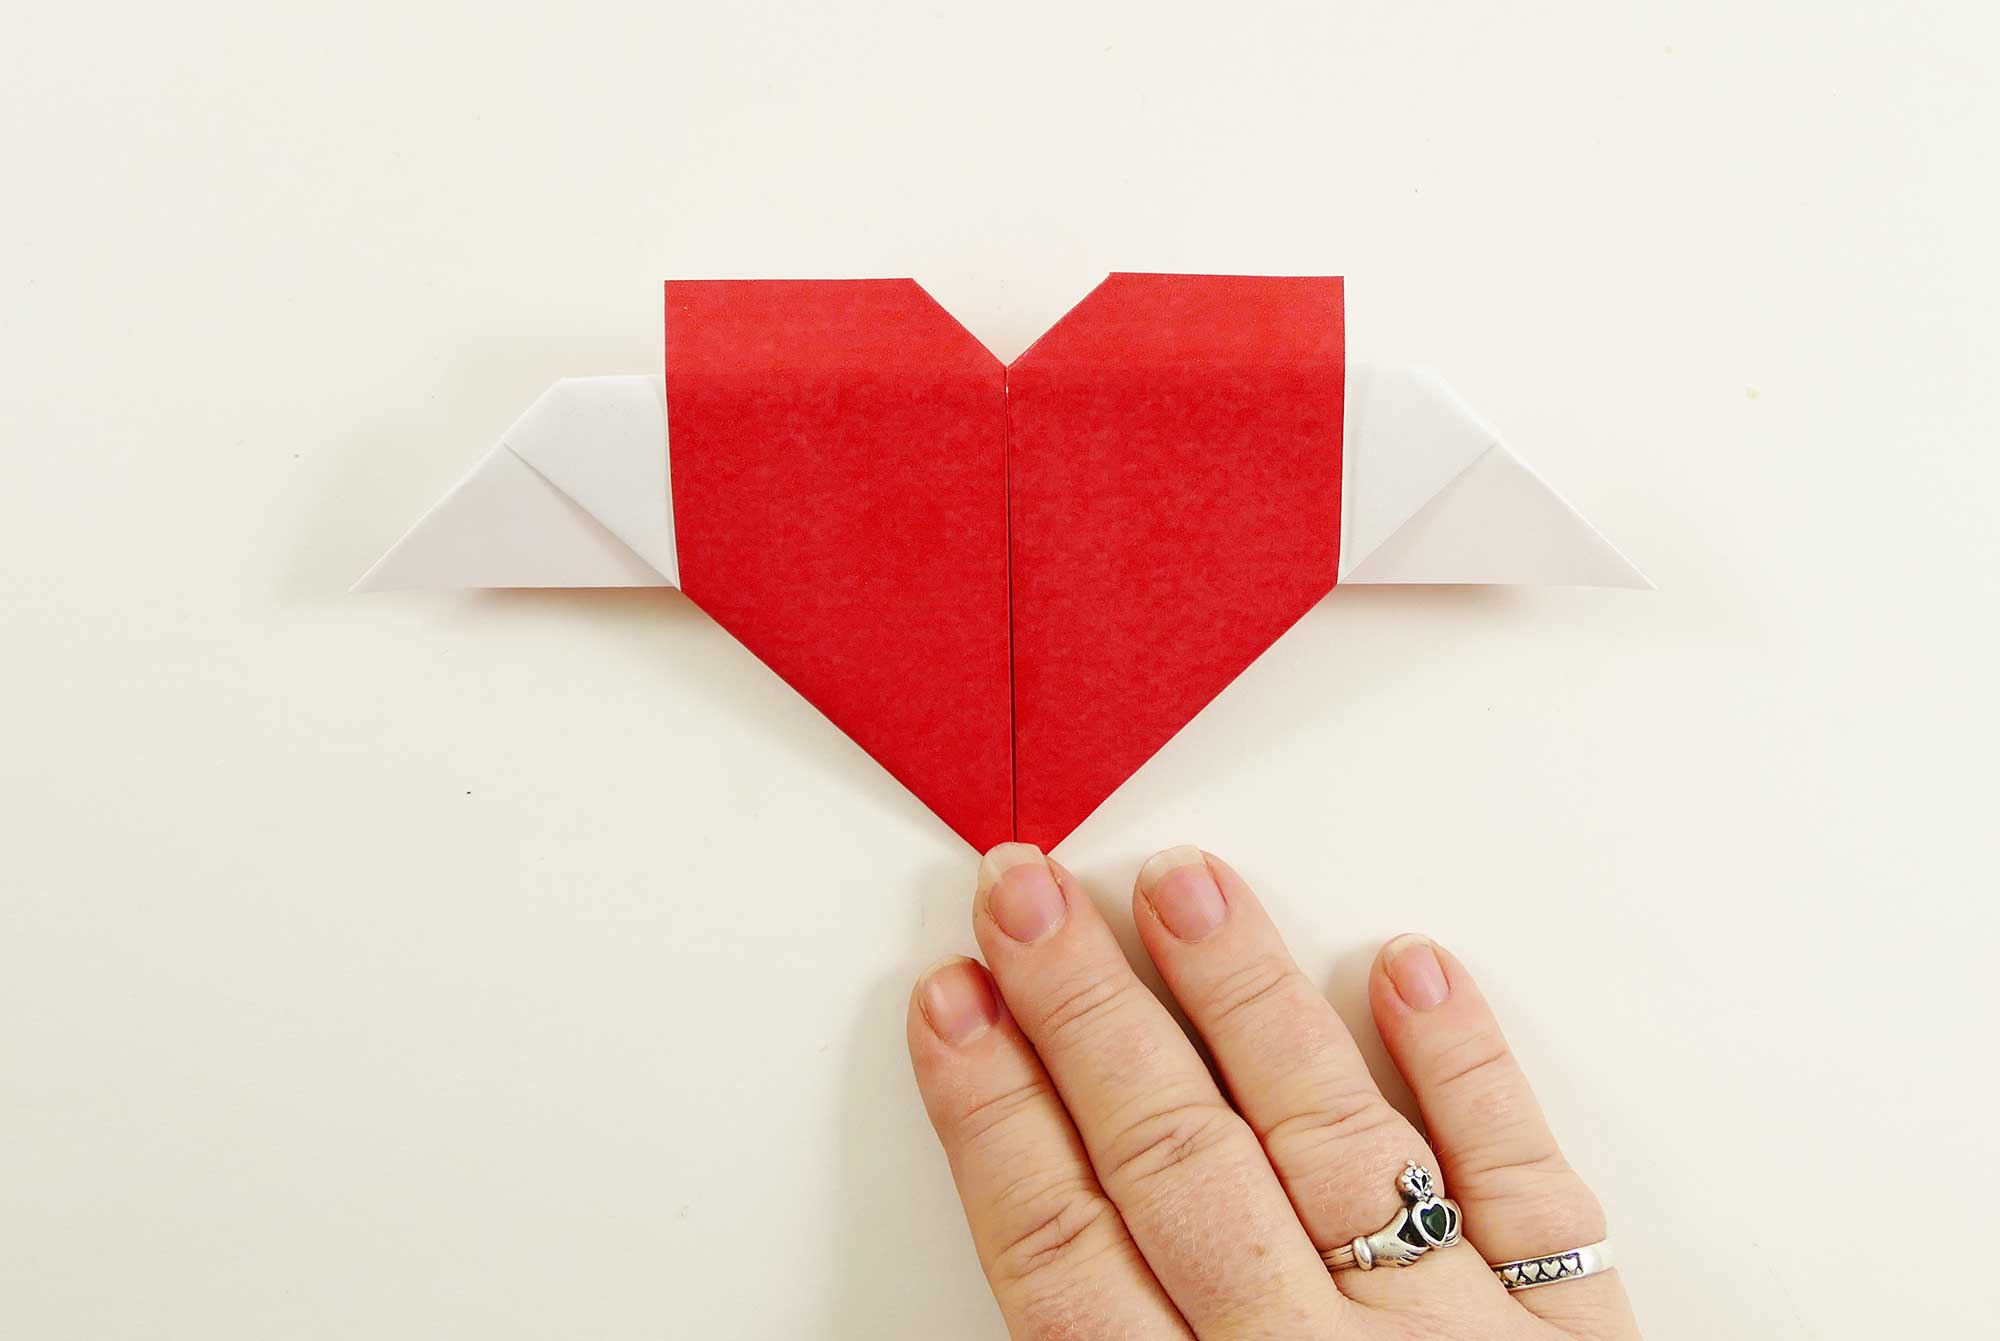
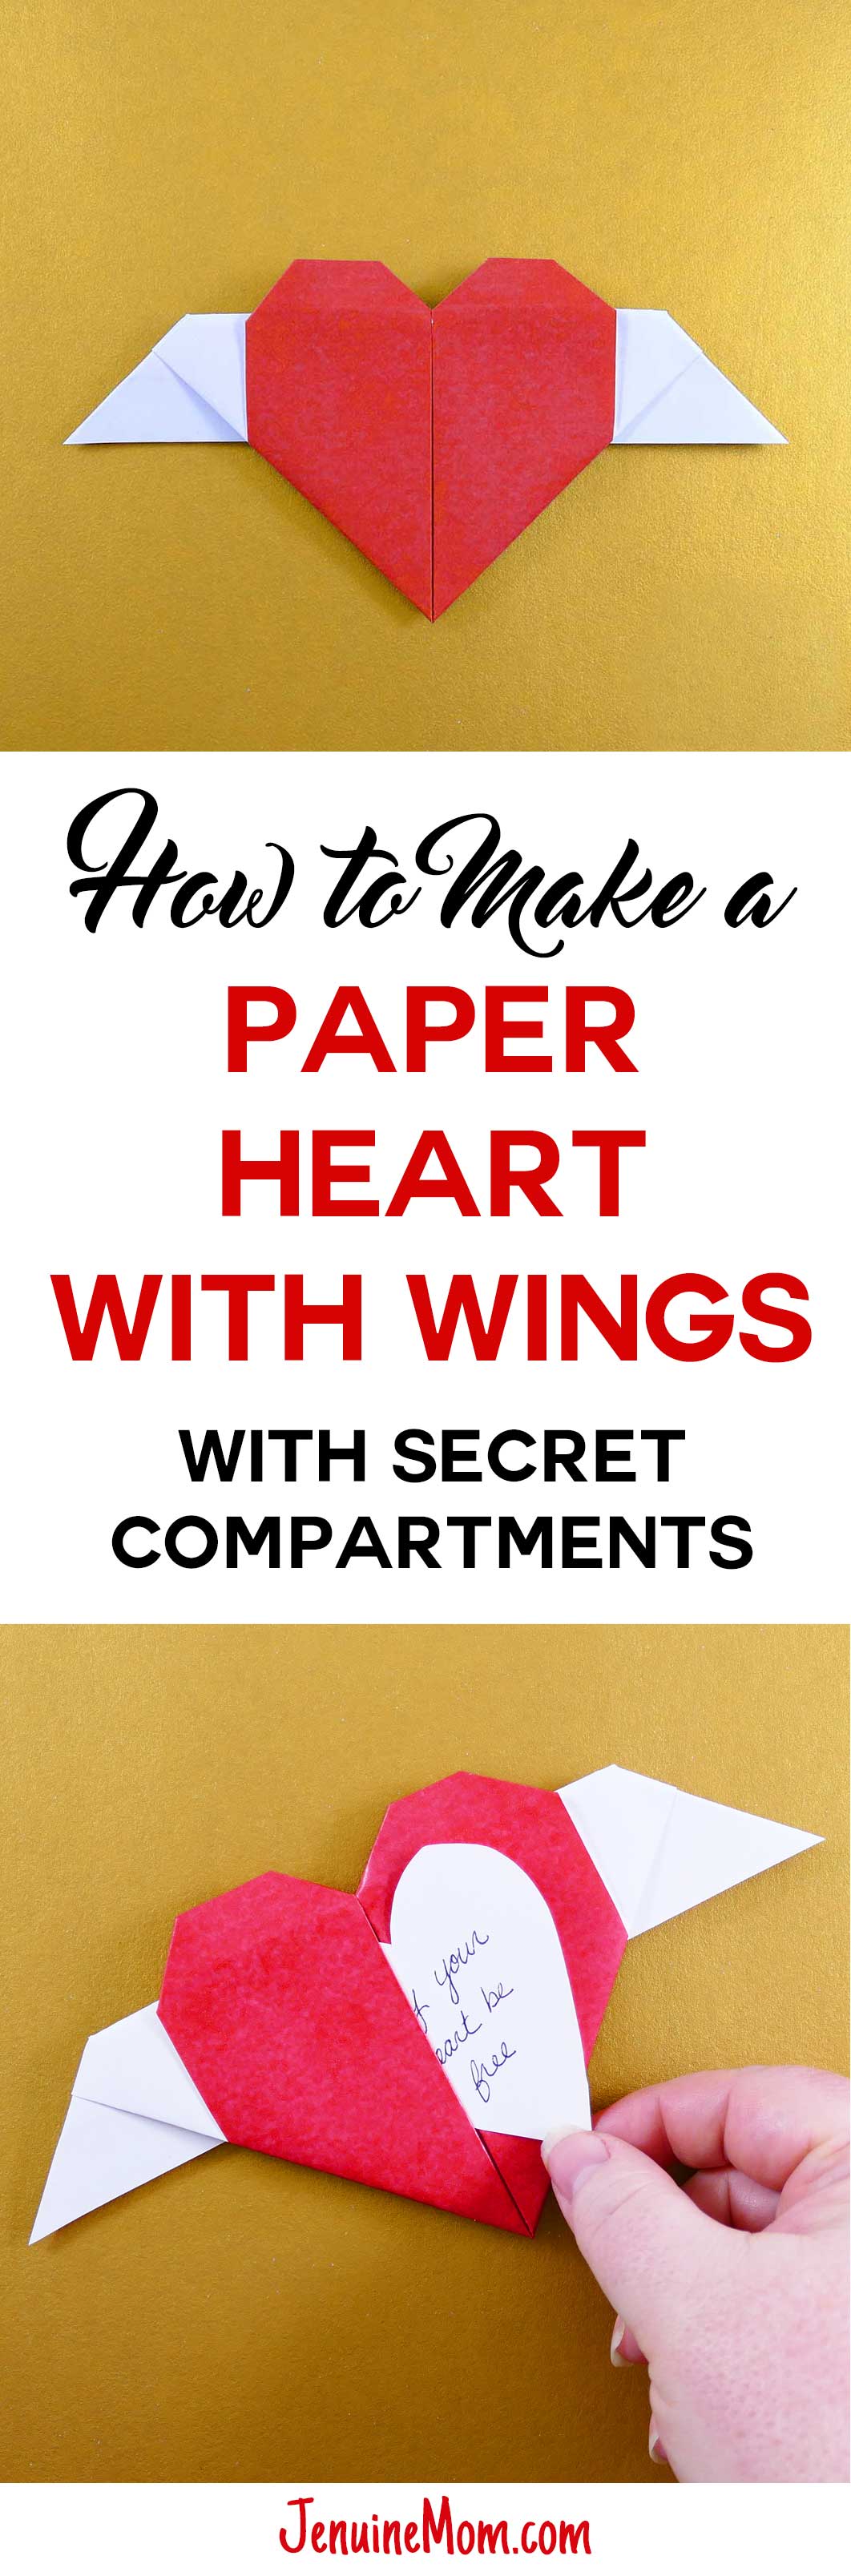
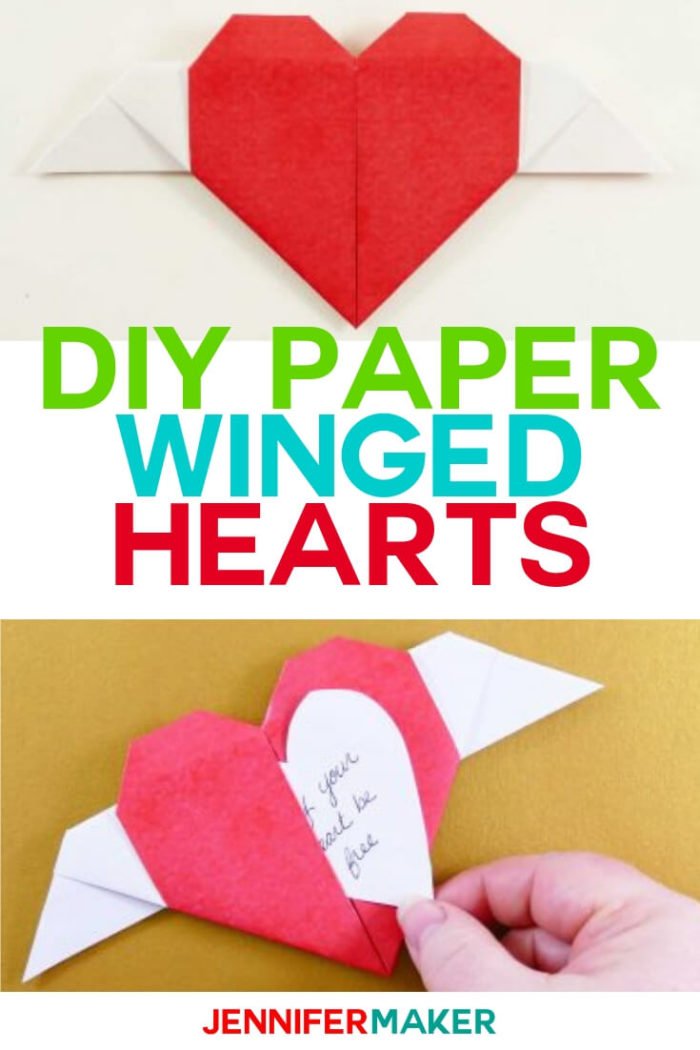
You are done! You’ve made a paper winged heart. And the really cool thing about this is that there are TWO secret compartments for notes.
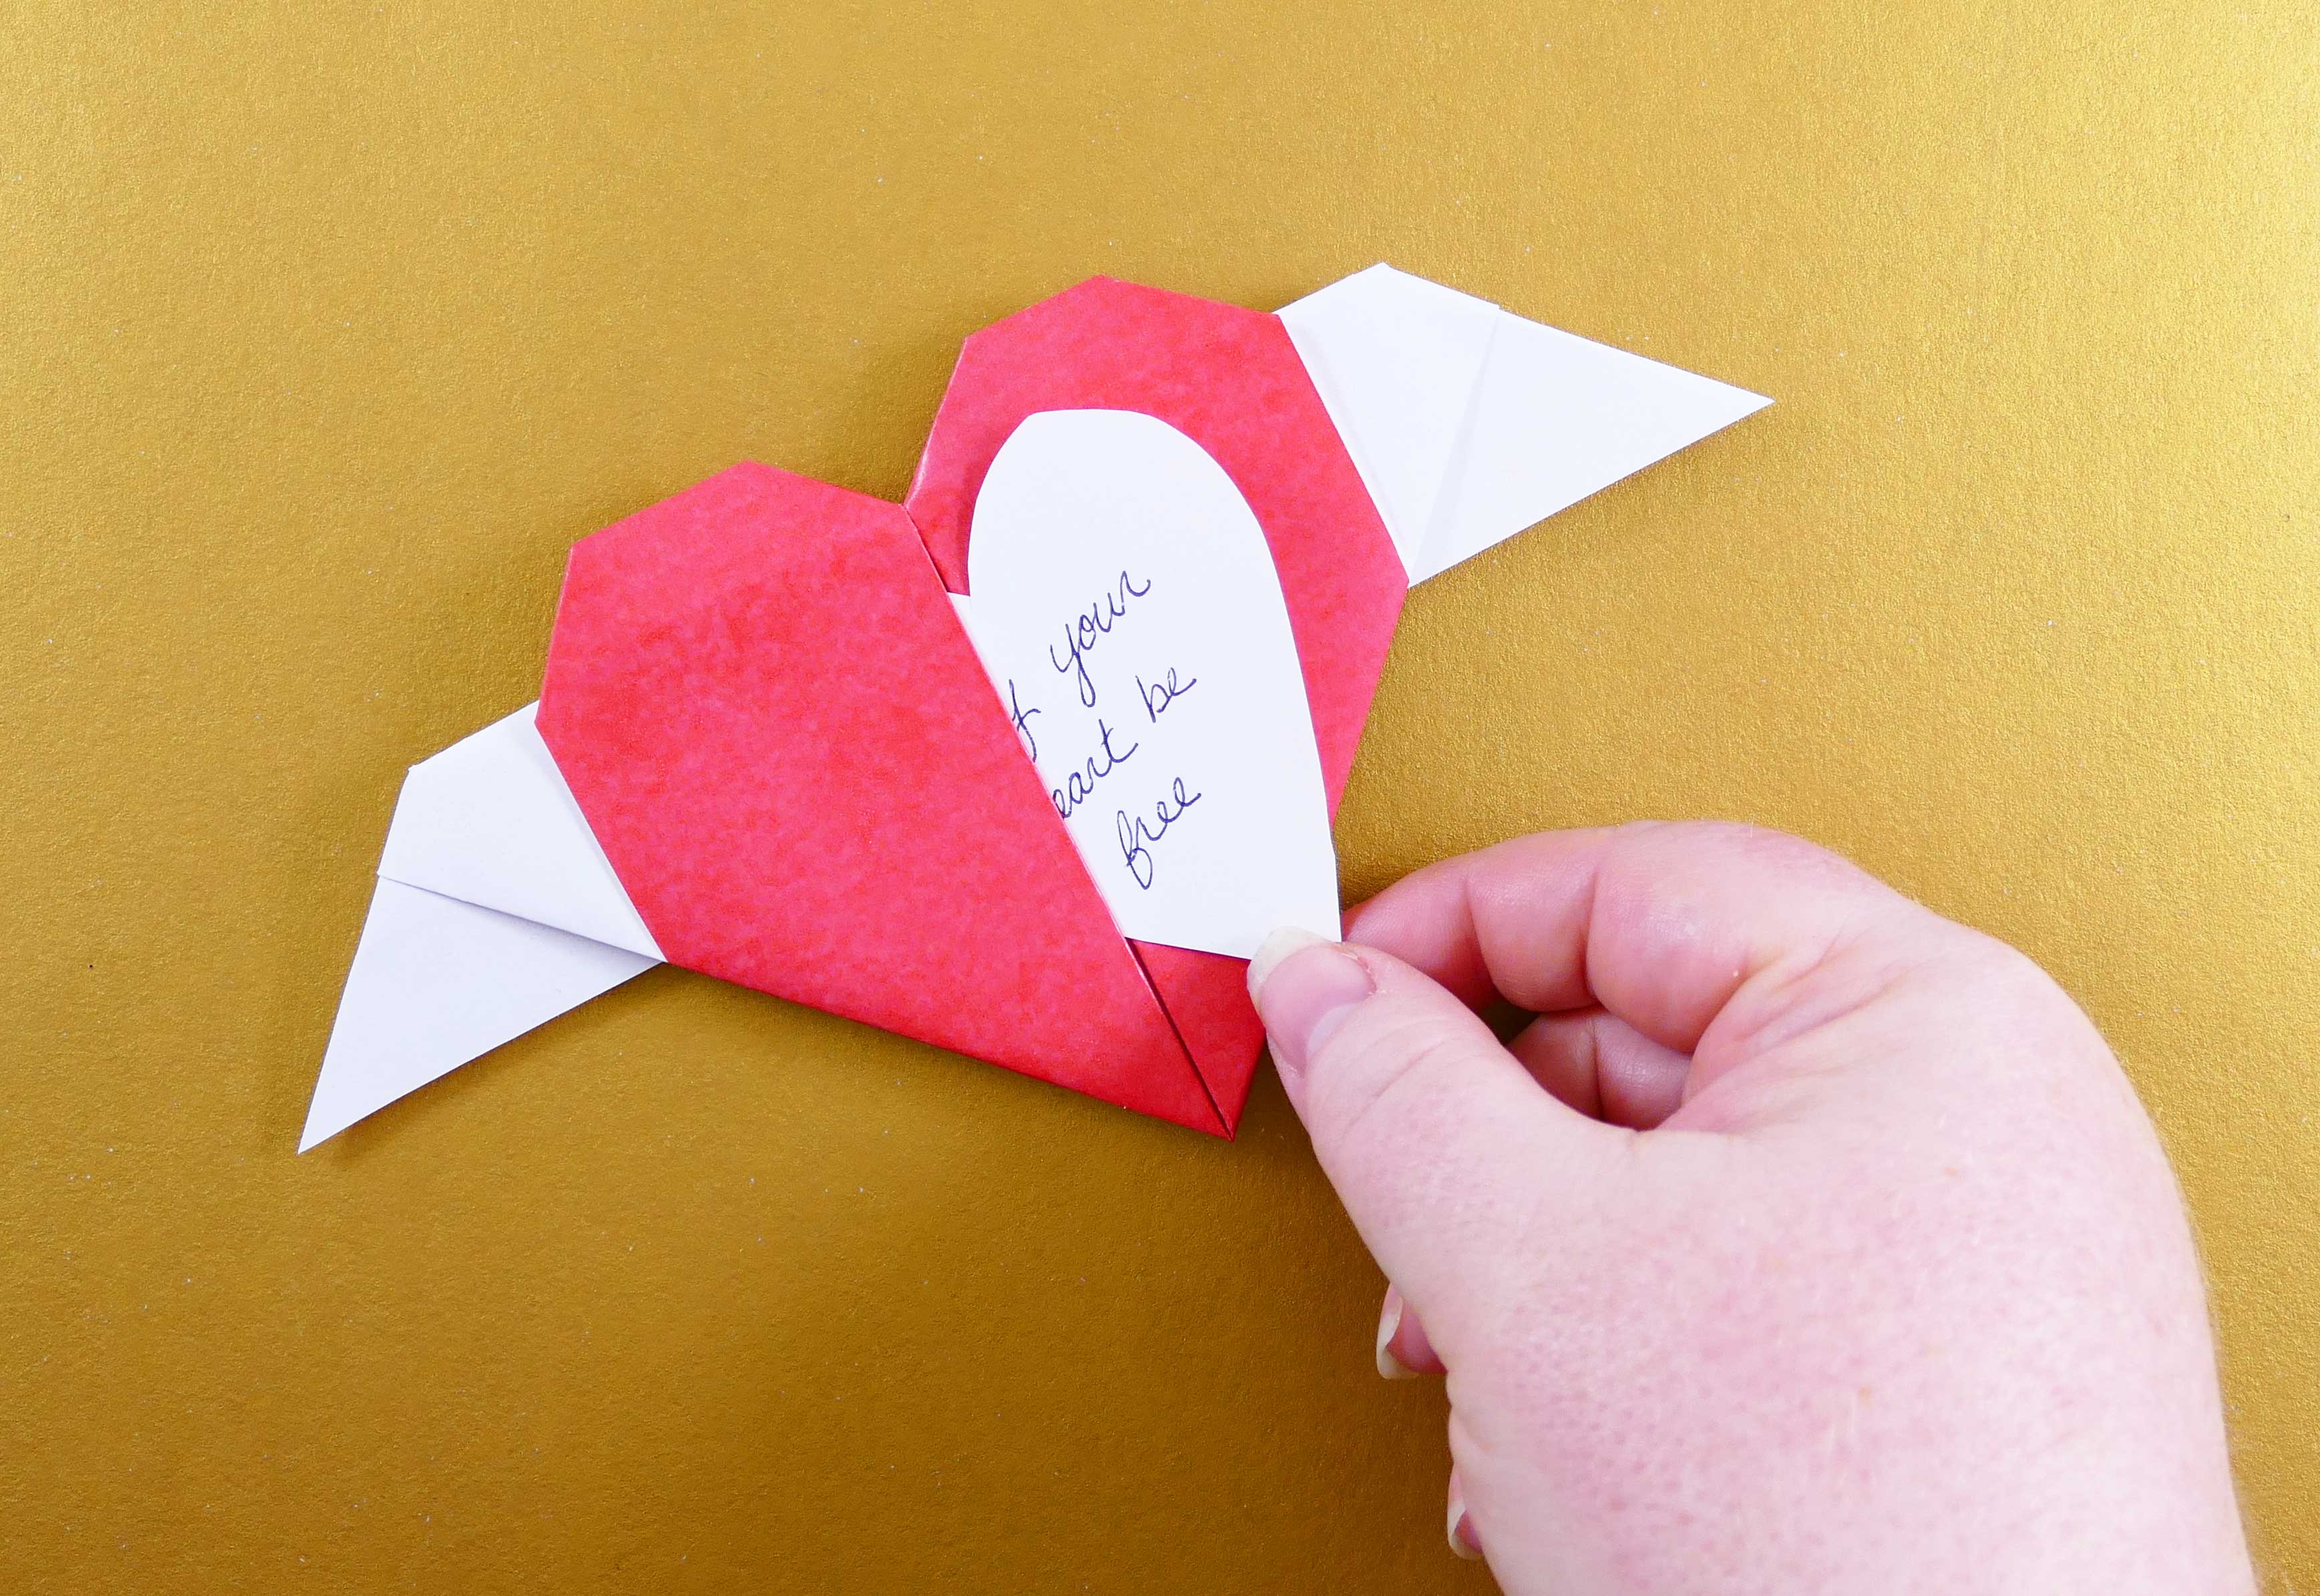
The first secret compartment for your hidden message is on the front of the heart, like this:
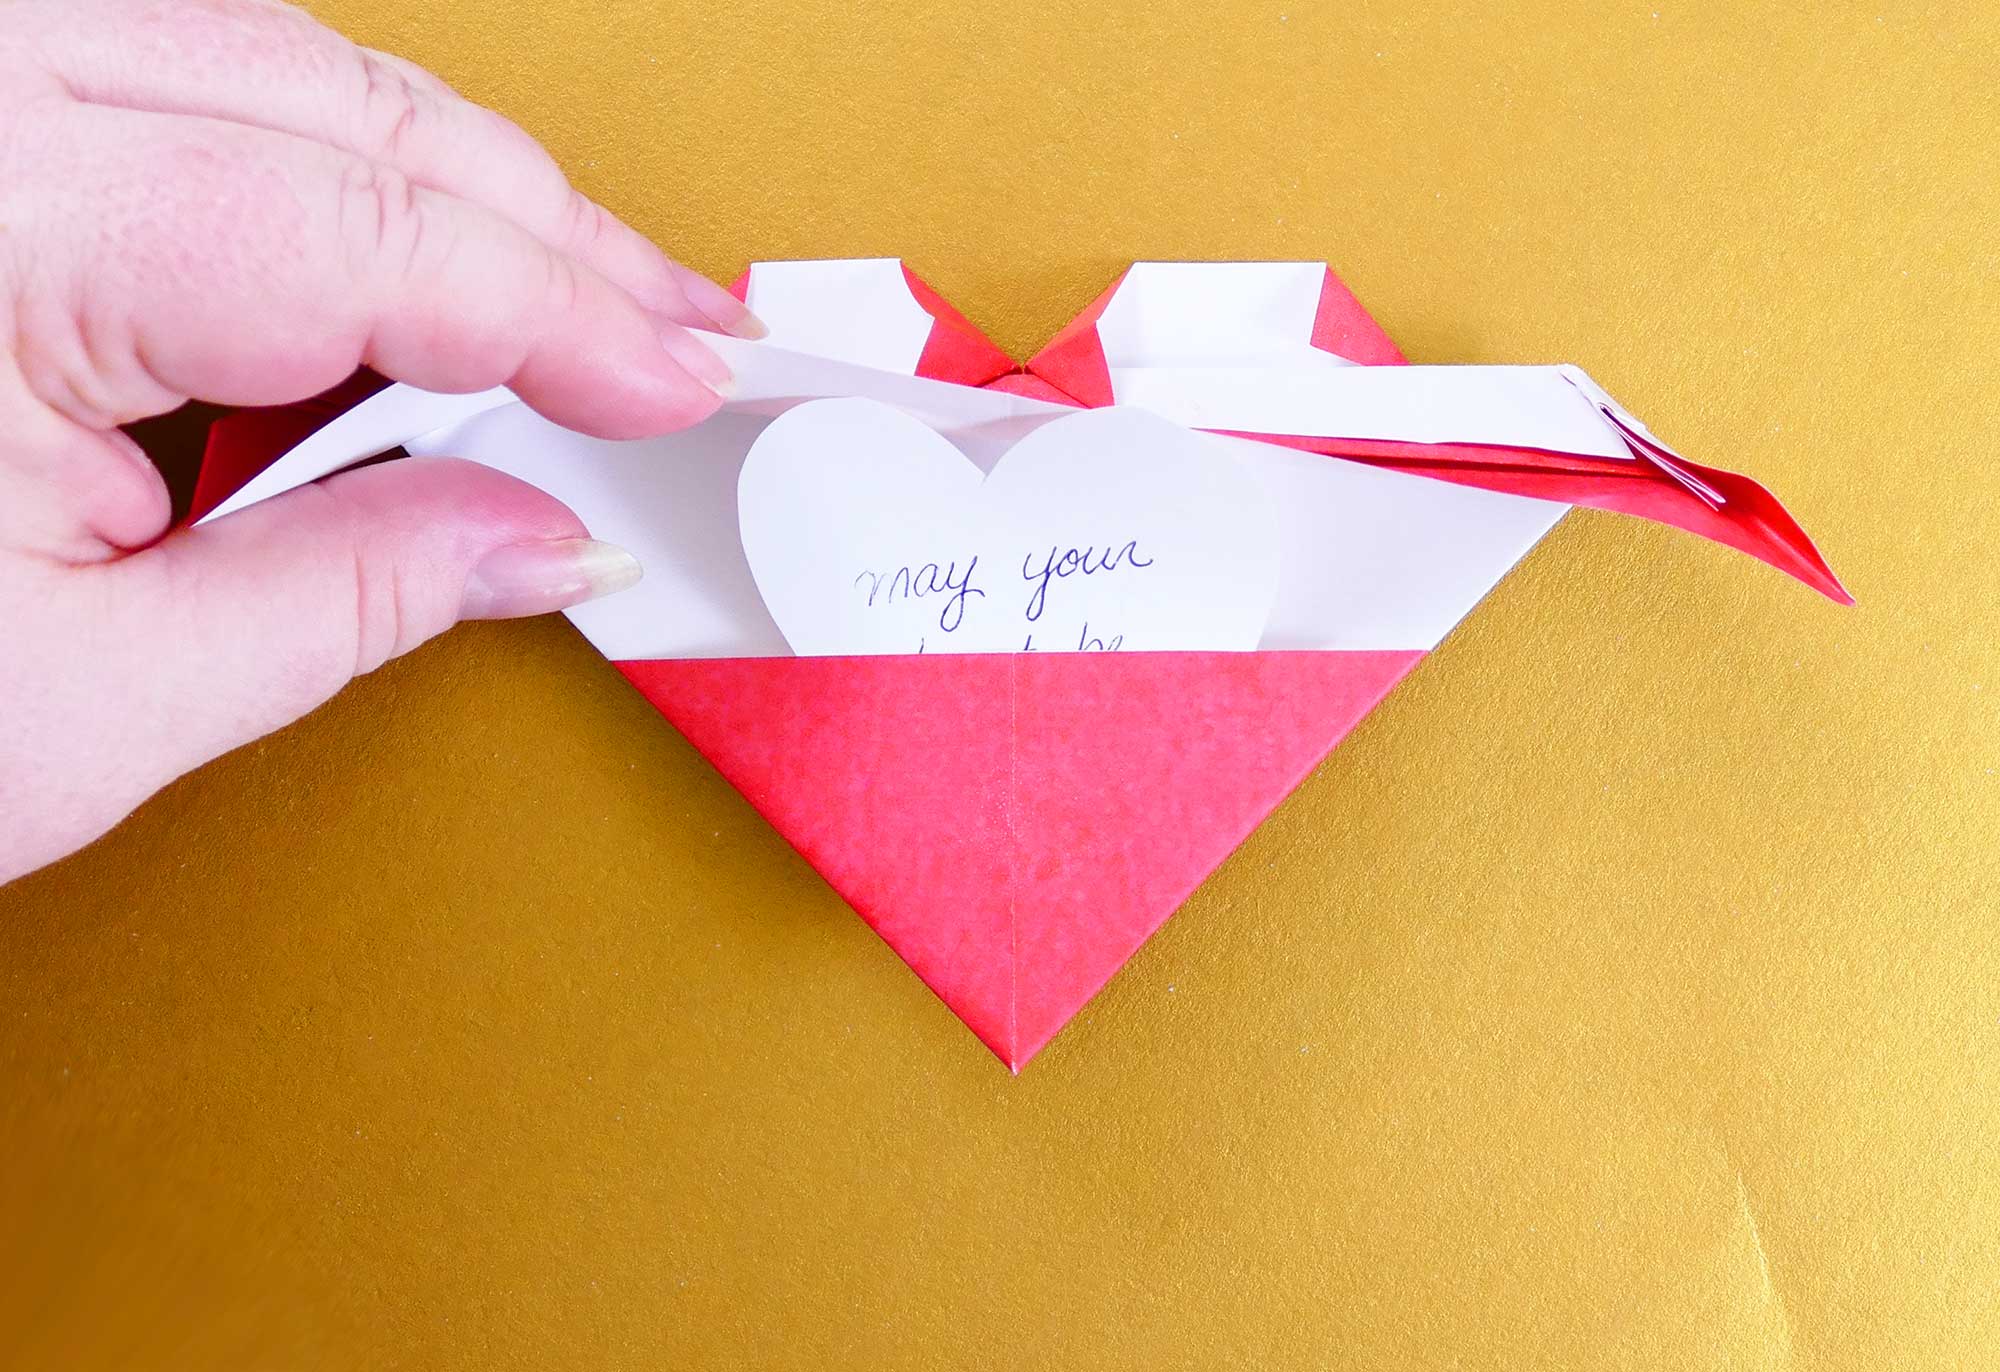
The second one is more hidden — it’s on the back of the heart, under the flap.
Doing this simple little craft took no more than 10 minutes (and that’s with taking photos every step of the way). Don’t let all the photos fool you into thinking this is hard, because it is really quite simple. And creating it made me feel a little better.
These simple hearts make great Valentines, gifts for loved ones, decorations, and more.
I’d love to see your project! If you make one, please share a photo in our Facebook group or tag me on social media with #jennifermaker.
Want to remember this tutorial? Pin it to your favorite Pinterest board so you can always find it again.
This is adorable. I love how there are secret spots. I’ve never been good at origami but I’m going to try this.
Awww! That’s really cute and so easy to make to! I’m bookmarking this for future crafts with my kids!
Belle | One Awesome Momma
This is the cutest. Definitely something that I will be pinning for the future as my son gets older.
Adorable! I remember making a heart like this when I had a origami a day calendar. Love paper folding!
Oh my goodness this is way to cute and it seem pretty easy! I know I would have loved to do something like this as a kid!
I love this tutorial. Origami is so fun but I always feel like I get it wrong. You make it seems easy with your details. Also so sorry about your friend.
How cute! This totally reminds me of the notes we passed in middle school.
Alix | http://www.apintsizedlifeblog.com
What a fun craft for Valentines Day! I know that my kids would have a blast with this for the holiday!
This would be so fun to make for my kids lunch boxes on Valentines. They would get the biggest kick out of the secret note
What a creative idea. I think I can pull this off and leave a note in the girl’s lunches for Valentine’s Day.
What a lovely paper art! I love aircraft like this because we don’t need to many items to make it. Your clear step by step tutorial make it easier to follow.
Yeah, it’s nice to be able to make something with just paper!
Just today my kids are making a folding paper craft. It’s a bunny face to put things in. They really enjoy this kind of thing but it actually tests my patience a bit. Your instructions are very clear you did a good job with that.
Thank you, Orana — I hope your bunny face paper craft worked out!
Thanks so much for sharing this tutorial, it was so easy to follow. I can’t wait to share it with my grand kids and make the hearts with them.
Awesome, Cynthia! I hope you have fun making the hearts!
This is a really cute idea to help someone feel a little better about their day. I want to make a bunch of these and bring them into work when someone is having a rough day.
Thank you, Jocelyn! Giving (and receiving) something like this can definitely brighten one’s day!
Aw…this is the cutest valentine type of message ever! I love how chic it looks, and the hidden message part is so charming!
This is such a cool little craft. So fun for Valentine’s Day! My girls would live it.
Sorry to hear about your friend. Hope you’re doing better. Glad that this cute craft lifted your spirits.
Super cute craft. I can imagine the teacher getting this special valentine! Thanks for the step by step tutorial. I often get lost in written directions!
This is a really cute idea. My daughter loves when I make her origami designs. She would enjoy this one.
I love this! I actually want to try it this year as a gift. Anyone would appreciate something like this.
I love paper crafting. When I was a kid, we all made Valentine’s cards for our classmates. We also decorated a shoe box and then everyone gave each of the other classmates a card. I wish my daughter’s school did this. Most of the kids come to school with a tiny little card with a piece of candy on it that came in a kit. Sad!
Looks like a fun craft! I love to research arts and craft ideas for V-day to do with my kiddos at school <3
That is super cute! What a unique way to fold a little love note. These would be cute in a kids lunch box!!
This reminds of the intricately folded notes we use to pass in school. It was always such a treat to open them. I would love to share this craft with my nieces and nephew for Valentine’s Day. I usually make cookies when I visit, but this could be even more fun.
Oh I love this!! What a special way to send a Valentine card! I love that you printed it off to, rather than buy paper
This is so cute! I might get my little sister to make some with me so I can give one to my boyfriend for Valentine’s Day aha 🙂
This is adorable and so easy looking! Will save this and consider making it for someone special this year! Love the wings!
That is really cool. What a great idea for Valentine’s Day. I would love to receive a message like this.
This is such a super cute easy craft for V-day!! I’m going to make my hubby one of these and leave it on his desk as a surprise!!
What an adorable project! It reminds me so much of the ones we did in school 🙂 I love how fun this DIY is!
This is an awesome tutorial. I love finding ways to personalize holiday gifts. This DIY is so perfect. Thanks for sharing.
This paper heart is really cute! We used to fold paper up in unique ways but I have forgotten how. These would make cute classroom valentines.
This is absolutely amazing. I love how you explained the steps so clearing. It makes such a difference for me. Can’t wait to make these with my girls.
This is absolutely lovely and oh so adorable! Just in time for the upcoming Valentines day. I love creating home made stuff because they are so thoughtful and personal. Not just for kids, but for everyone and all ages too! Thank you very much for sharing!
I agree, everyone and all ages can make things for Valentine’s Day. I think -anyone- would love to receive a little paper heart. 🙂 Thanks, Angela!
How adorable is that little compartment for the letters! I love paper crafts like this, it’s something that my daughter and i will enjoy doing. Thanks for the detailed instructions!
We were looking for a creative activity to do with our 5th graders that didn’t involve a lot of money or food (allergy concerns) looking forward to trying it out tomorrow! Thank you!!
Wonderful! I hope it goes well for you!
I have made this model before but never noticed the secret compartments.
Corner bookmarks are a great origami for kids and beginners and with some scissor magic afterwards, you can easily transform them into a heart.
This is such a fun and simple craft, even my older kids could do this one! I love origami! And the secret message inside the heart makes it even more special. How cute!
? So grateful for this❣ My grandkids will LOVE them!